Blanket Ladder
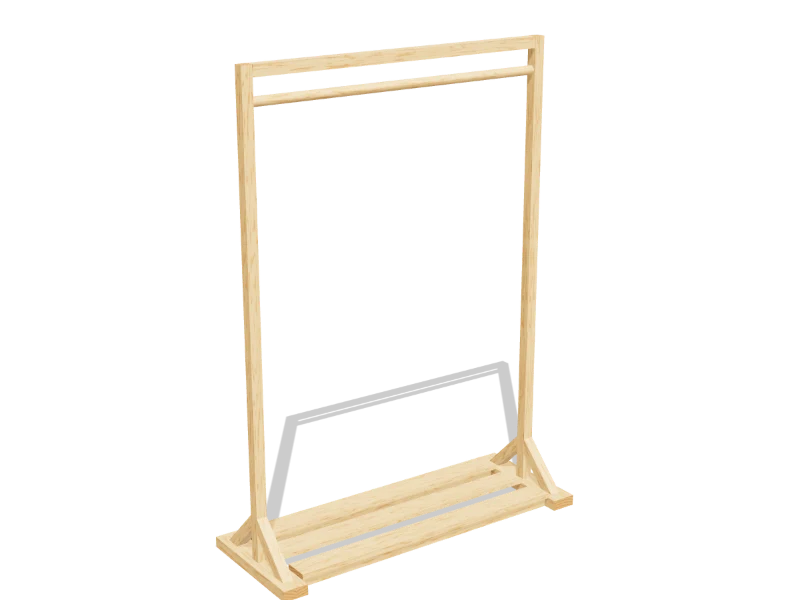
Draft · not yet checked by a carpenterA 6 ft ladder that leans against the wall to hang throws and quilts. Two 2x3s, one 1x3 and about an hour.
- Skill
- Beginner
- Build time
- 1 to 2 hours, plus finish
- Lumber
- 2 2x3s and 1 1x3
- Joinery
- Pocket holes
- Finished size
- 20″ W × 2½″ D × 72″ H
What you need
A 2x3 is actually 1½″ × 2½″ and a 1x3 is ¾″ × 2½″. Every measurement in this plan uses the real size.
Shopping list
- 22x3, 8 ftFor the rails. Pick the straightest.
- 11x3, 8 ftFor the rungs.
- 101¼″ coarse-thread pocket-hole screws
- 1Wood glue
- —Sandpaper, 120 and 180 grit
- opt.Stain or paint and a clear coat
- 4Felt padsFor the feet and the top.
- opt.Small L-bracketTo anchor the top to the wall.
Tools
- Miter saw or circular saw
- Pocket-hole jigSet for ¾″ material.
- Drill/driver
- Speed square, tape measure, pencil
- ClampsHandy for holding rungs while you screw.
Cut list
Seven pieces from three boards. Label each piece with its letter in pencil as you cut it.
| Part | Qty | Size, inches | From |
|---|---|---|---|
| ARails | 2 | 1½ × 2½ × 72 | 2x3 |
| BRungs | 5 | ¾ × 2½ × 17 | 1x3 |
Board layout. Each row is one board, cut left to right, with the remainder hatched. Dark lines are saw cuts, about ⅛″ wide.
Build it
Five steps. The 3D view follows along as you scroll. The parts you're working on are yellow, and the pocket holes for that step are red.
- 01
Cut the pieces
Cut the two rails and the rungs:
- A Rails, two at 72″
- B Rungs, five at 17″
Watch outPick the two straightest 2x3s in the pile. A twisted rail makes the ladder rock against the wall. - 02
Drill the pocket holes
Set your jig for ¾″ material and drill 1 pocket hole at each end of every rung (B), on the face that will be underneath.
- 03
Mark the rung positions
Lay the two rails (A) side by side with the bottom ends lined up. Mark the top of each rung across both rails at once: 12″, 26″, 40″, 54″ and 68″ up from the bottom.
TipMarking both rails together with a speed square keeps the rungs level, even if your tape is off a little. - 04
Attach the rungs
Stand the rails on edge, 20″ apart outside to outside. Line up the top of each rung (B) with its marks, flush with the front faces of the rails, pocket holes underneath. Glue the ends and drive 1¼″ pocket screws.
Start with the top and bottom rungs, check that the ladder is square corner to corner, then fill in the middle.
- 05
Sand, finish and lean it
Sand everything smooth, 120 then 180 grit, and round the rung edges well so blankets don't snag. Stain or paint, then a clear coat.
Lean it against the wall with the feet about 8″ out. Stick felt pads on the feet and the back of the top so it doesn't slide or mark the wall.
Watch outIt's a blanket ladder, not a ladder: never climb it. If kids or pets could pull on it, anchor the top to the wall with a small L-bracket.
Build at your own risk. Check every measurement against your own lumber before you cut, test-fit before you glue, and wear eye and ear protection. Full disclaimer.