









Hidden Bookcase Door
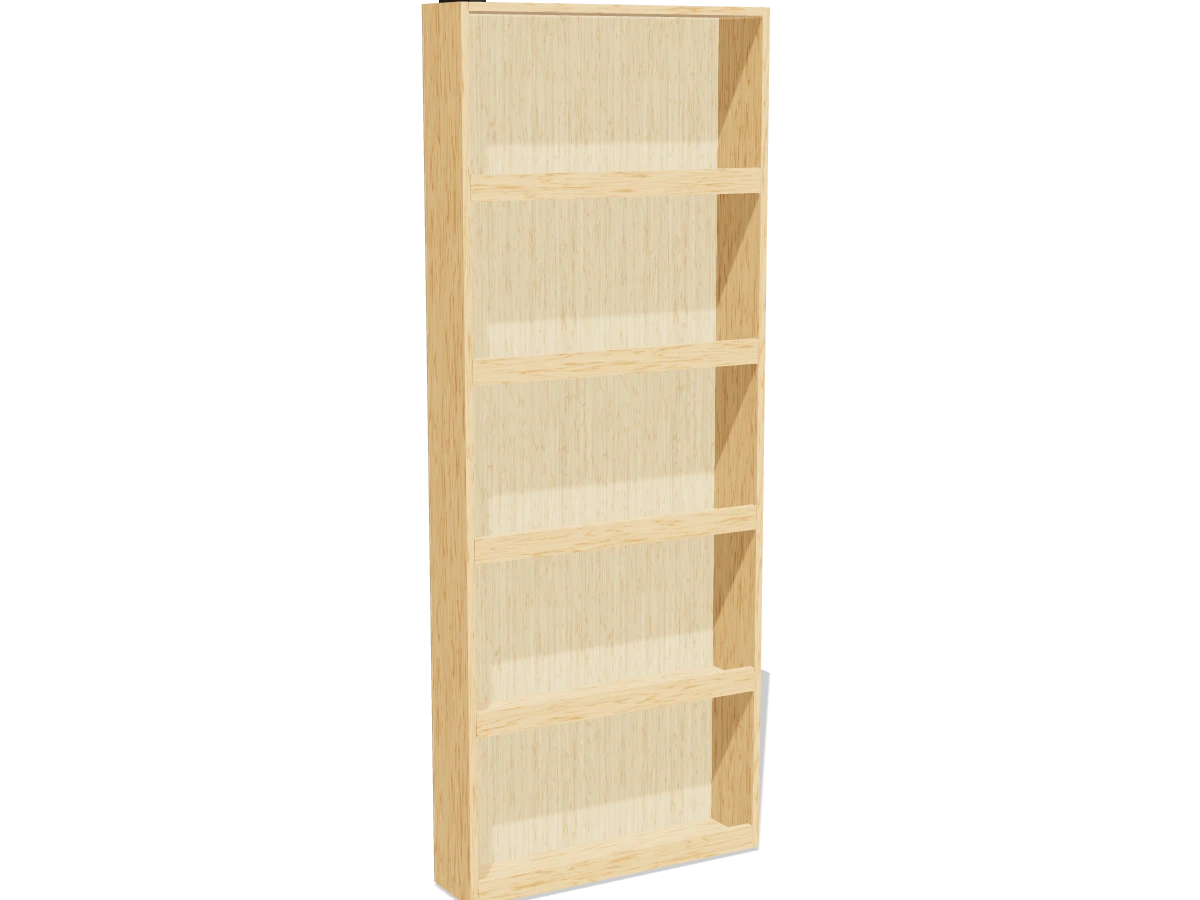
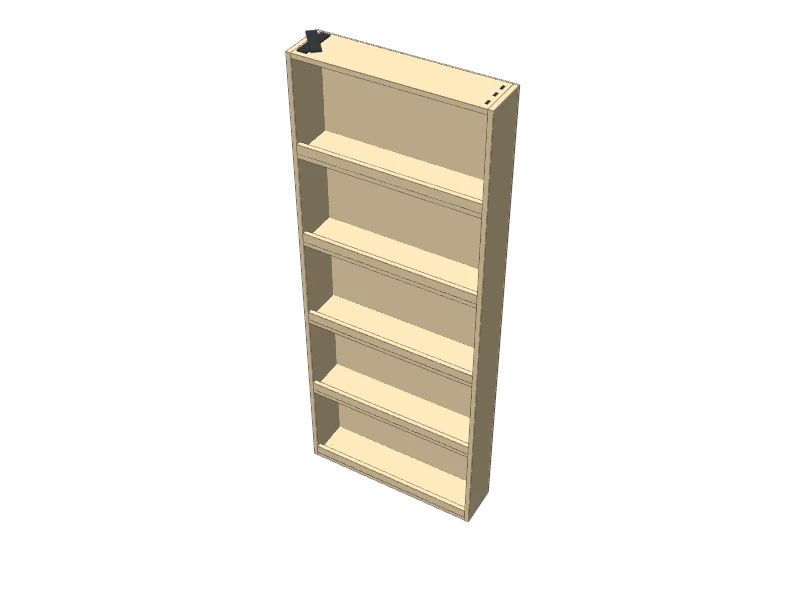
A bookcase that fills a doorway and swings open on hidden pivots, like a secret door. Built from 1x8 boards with a lip on every shelf so the books stay put.
- Skill
- Level 4 of 5 · Intermediate
- Build time
- 8 to 10 hours, plus finish
- Lumber
- 4 1x8s, 2 1x2s and 1 sheet of ¼″ plywood
- Joinery
- Pocket holes, glue and screws
- Finished size
- 30⅞″ W × 7½″ D × 80″ H
A 1x8 is actually ¾″ × 7¼″ and a 1x2 is ¾″ × 1½″. Every measurement in this plan uses the real size. ¼″ plywood is drawn at full thickness, but plywood sold that way is often a hair thinner, so measure yours and cut the pieces that fit between panels to match.
Shopping list
- 41x8, 8 ftSelect pine or poplar: pick the flattest boards for the sides.
- 11x2, 8 ftThe shelf lips.
- 11x2, 6 ftThe shelf lips.
- 1¼″ plywood, 4 × 8 ft sheetThe back.
- 1Hidden bookcase door pivot hinge kitRated 300 lb or more, for a 32″ doorway.
- ~20Screws for the pivot platesThey come with the kit.
- ~501¼″ coarse-thread pocket-hole screws
- ~301¼″ wood screwsFor the lips.
- ~401″ brad nailsFor the back.
- 1Wood glue
- —Sandpaper, paint or stain
Tools
- Miter saw or circular saw
- Pocket-hole jigSet for ¾″.
- Drill/driver
- Brad nailer or hammer
- Clamps
- LevelA 4 ft one, to plumb the pivots.
- Random orbit sander
- Tape measure, speed square, pencil
Cut list
| Part | Qty | Size, inches | From |
|---|---|---|---|
| ASides | 2 | ¾ × 7¼ × 79 | 1x8 |
| BTop, bottom and shelves | 6 | ¾ × 7¼ × 29⅜ | 1x8 |
| CLips | 5 | ¾ × 1½ × 29⅜ | 1x2 |
| DBack | 1 | ¼ × 30⅞ × 79 | ¼″ plywood |
Board layout. Each row is one board, cut left to right, with the remainder hatched. Dark lines are saw cuts, about ⅛″ wide.
Build it
 01
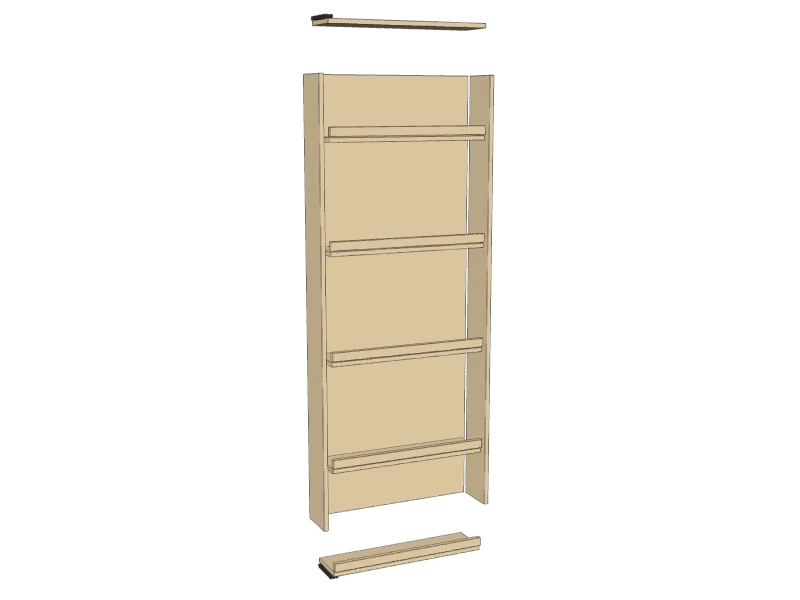
Cut the pieces
Clamp the two sides together and cut them at the same time so they match. Then cut the rest:
- A Sides, two at 79″
- B Top, bottom and shelves, six at 29⅜″
- C Lips, five at 29⅜″
- D Back, one at 30⅞″ × 79″
Check firstCheck your hinge kit's instructions before cutting: the bookcase size it calls for in your doorway, where the pivots go, and its weight rating. This plan fits a doorway 32″ wide and 80″ tall inside the jamb, with the old door, its hinges and stops taken off. The header above the doorway must be solid wood: the top pivot screws into it.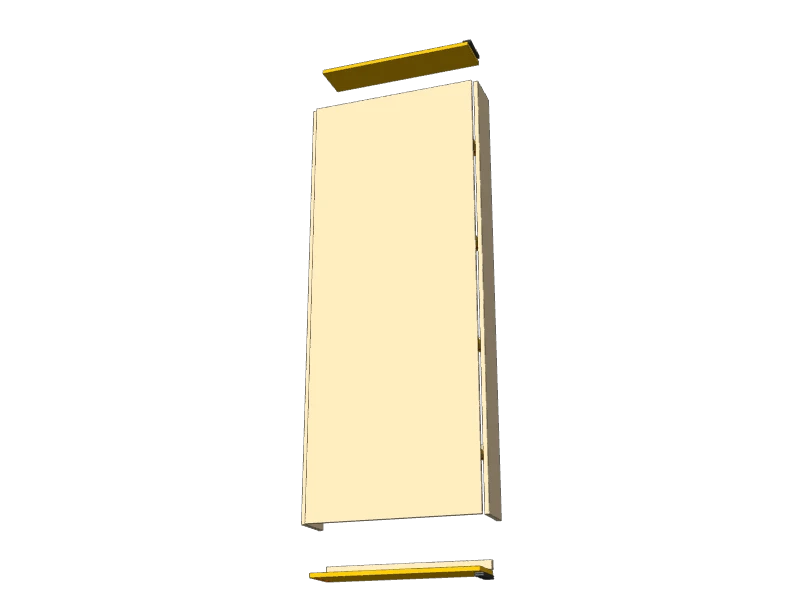 02
Drill the pocket holes
Set the jig for ¾″. Drill three pocket holes at each end of the top, bottom and shelves (B), on the face that won't show: the underside of the shelves and bottom, the top face of the top.
 03
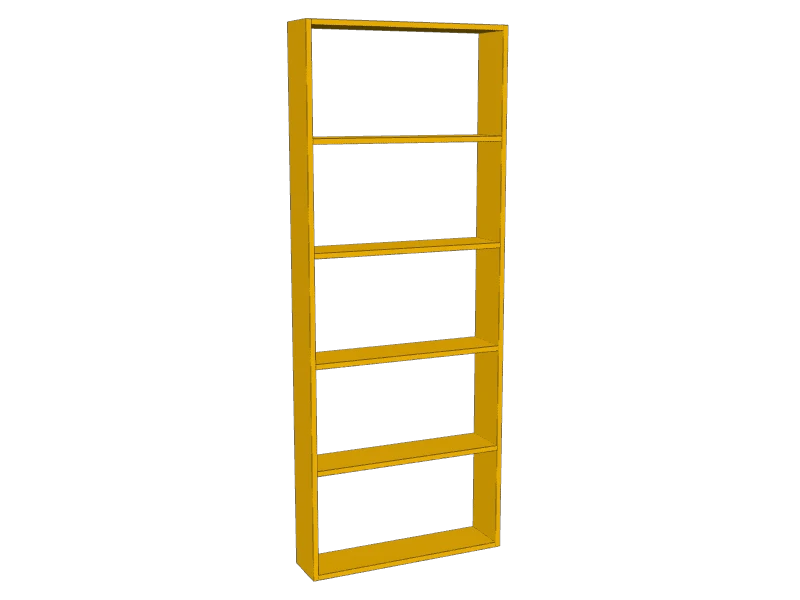
Build the case
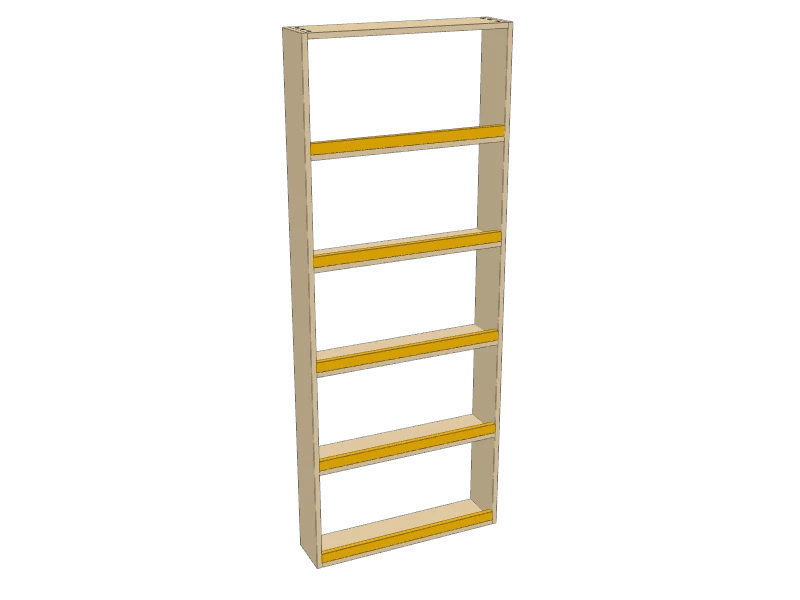
Lay a side (A) on the floor and mark the shelves on it: the bottom flush with the end, then a shelf every 15⅝″, so each opening is 14⅞″ tall. The top opening comes out 15″. Mark the other side to match.
Glue and pocket-screw the top, bottom and shelves (B) between the sides, front edges flush.
 04
Add the lips
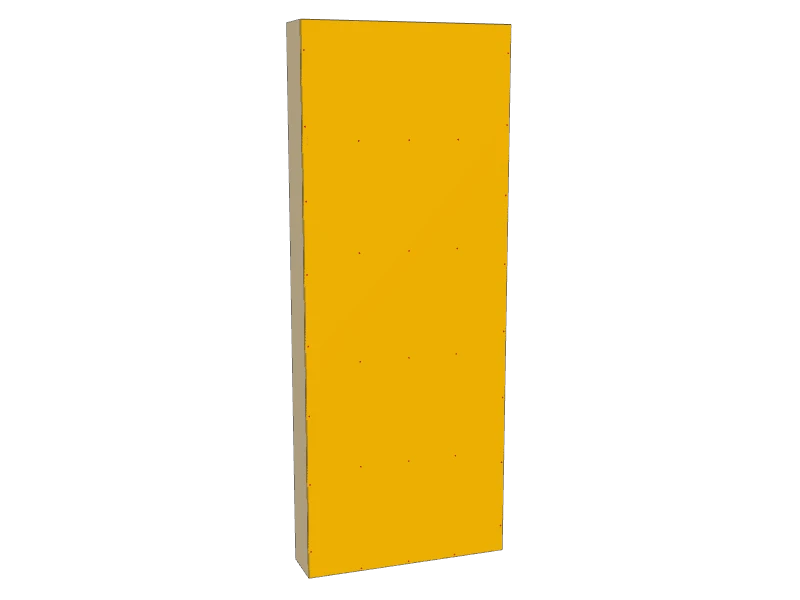
Glue a lip (C) along the front of the bottom and every shelf, standing on edge, flush with the front. Screw up through the shelf into it with 1¼″ screws. The lips keep books from sliding off when the door swings.
 05
Nail on the back
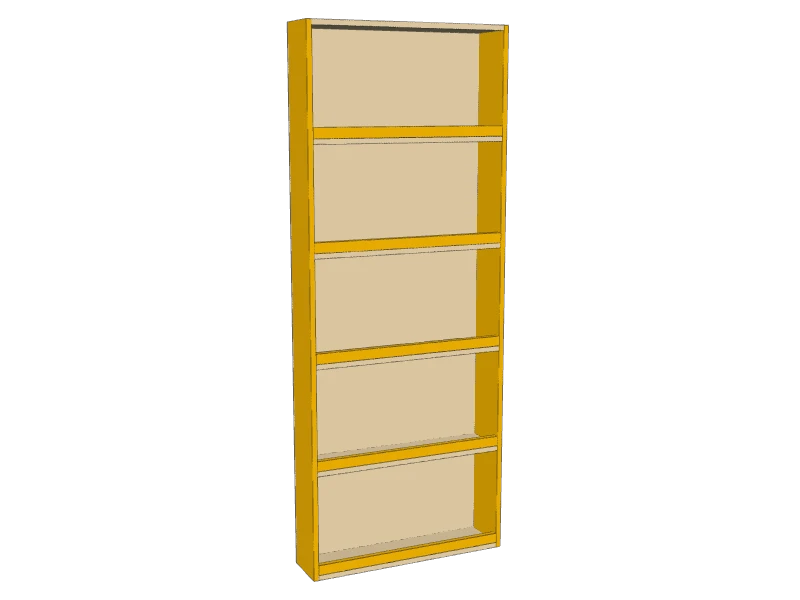
Lay the case face down and measure the diagonals. Push it square until they match: a bookcase door that's out of square won't close flush. Glue and nail the back (D) on with 1″ brads every 6″, into the sides and every shelf.
 06
Sand and finish
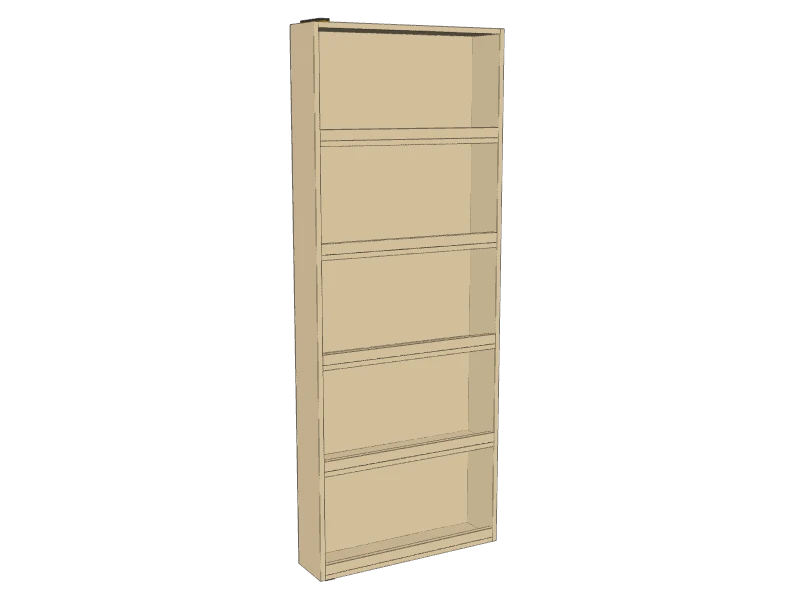
Sand the sides (A), shelves and lips (C) with 120 then 180 grit and ease the edges. Paint or stain it to match the room, so it looks like any other bookcase.
 07
Fix the pivot plates in the doorway
Follow your kit's instructions for where the pivots sit. Plumb a line from the head jamb to the floor with a level, 2″ in from the hinge side of the opening. Screw the bearing plate to the floor or threshold on that line, into solid wood. Screw the top plate to the head jamb, right above it, with the long screws from the kit: they must reach the solid header and the studs beside it, not just the jamb.
 08
Hang the bookcase
Screw the matching pivot plates to the bottom and top of the bookcase, 2″ in from its left side and centered front to back. With two helpers, tip the bookcase into the opening, seat the bottom pivot on the bearing, then stand it up so the top pivot drops into the plate on the jamb.
Swing it open and closed. Adjust the pivots the way the kit says until it closes flush and swings clear of the jamb.
 09
Add a catch and load it
Add the stop and catch from the kit, or a magnetic catch, so it stays shut. Load books from the bottom up, heaviest low, and stay under the kit's weight rating.
Watch outA loaded bookcase door is heavy and the gap on the hinge side closes like a vise. Keep fingers and kids clear when it swings, and never let anyone climb it.
Build at your own risk. Check every measurement against your own lumber before you cut, test-fit before you glue, and wear eye and ear protection.