









Bookends
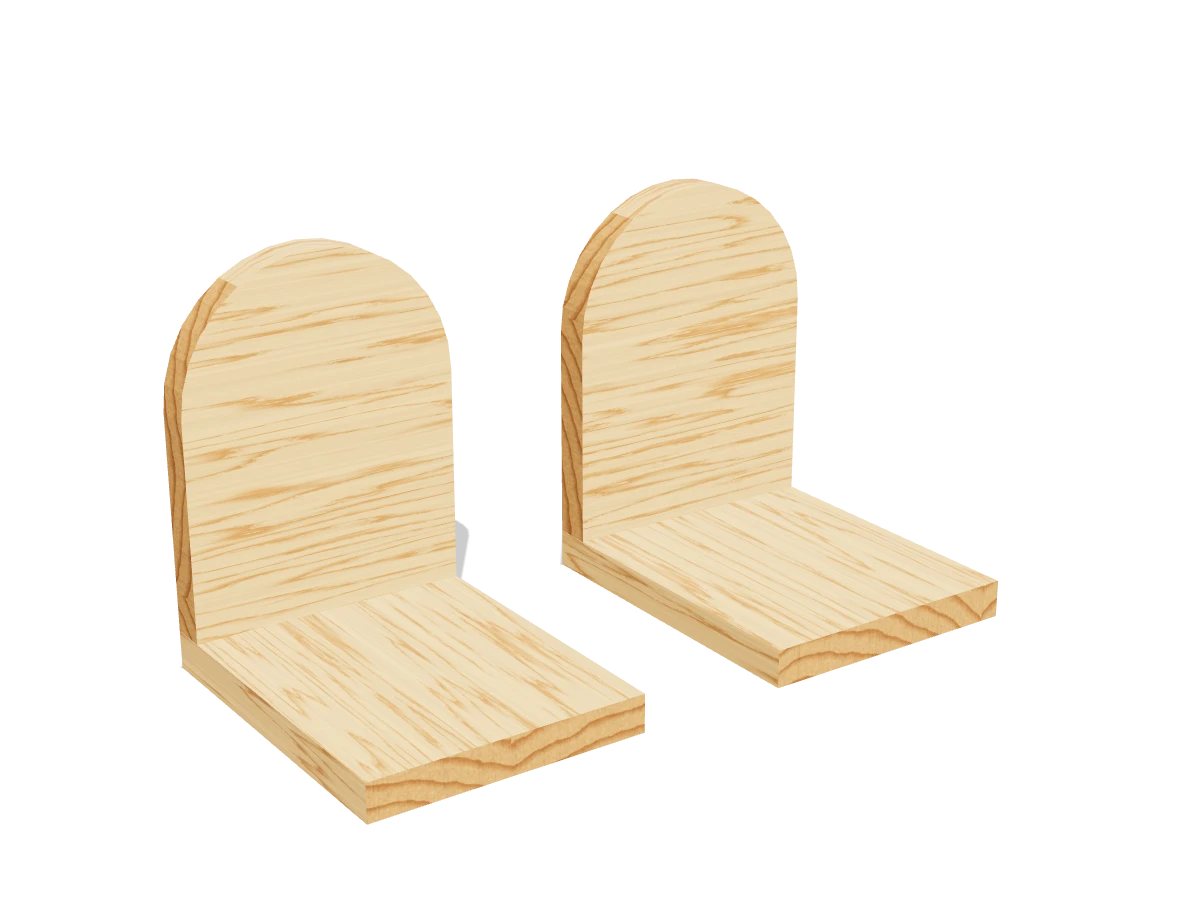
Draft · not yet checked by a carpenterA pair of simple L-shaped bookends with rounded tops. One short 1x6 makes both, so they're a quick gift.
- Skill
- Beginner
- Build time
- 1 to 2 hours, plus finish
- Lumber
- 1 1x6
- Joinery
- Glue and screws
- Finished size
- 5½″ L × 7″ W × 7¾″ H each
A 1x6 is actually ¾″ × 5½″. Every measurement in this plan uses the real size.
Shopping list
- 11x6, 6 ftPine, or a hardwood offcut.
- 41¼″ wood screws
- 1Wood glue
- —Sandpaper, 120, 180 and 220 grit
- opt.Stain or oil
- 1Cork or rubber shelf linerFor under the bases.
Tools
- SawMiter saw, circular saw or hand saw.
- Jigsaw or coping sawFor the rounded tops.
- Compass
- Drill/driverWith a countersink bit.
- Speed square, tape measure, pencil
Cut list
| Part | Qty | Size, inches | From |
|---|---|---|---|
| AUprightsRounded top. | 2 | ¾ × 5½ × 7 | 1x6 |
| BBases | 2 | ¾ × 5½ × 7 | 1x6 |
Board layout. Each row is one board, cut left to right, with the remainder hatched. Dark lines are saw cuts, about ⅛″ wide.
Build it
 01
Cut the pieces
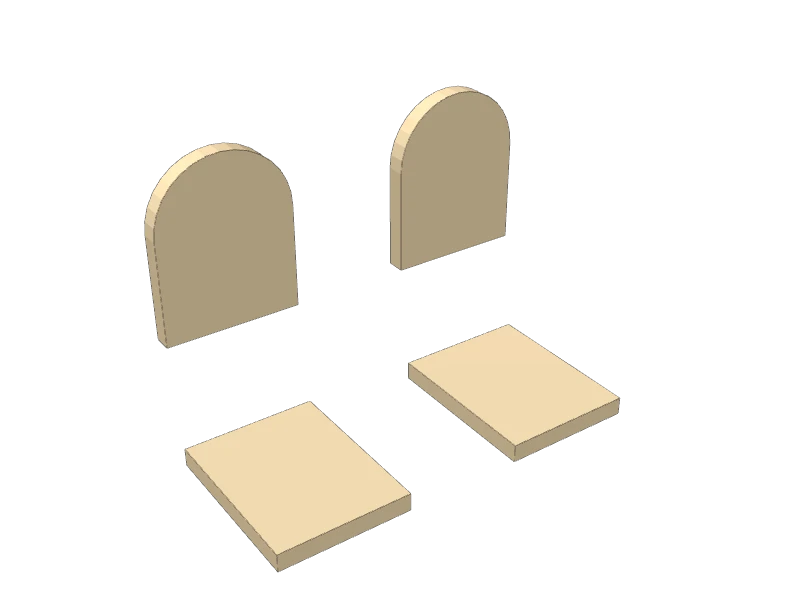
Cut two uprights and two bases from the 1x6:
- A Uprights, two at 7″
- B Bases, two at 7″
TipOak, walnut or maple makes heavier bookends that hold books better, and they look great. The sizes are the same.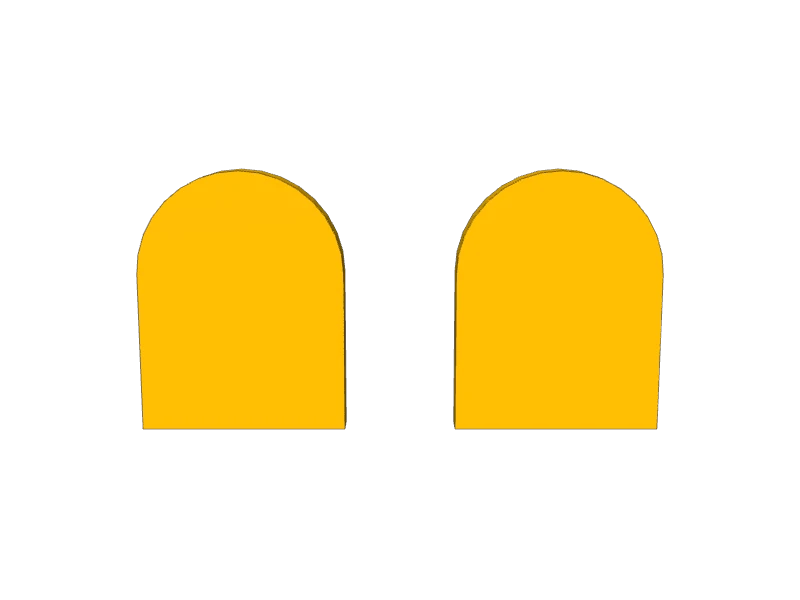 02
Round the tops
On each upright (A), set a compass to 2¾″ and draw a half circle across the top, centered side to side. Cut it with a jigsaw or coping saw just outside the line, then sand to the line.
 03
Join the uprights to the bases
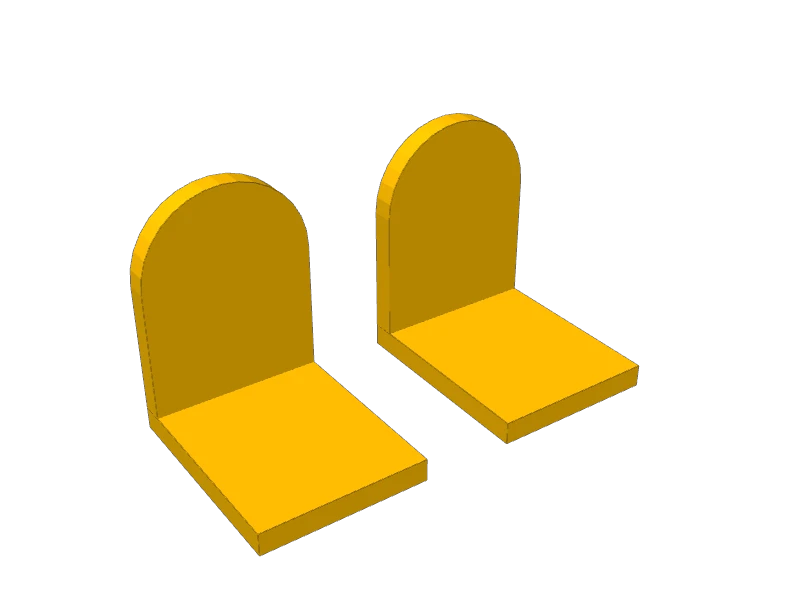
Stand each upright (A) on the back end of a base (B), flush at the back and the sides. Glue the joint, then pre-drill, countersink and drive two 1¼″ screws up through the base into the upright.
Watch outPre-drill the end grain of the upright, or the screw can split it.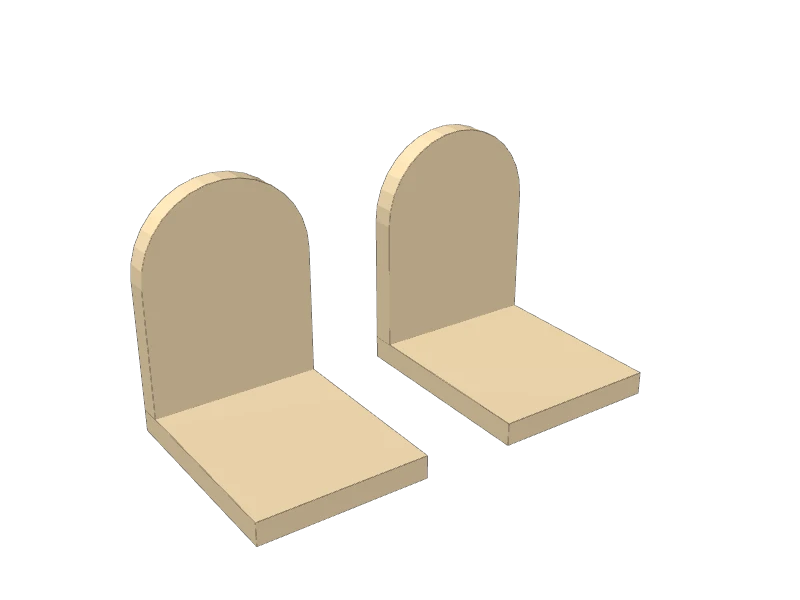 04
Sand and finish
Sand with 120, 180 and 220 grit, softening every edge. Stain or oil them, then stick cork or rubber shelf liner under each base so they don't slide.
Build at your own risk. Check every measurement against your own lumber before you cut, test-fit before you glue, and wear eye and ear protection.