









Chevron Coffee Table
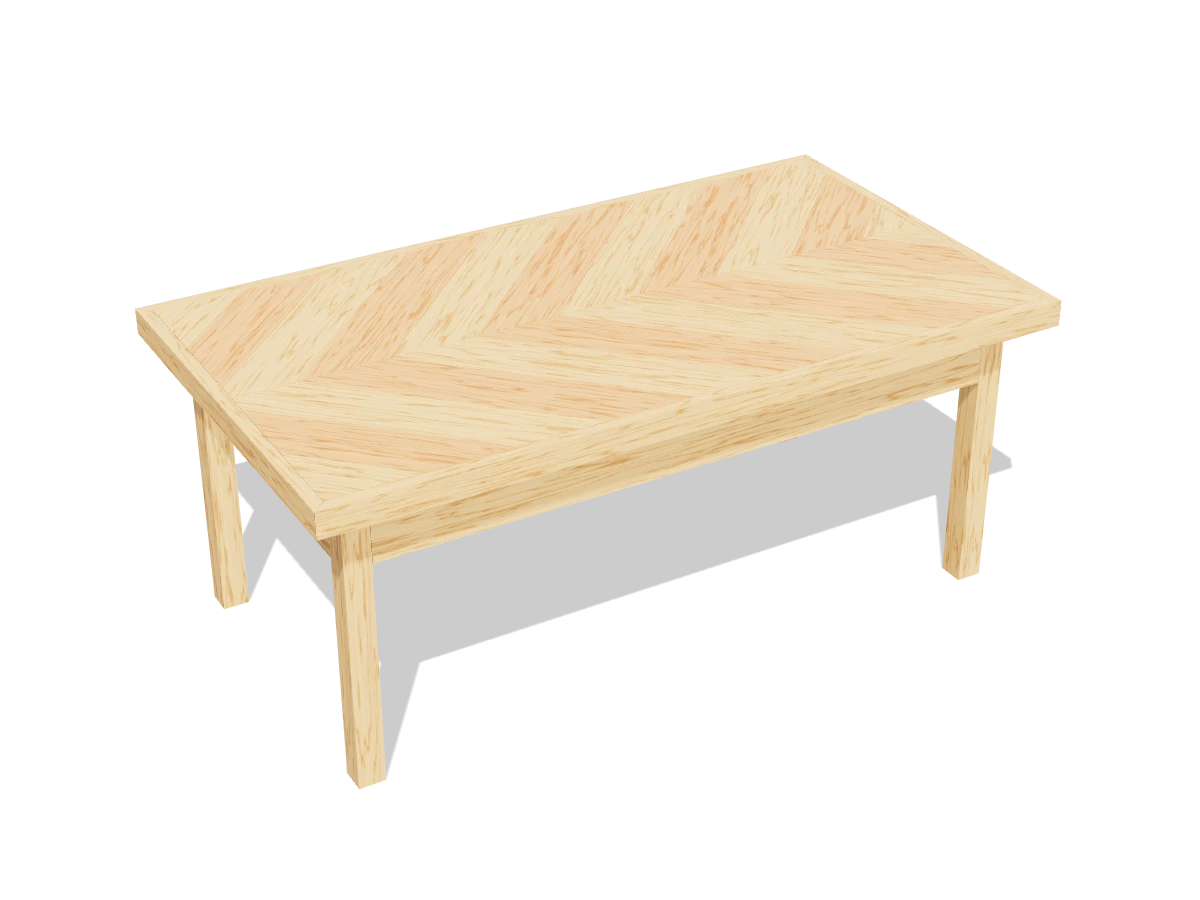
A 43½″ coffee table with a chevron top: 1x4 boards cut at 45° and laid in a V, framed by a mitered border. A showpiece that takes careful, repeatable angle cuts.
- Skill
- Level 4 of 5 · Intermediate
- Build time
- 8 to 10 hours, plus finish
- Lumber
- 1 2x2, 5 1x4s, 2 1x2s and 1 panel of ¾″ plywood
- Joinery
- Pocket holes, glue and brad nails
- Finished size
- 43½″ L × 24″ W × 18″ H
A 2x2 is actually 1½″ × 1½″, a 1x4 is ¾″ × 3½″ and a 1x2 is ¾″ × 1½″. Every measurement in this plan uses the real size. ¾″ plywood is drawn at full thickness, but plywood sold that way is often a hair thinner, so measure yours and cut the pieces that fit between panels to match.
Shopping list
- 12x2, 8 ftThe legs.
- 51x4, 8 ftAprons and the chevron. Pick straight boards of the same width.
- 21x2, 6 ftThe border.
- 1¾″ plywood, 2 × 4 ft panelThe base for the chevron.
- ~301¼″ coarse-thread pocket-hole screws
- ~401¼″ brad nails
- 1Wood glue
- —Stain, polyurethane, sandpaper
Tools
- Miter sawFor the 45° cuts. A stop block helps.
- Pocket-hole jigSet for ¾″.
- Brad nailer
- Drill/driver
- Clamps
- Random orbit sander
Cut list
| Part | Qty | Size, inches | From |
|---|---|---|---|
| ALegs | 4 | 1½ × 1½ × 16½ | 2x2 |
| BLong aprons | 2 | ¾ × 3½ × 36½ | 1x4 |
| CShort aprons | 2 | ¾ × 3½ × 17 | 1x4 |
| DPlywood top | 1 | ¾ × 22½ × 42 | ¾″ plywood |
| ELong borderBoth ends mitered at 45°, long point to long point. | 2 | ¾ × 1½ × 43½ | 1x2 |
| FShort borderBoth ends mitered at 45°, long point to long point. | 2 | ¾ × 1½ × 24 | 1x2 |
| GChevron boardsBoth ends cut at 45°, parallel, long point to long point. | 10 | ¾ × 3½ × 19½ | 1x4 |
| HChevron end piecesCut to fit at the ends of the table. | 2 | ¾ × 3½ × 18⅝ | 1x4 |
| IChevron end piecesCut to fit at the ends of the table. | 2 | ¾ × 3½ × 17⅝ | 1x4 |
| JChevron end piecesCut to fit at the ends of the table. | 2 | ¾ × 3½ × 14⅛ | 1x4 |
| KChevron end piecesCut to fit at the ends of the table. | 2 | ¾ × 3½ × 12¼ | 1x4 |
| LChevron end piecesCut to fit at the ends of the table. | 2 | ¾ × 3½ × 7⅛ | 1x4 |
| MChevron end piecesCut to fit at the ends of the table. | 2 | ¾ × 3½ × 5¼ | 1x4 |
Board layout. Each row is one board, cut left to right, with the remainder hatched. Dark lines are saw cuts, about ⅛″ wide.
Build it
 01
Cut the base and border
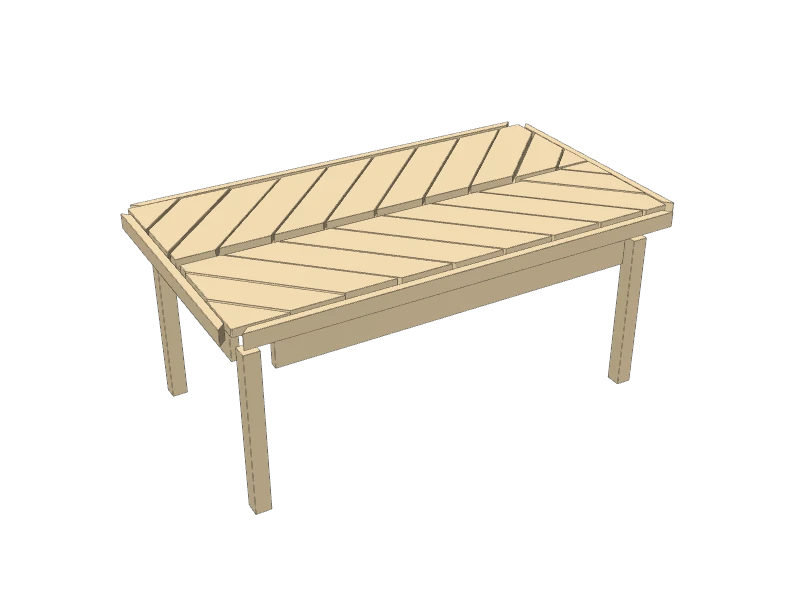
Cut the legs, aprons and plywood, and miter the border pieces at 45° (long point to long point):
- A Legs, four at 16½″
- B Long aprons, two at 36½″
- C Short aprons, two at 17″
- D Plywood top, one at 22½″ × 42″
- E Long border, two at 43½″
- F Short border, two at 24″
- G Chevron boards, ten at 19½″
- H Chevron end pieces, two at 18⅝″
- I Chevron end pieces, two at 17⅝″
- J Chevron end pieces, two at 14⅛″
- K Chevron end pieces, two at 12¼″
- L Chevron end pieces, two at 7⅛″
- M Chevron end pieces, two at 5¼″
Leave the chevron end pieces until the main boards are down: you'll mark them in place.
 02
Build the base
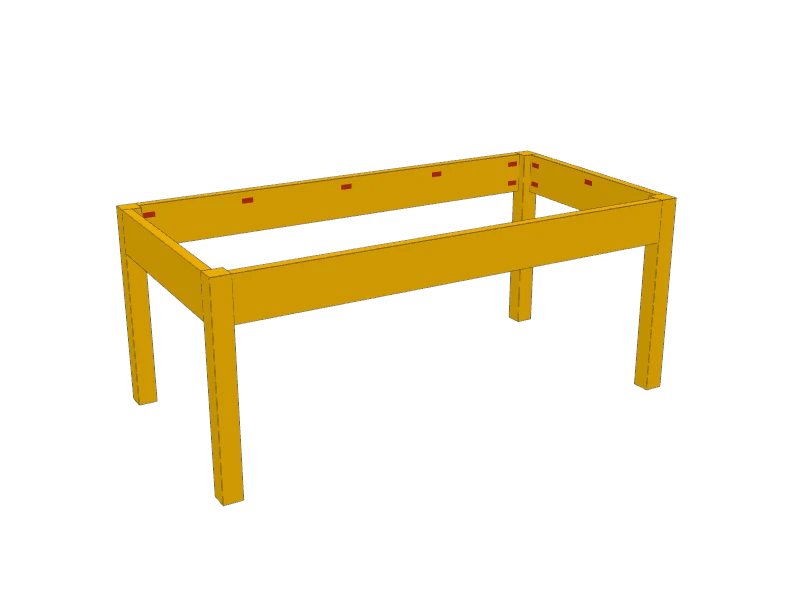
Drill two pocket holes at each end of the long aprons (B) and short aprons (C), and a few along their top edges. Join the short aprons between pairs of legs (A), flush with the tops and outside faces, then join the two ends with the long aprons. Glue and drive 1¼″ pocket screws, and check the diagonals match.
 03
Attach the plywood top
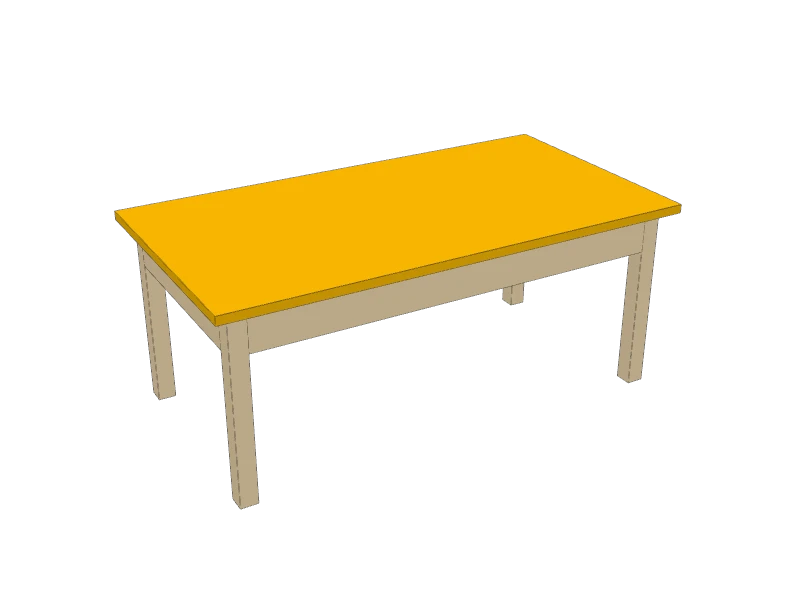
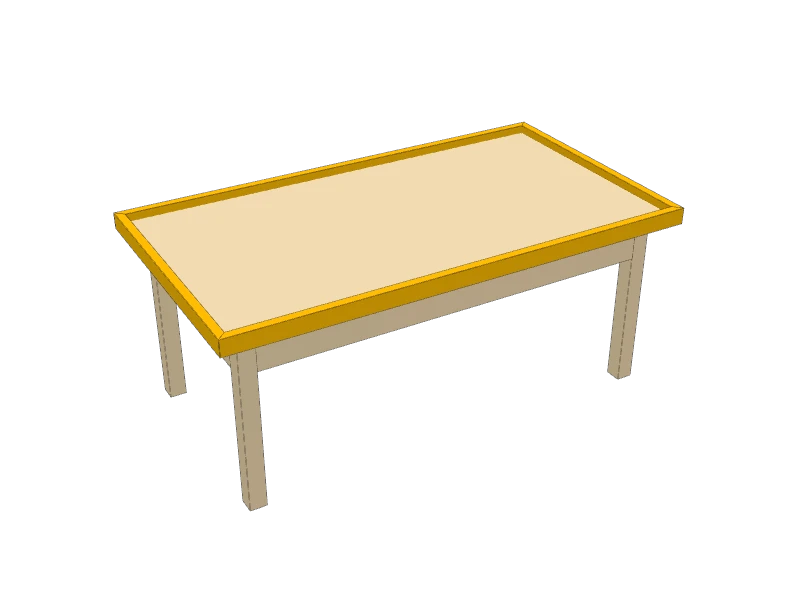
Center the plywood top (D) on the base, 1¼″ of overhang past the legs all round. Drive pocket screws up through the aprons into it.
 04
Add the mitered border
Glue the long border pieces (E) and short border pieces (F) around the plywood, standing on edge, bottoms flush with the bottom of the plywood, so they rise ¾″ above it. Close the miters and nail them on with 1¼″ brads.
 05
Lay the chevron
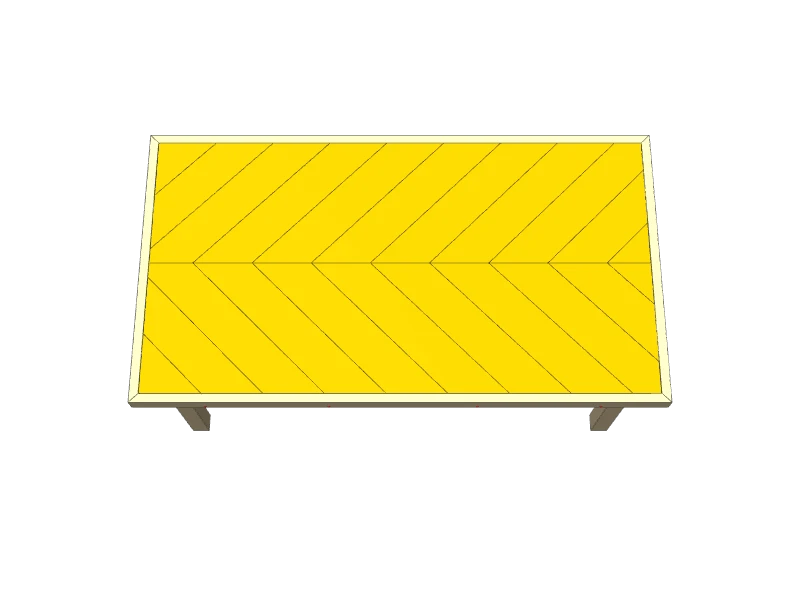
Snap a line down the middle of the plywood, 11¼″ from the front and back. Start at the middle: glue and nail the first two chevron boards (G) in a V, their points on the line, then work out toward both ends, pushing each board tight against the last. One or two 1¼″ brads per board.
At the ends, hold a board in place, mark where it meets the border, and cut the end pieces (H), (I), (J), (K), (L), (M) to fit, longest first.
TipSet a stop block on the miter saw for the full boards: every one has to match, or the V's drift.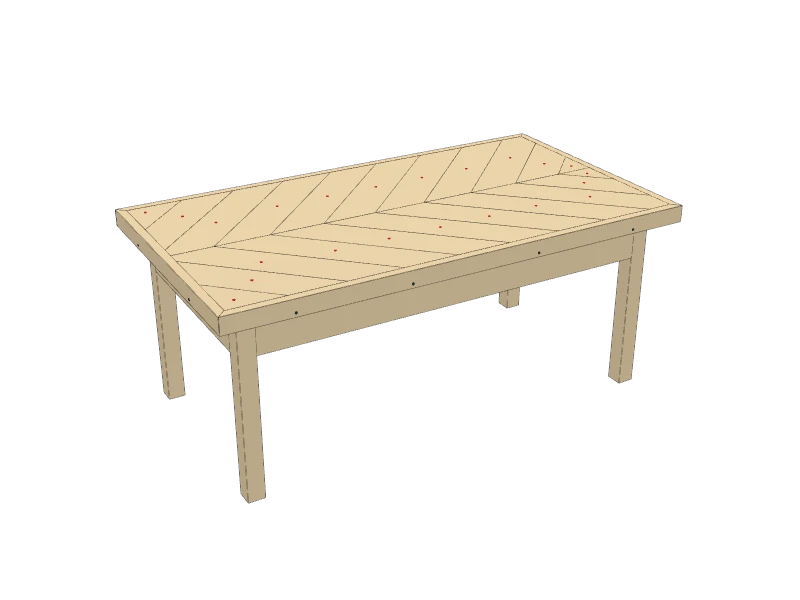 06
Sand flush and finish
Sand the top flat with 80 grit until the boards and border are flush, then 120 and 180. Ease the edges. Stain every other board a darker tone, as in the photo, or all one color, then seal with three coats of polyurethane.
Build at your own risk. Check every measurement against your own lumber before you cut, test-fit before you glue, and wear eye and ear protection.