









Edge-Grain Cutting Board
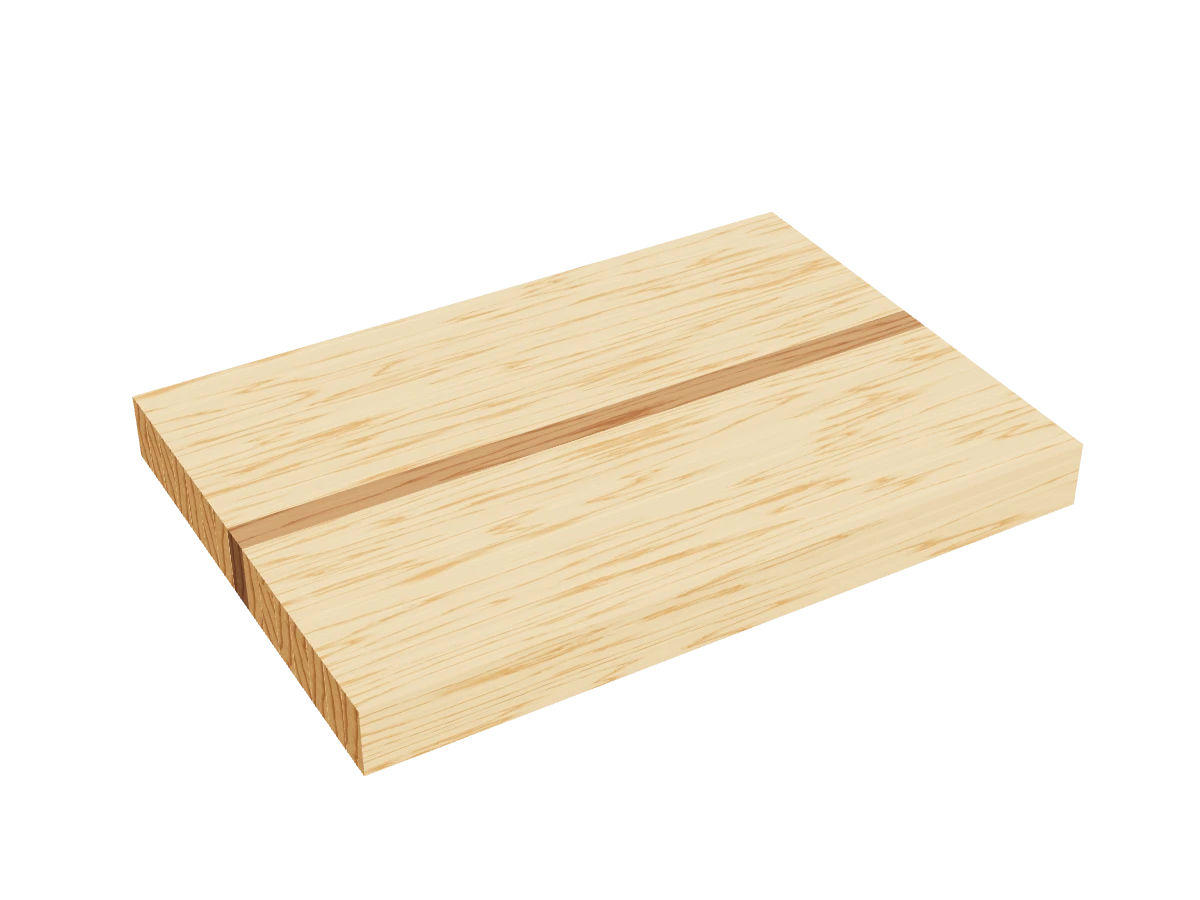
A thick edge-grain cutting board from maple 1x2s with a walnut stripe down the middle. Glue, clamps and sandpaper do the work. A great first hardwood project, and a gift people use every day.
- Skill
- Level 2 of 5 · Beginner
- Build time
- 3 to 4 hours, plus finish
- Lumber
- 4 1x2s (3 maple, 1 walnut)
- Joinery
- Glued edge grain
- Finished size
- 16″ L × 11¼″ W × 1½″ thick
A 1x2 is actually ¾″ × 1½″. Every measurement in this plan uses the real size. Buy hardwood 1x2s: hard maple for the light strips and walnut for the stripe. Pine and other softwoods are too soft for a cutting board.
Shopping list
- 2Maple 1x2, 8 ftHard maple, straight and clear.
- 1Maple 1x2, 6 ftHard maple, straight and clear.
- 1Walnut 1x2, 2 ftFor the stripe. Or any offcut 16½″ long or more.
- 1Waterproof wood glueType I, the kind sold for cutting boards. Food-safe once cured.
- —Sandpaper, 80 to 220 grit
- 1Food-safe butcher block oilMineral oil, or a board butter of oil and beeswax.
Tools
- Miter sawWith a stop block, so every strip is the same length.
- ClampsFive bar clamps that open 12″ or more.
- Random orbit sander
- StraightedgeTo check the board is flat.
- Router with a ¼″ roundover bitOptional. Or round the edges with sandpaper.
- ½″ core box router bitOptional, for the juice groove.
- Tape measure, pencil
Cut list
| Part | Qty | Size, inches | From |
|---|---|---|---|
| AMaple stripsHard maple. Stood on edge in the board. | 14 | ¾ × 1½ × 16 | 1x2 |
| BWalnut stripWalnut, or another dark hardwood such as cherry. | 1 | ¾ × 1½ × 16 | 1x2 |
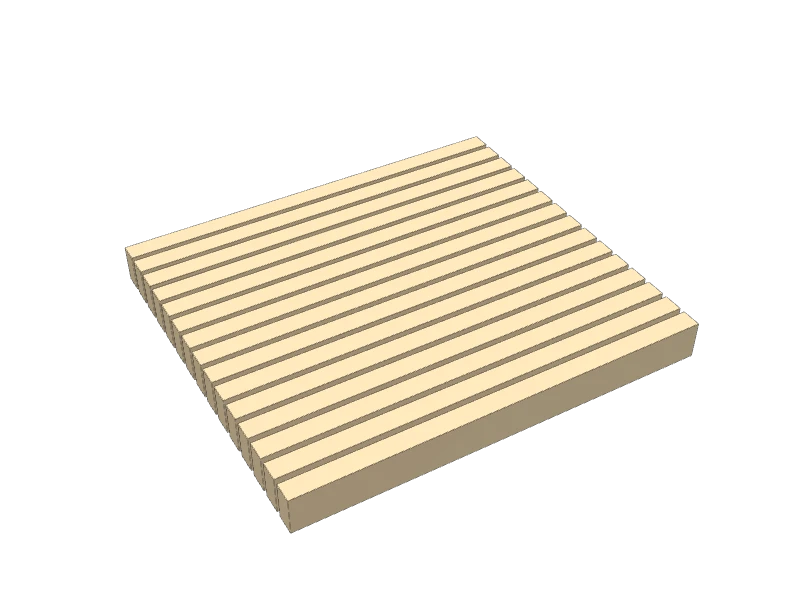
Board layout. Each row is one board, cut left to right, with the remainder hatched. Dark lines are saw cuts, about ⅛″ wide.
Build it
 01
Cut the strips
Clamp a stop block to your miter saw fence 16″ from the blade so every strip comes out exactly the same length. Then cut every piece on the cut list:
- A Maple strips, fourteen at 16″
- B Walnut strip, one at 16″
TipSight down each 1x2 in the store and pick straight ones with no cracks, knots or dark streaks near the ends. A strip that's bowed won't pull tight in the glue-up.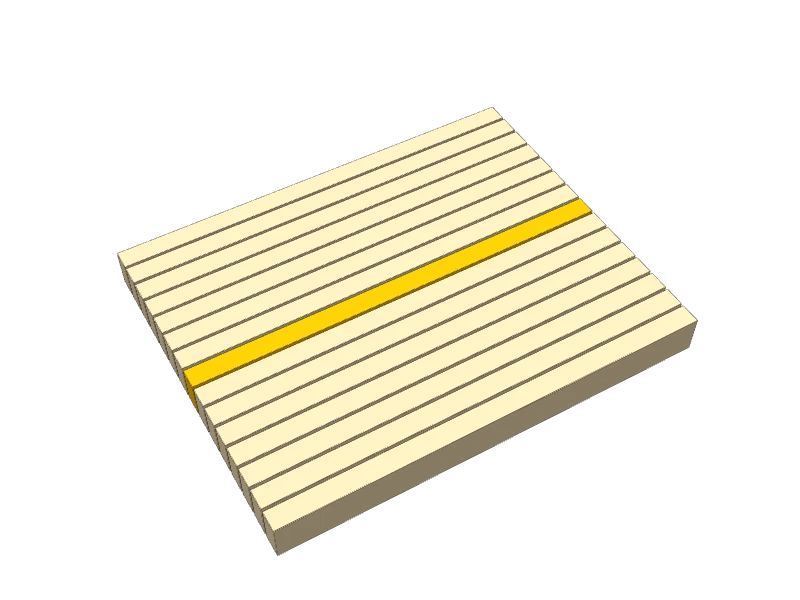 02
Lay out the strips
Stand all fifteen strips on edge, side by side, with the walnut strip (B) in the middle and seven maple strips (A) on each side. Turn each maple strip end for end, or flip it over, until the edges on top look best and the growth rings on the ends alternate, up, down, up.
Draw a big V across the top edges in pencil so the strips go back in the same order after you spread the glue.
 03
Glue up the board
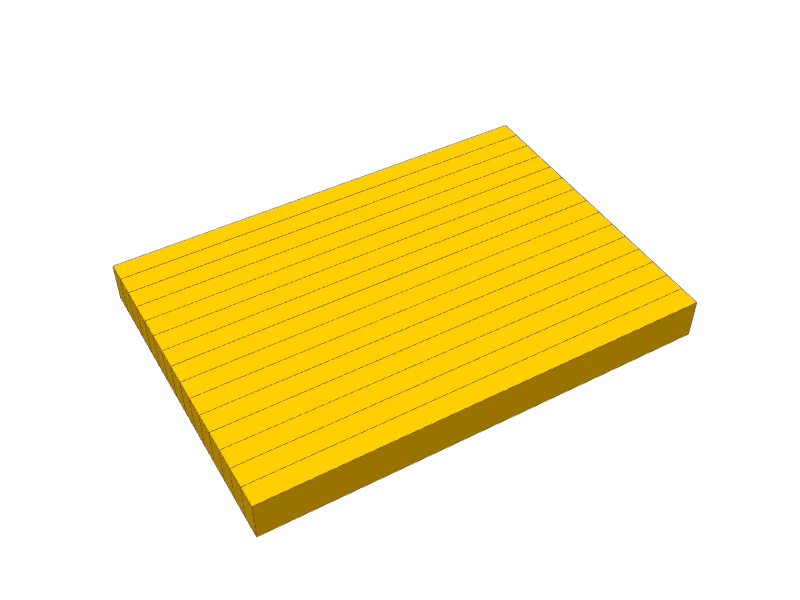
Lay three bar clamps on the bench and set the strips on them in order. Tip the strips over one at a time and roll a thin, even coat of waterproof glue onto one face of every strip but the last. Stand them back up on edge, the maple strips (A) on both sides of the walnut strip (B).
Snug the clamps, then add two more across the top so the pull is even top and bottom. Tap the strips down flat on the bench and line up the ends against a straight board as you tighten. Stop when a thin bead of glue squeezes out of every joint.
Leave it clamped for an hour, then let the glue cure overnight before you sand.
Watch outDon't crank the clamps as hard as they go. Too much pressure squeezes out the glue and can bow the board. Snug and even is enough.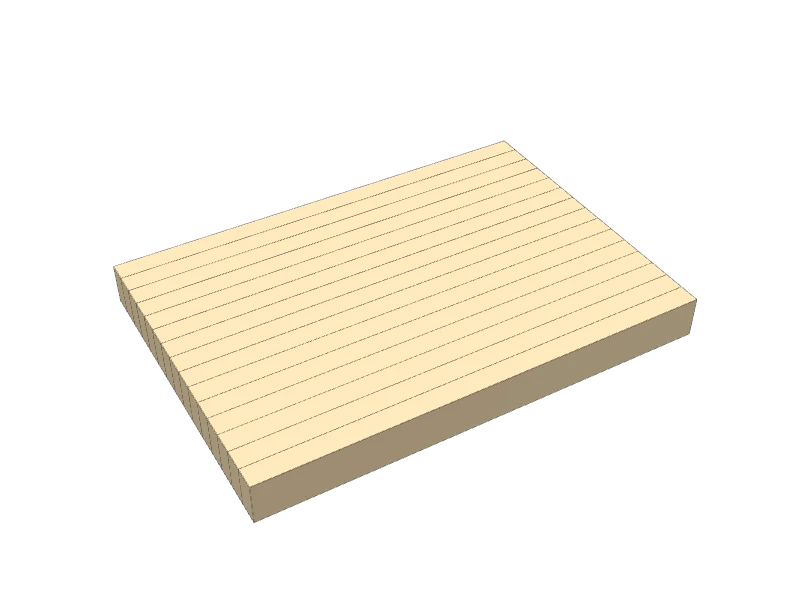 04
Flatten the board
Scrape off the dried glue with a putty knife or an old chisel. Sand both faces flat with 80 grit on a random orbit sander, checking across the board with a straightedge as you go, then sand with 120. Sand the two ends flush and square.
TipFlattening by hand takes patience. A lumber yard or woodworking shop with a drum sander or a planer can flatten it in a few minutes if you'd rather.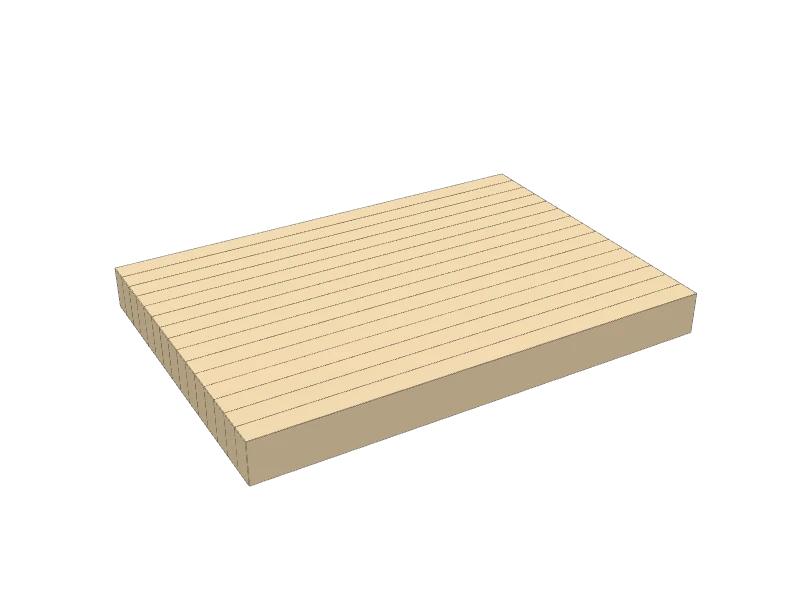 05
Round the edges
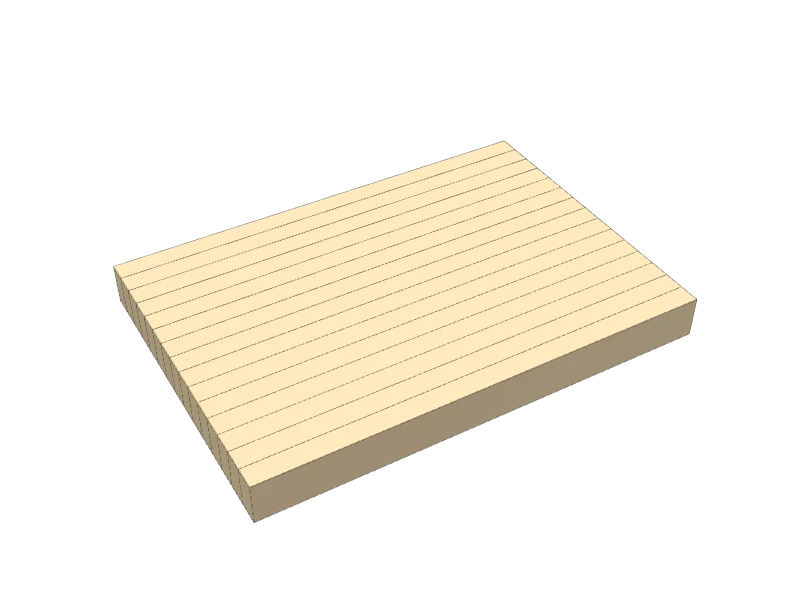
Round over all the edges and corners on both faces with a router and a ¼″ roundover bit. No router? Sand the edges round by hand with 120 grit.
Optional juice groove: with a ½″ core box bit and the router's edge guide set ¾″ from the edge, rout a groove about ¼″ deep along each edge of one face, one side at a time, stopping each pass where the grooves meet at the corners. Practice on a scrap first.
 06
Sand and oil
Sand with 150, 180 and then 220 grit. Wipe the board with a damp cloth to raise the grain, let it dry, and sand once more with 220.
Flood every face with food-safe butcher block oil, let it soak in for 20 minutes, and wipe off the rest. Add a coat a day for the next few days, until the wood stops soaking it up.
Watch outA cutting board touches food. Use only a food-safe oil or board butter. Never stain, varnish or polyurethane.TipWash it by hand and dry it standing on edge. Never soak it or put it in the dishwasher. Re-oil it when it looks dry.
Build at your own risk. Check every measurement against your own lumber before you cut, test-fit before you glue, and wear eye and ear protection.