









Elevated Dog Bowl Stand
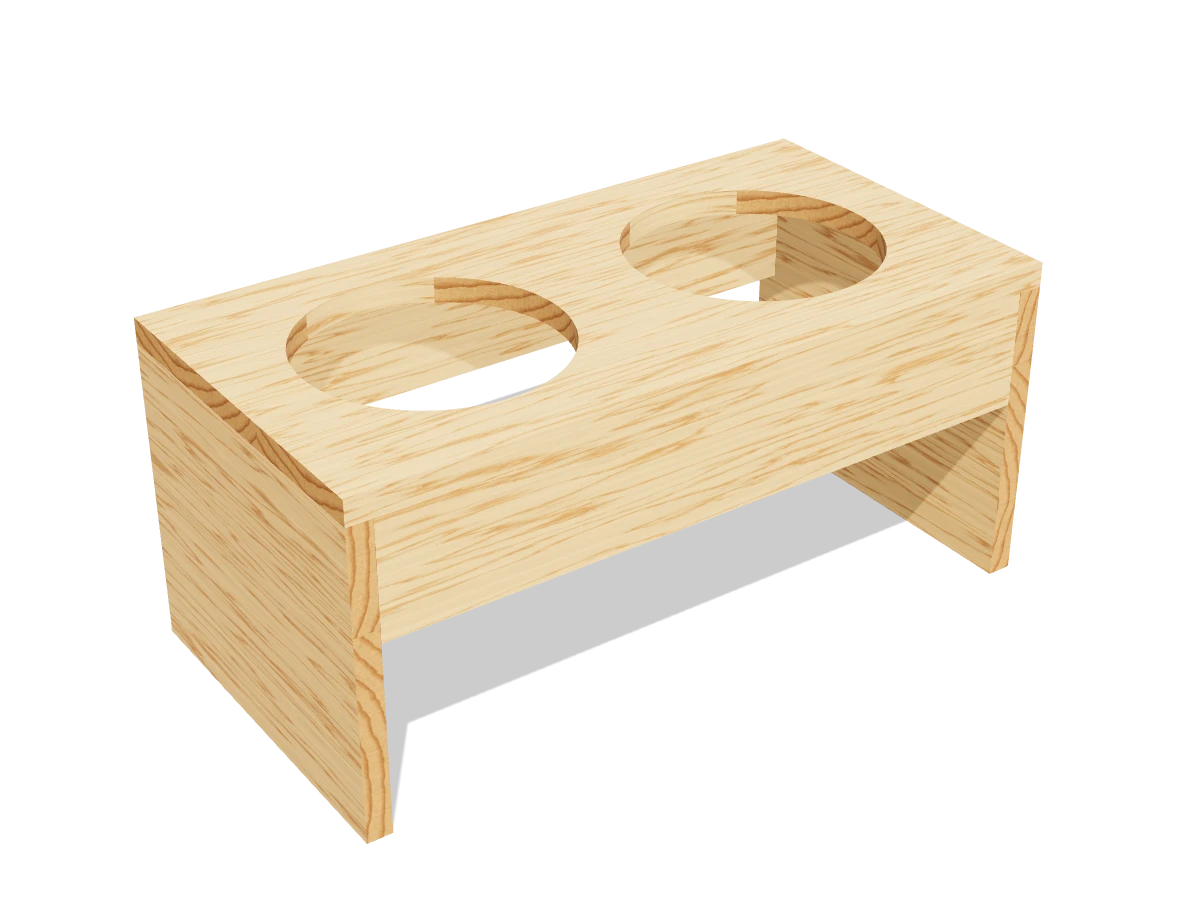
Draft · not yet checked by a carpenterA raised stand that holds two bowls at a comfortable height for a medium dog. Easy to resize for a small or big dog.
- Skill
- Beginner
- Build time
- 2 to 3 hours, plus finish
- Lumber
- 1 1x12 and 1 1x4
- Joinery
- Pocket holes
- Finished size
- 22″ L × 11¼″ W × 10″ H
A 1x12 is actually ¾″ × 11¼″ and a 1x4 is ¾″ × 3½″. Every measurement in this plan uses the real size.
Shopping list
- 11x12, 6 ftSelect pine or poplar.
- 11x4, 6 ftFor the aprons.
- ~201¼″ coarse-thread pocket-hole screws
- 2Stainless steel dog bowlsAbout 7¾″ across the rim.
- 1Wood glue
- —Sandpaper, 120 and 180 grit
- 1Water-based polyurethane or paint
Tools
- SawMiter saw or circular saw.
- JigsawFor the bowl holes.
- Compass
- Pocket-hole jigSet for ¾″ material.
- Drill/driver
- Tape measure, pencil
Cut list
| Part | Qty | Size, inches | From |
|---|---|---|---|
| ATopTwo 7½″ bowl holes. | 1 | ¾ × 11¼ × 22 | 1x12 |
| BEnds | 2 | ¾ × 11¼ × 9¼ | 1x12 |
| CAprons | 2 | ¾ × 3½ × 20½ | 1x4 |
Board layout. Each row is one board, cut left to right, with the remainder hatched. Dark lines are saw cuts, about ⅛″ wide.
Build it
 01
Cut the pieces
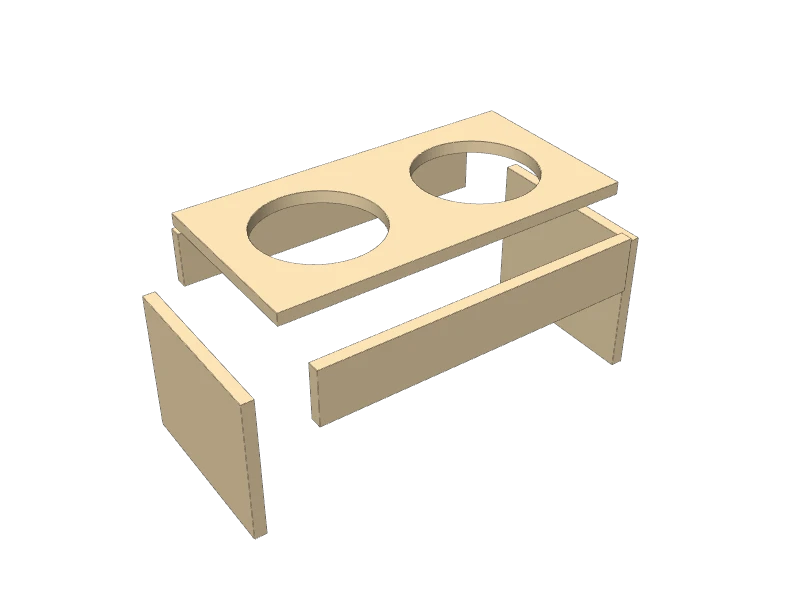
Cut the 1x12 and the 1x4:
- A Top, one at 22″
- B Ends, two at 9¼″
- C Aprons, two at 20½″
Watch outMeasure your dog first. The top of the bowls should sit about level with the bottom of your dog's chest. 10″ suits a medium dog; for a different height, change the length of the ends (B) by the same amount.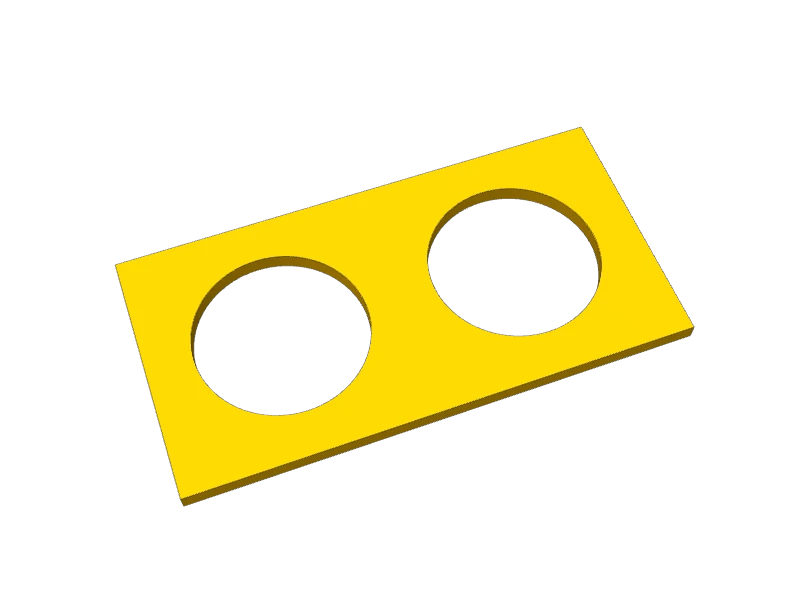 02
Cut the bowl holes
Measure across the rim of your bowls. The holes should be about ¼″ smaller, so the rims rest on the top: 7½″ holes fit stainless bowls with a 7¾″ rim.
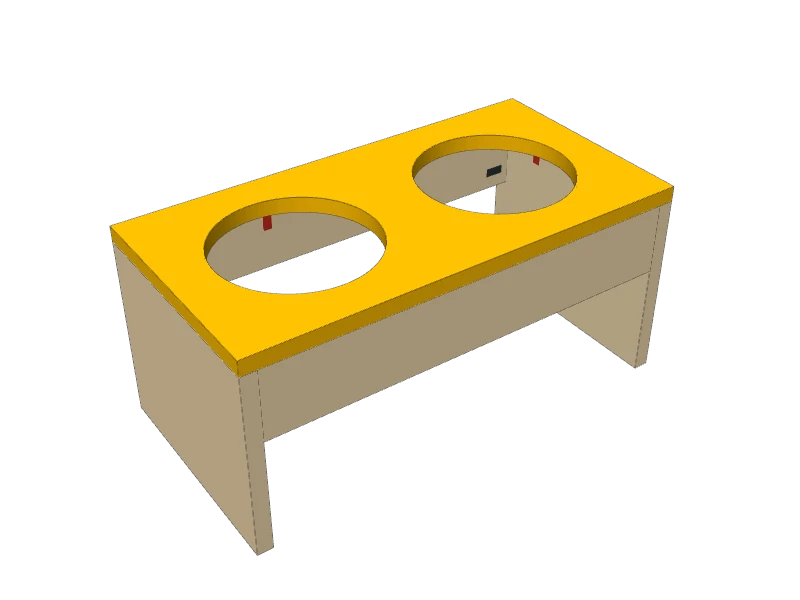
Mark the hole centers on the top (A) 5¾″ and 16¼″ from the left end, centered front to back. Draw the circles with a compass, drill a starter hole inside each one, and cut on the line with a jigsaw.
 03
Drill the pocket holes
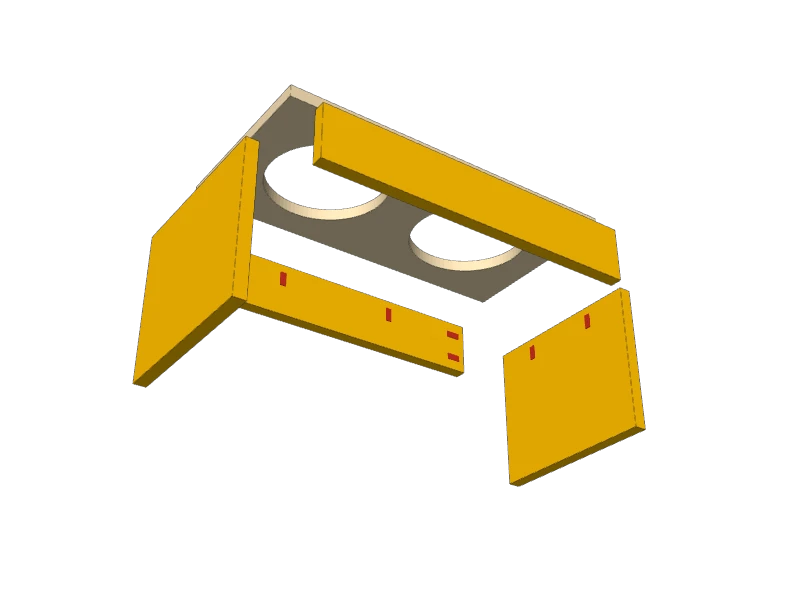
Set your jig for ¾″ material and drill on the inside faces:
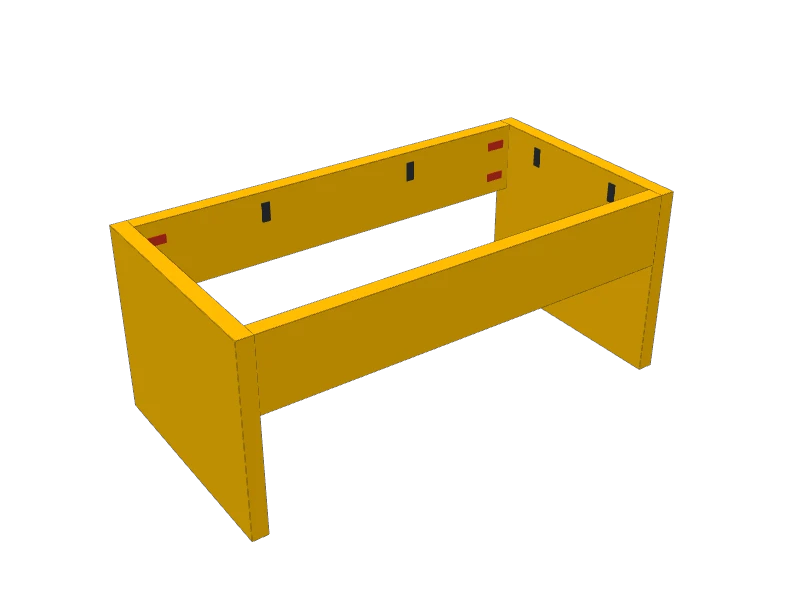
- C aprons: 2 at each end, plus 2 along the top edge
- B ends: 2 along the top edge
 04
Build the base
Stand the two ends (B) up and fit the aprons (C) between them, flush with the tops and the front and back edges, pocket holes facing in. Glue and drive 1¼″ pocket screws.
 05
Attach the top
Lay the top (A) face down, center the base upside down on it, flush on every side, and drive 1¼″ pocket screws up into the top.
 06
Seal it
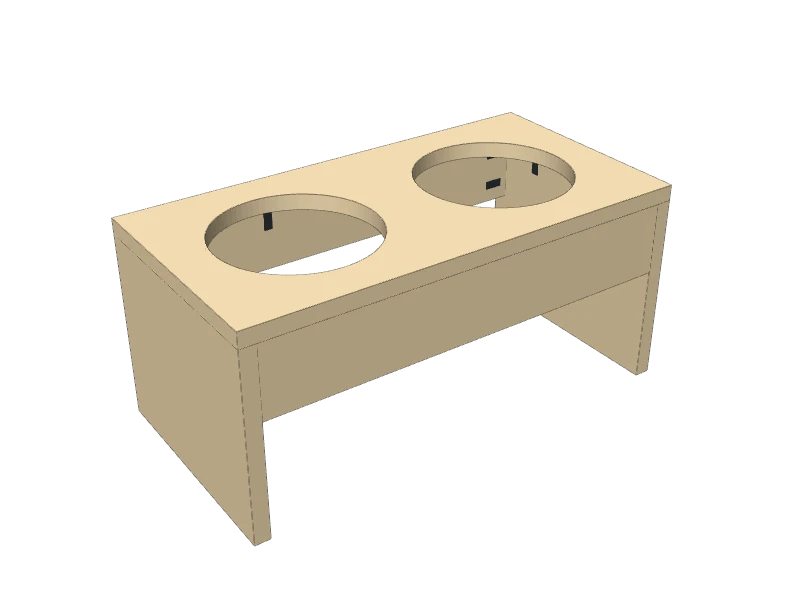
Round over every edge with 120 grit, then 180. Water and food will get on it, so seal it well: three coats of water-based polyurethane or a durable paint, inside the holes too.
Build at your own risk. Check every measurement against your own lumber before you cut, test-fit before you glue, and wear eye and ear protection.