









Floating Nightstand
Draft · not yet checked by a carpenterAn open box that hangs beside the bed on a hidden French cleat, with nothing on the floor underneath. Made from one 1x12.
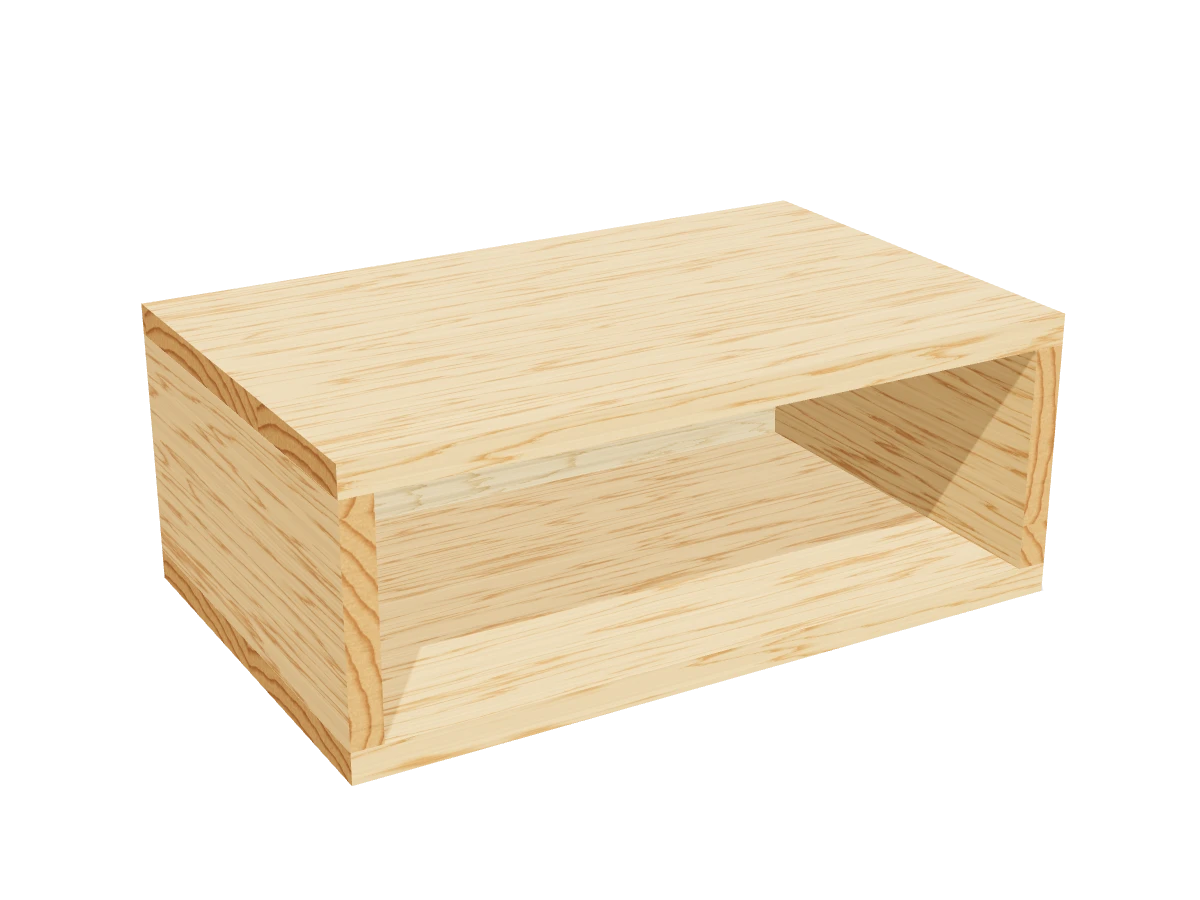
- Skill
- Beginner
- Build time
- 2 to 3 hours, plus finish
- Lumber
- 1 1x12, 1 1x2, 1 1x4 and 1 panel of ¼″ plywood
- Joinery
- Glue, brads and a French cleat
- Finished size
- 18″ W × 11¼″ D × 7″ H
A 1x12 is actually ¾″ × 11¼″, a 1x2 is ¾″ × 1½″ and a 1x4 is ¾″ × 3½″. Every measurement in this plan uses the real size. ¼″ plywood is drawn at full thickness, but plywood sold that way is often a hair thinner, so measure yours and cut the pieces that fit between panels to match.
Shopping list
- 11x12, 6 ftBox. Pick a flat board.
- 11x2, 6 ftBottom spacer.
- 11x4, 6 ftFor the French cleat.
- 1¼″ plywood, 2 × 4 ft panelBack panel.
- ~201¼″ brad nails
- ~10¾″ brad nailsFor the back.
- 22½″ wood screwsFor the wall cleat.
- opt.Drywall anchors rated 50 lbWhere there's no stud.
- 1Wood glue
- —Wood filler, sandpaper, paint or stain
Tools
- Circular saw or table sawThat tilts to 45°, for the cleat.
- Miter sawOr the circular saw, for crosscuts.
- Brad nailer or hammer
- Drill/driver
- Stud finder
- Level
- Clamps
Cut list
| Part | Qty | Size, inches | From |
|---|---|---|---|
| ATop and bottom | 2 | ¾ × 11¼ × 18 | 1x12 |
| BSides | 2 | ¾ × 11¼ × 5½ | 1x12 |
| CBack | 1 | ¼ × 5½ × 16½ | ¼″ plywood |
| DBottom spacer | 1 | ¾ × 1½ × 16½ | 1x2 |
| EBox cleatRip a 45° bevel along one edge. | 1 | ¾ × 3½ × 16½ | 1x4 |
| FWall cleatRip a 45° bevel along one edge. | 1 | ¾ × 3½ × 16 | 1x4 |
Board layout. Each row is one board, cut left to right, with the remainder hatched. Dark lines are saw cuts, about ⅛″ wide.
Build it
 01
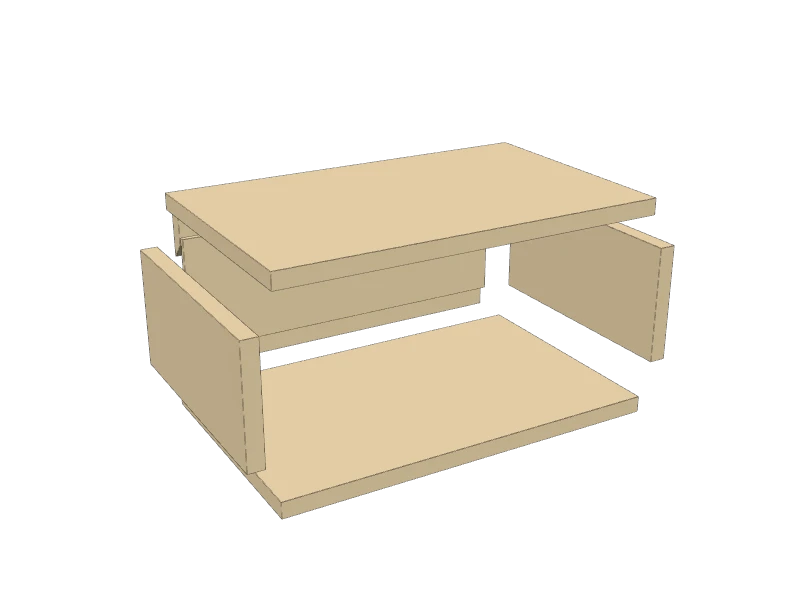
Cut the pieces
Cut every piece on the cut list:
- A Top and bottom, two at 18″
- B Sides, two at 5½″
- C Back, one at 5½″ × 16½″
- D Bottom spacer, one at 16½″
- E Box cleat, one at 16½″
- F Wall cleat, one at 16″
 02
Rip the French cleat
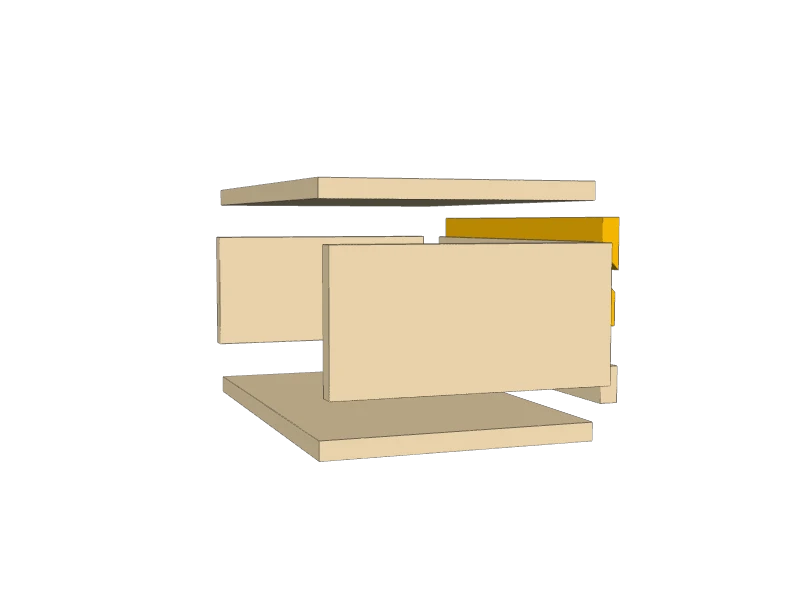
Set a circular saw or table saw to 45°. Rip each cleat blank, (E) and (F), so the faces measure about 2⅛″ on one side and 1⅜″ on the other.
The two bevels hook together: the wall cleat (F) goes on the wall with its bevel facing up and in toward the wall, and the box cleat (E) hangs on it with its bevel facing down.
Watch outClamp the board down and keep your hands clear: ripping a narrow strip at 45° is the trickiest cut in this plan. A push stick helps.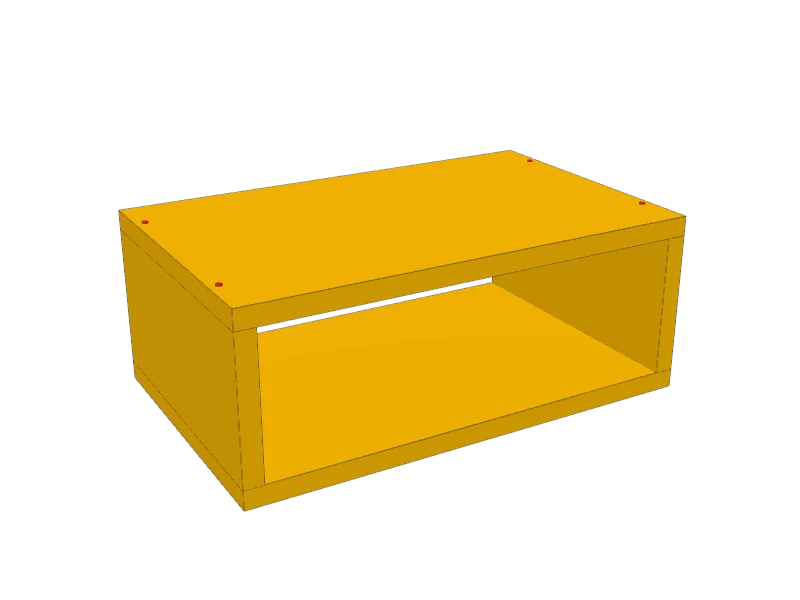 03
Build the box
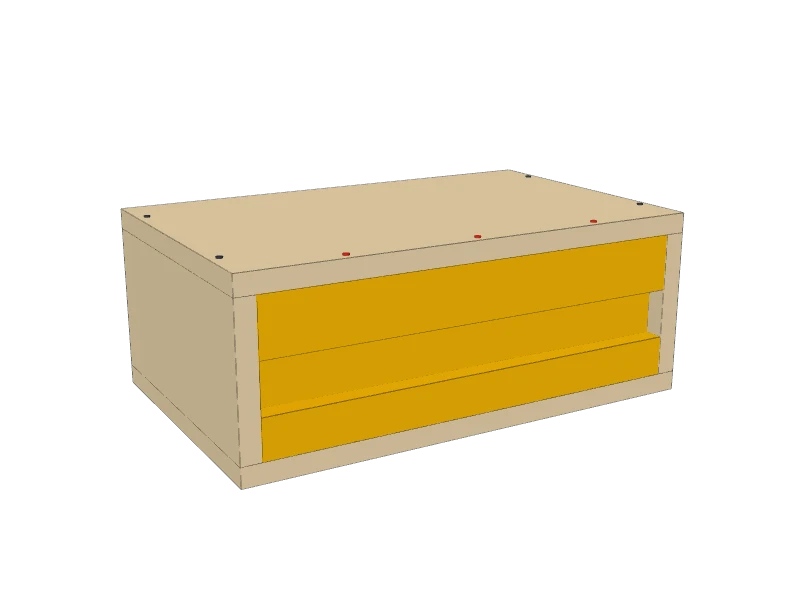
Glue the sides (B) between the top and bottom (A), flush at the front, back and outside. Nail through the top and bottom into the sides with two 1¼″ brads at each corner.
 04
Add the cleat, spacer and back
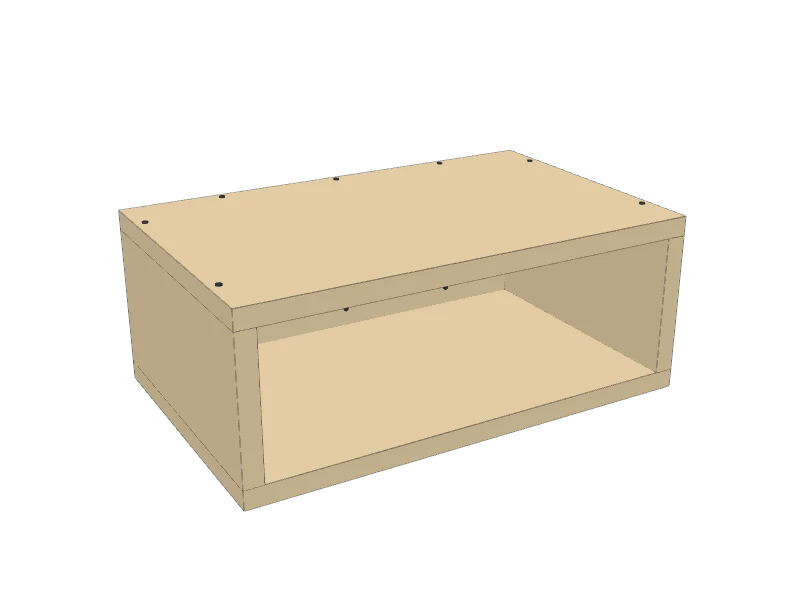
Glue the box cleat (E) under the top at the back, tight to the sides, with its bevel facing down and in. Nail down through the top into it. Glue the bottom spacer (D) on the bottom at the back the same way.
Glue the back (C) against the front of the cleat and spacer, between the sides, and pin it with ¾″ brads from inside the box.
 05
Sand and finish
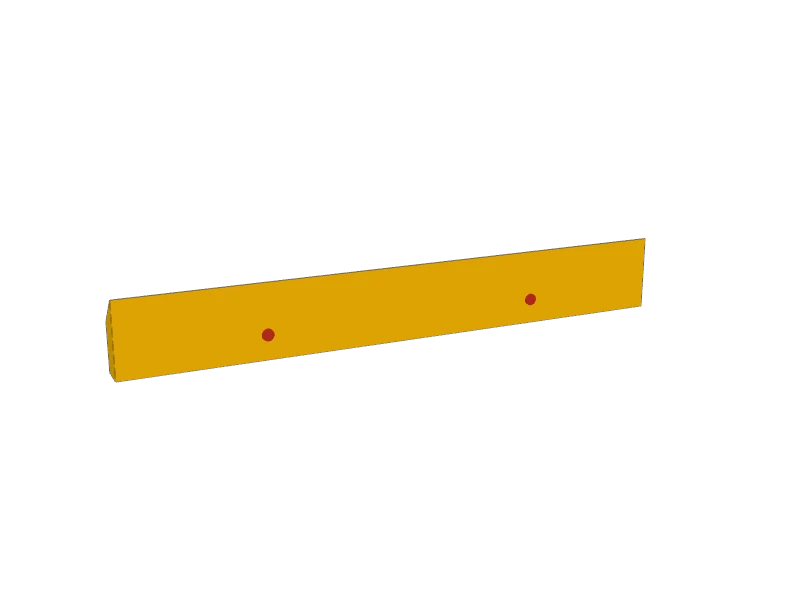
Fill the nail holes, sand with 120 then 180 grit, and paint or stain the box.
 06
Screw the wall cleat to the wall
Decide on the height: about level with your mattress top. Hold the wall cleat (F) level on the wall, 2⅛″ below where the top of the box will go, bevel up and facing the wall.
Drive two 2½″ screws through it: into a stud where you can, and into drywall anchors rated for 50 lb or more where you can't.
 07
Hang the nightstand
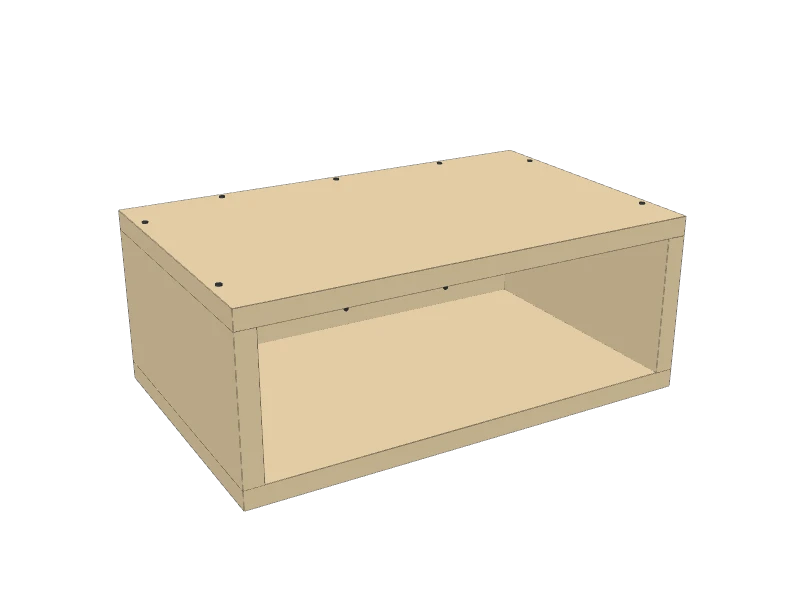
Lift the box over the wall cleat and let the box cleat (E) drop down onto the wall cleat (F). The bevels pull the box tight to the wall.
TipWant it to stay put? Leave it loose so it lifts off for painting, or drive one screw down through the top of the box into the wall cleat so it can't be knocked off.
Build at your own risk. Check every measurement against your own lumber before you cut, test-fit before you glue, and wear eye and ear protection.