









French-Cleat Tool Wall
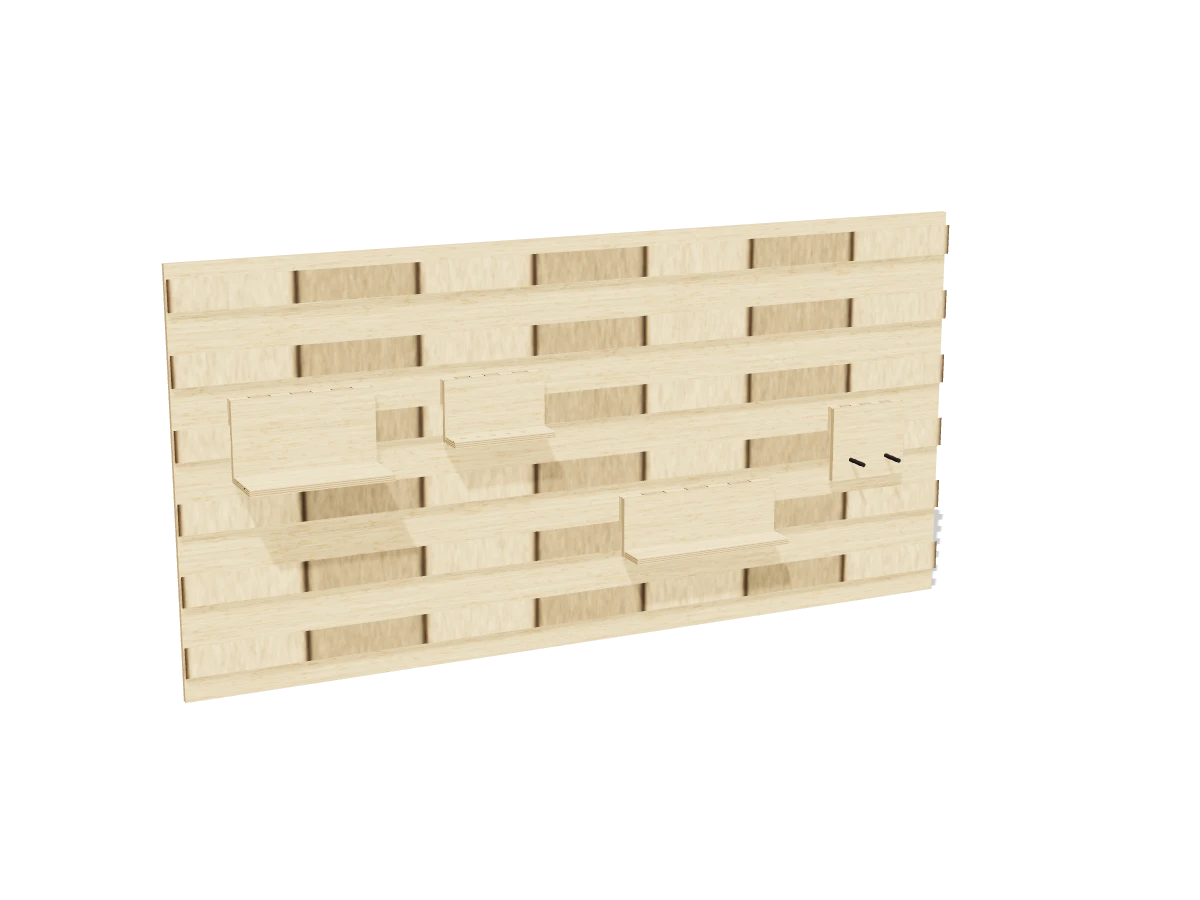
Draft · not yet checked by a carpenterA full 4 × 8 ft wall of 45° French cleats with four starter holders. Every holder lifts off and hangs anywhere, so the wall changes with your tools.
- Skill
- Intermediate
- Build time
- 4 to 6 hours, plus finish
- Lumber
- 2 sheets of ¾″ plywood
- Joinery
- Screws and glue
- Finished size
- about 96″ W × 8¼″ D × 48″ H
Every measurement in this plan uses the real size. ¾″ plywood is drawn at full thickness, but plywood sold that way is often a hair thinner, so measure yours and cut the pieces that fit between panels to match.
Shopping list
- 2¾″ plywood, 4 × 8 ft sheetTwo sheets: one for the backer, one for the cleats and holders.
- 182½″ wood screwsFor the backer, into the studs.
- ~601¼″ wood screws
- 2Screw-in hooksFor the hook board.
- 1Wood glue
- opt.Paint
Tools
- Circular sawThat tilts to 45°.
- Straight board and clampsAs a saw guide.
- Drill/driverWith a ⅝″ spade bit.
- Stud finder
- Level4 ft.
- Tape measure, pencil
Cut list
| Part | Qty | Size, inches | From |
|---|---|---|---|
| ABacker | 1 | ¾ × 48 × 96 | ¾″ plywood |
| BWall cleatsRipped at 45° along one edge. | 6 | ¾ × 3½ × 96 | ¾″ plywood |
| CHolder cleatsRipped at 45°, then cut to each holder's width. | 4 | ¾ × 3½ × 20 | ¾″ plywood |
| DHolder platesCut to each holder's size. | 4 | ¾ × 9 × 20 | ¾″ plywood |
| EHolder shelvesCut to each holder's size. | 3 | ¾ × 6 × 20 | ¾″ plywood |
Board layout. Each row is one board, cut left to right, with the remainder hatched. Dark lines are saw cuts, about ⅛″ wide.
Build it
 01
Cut the backer and rip the cleats
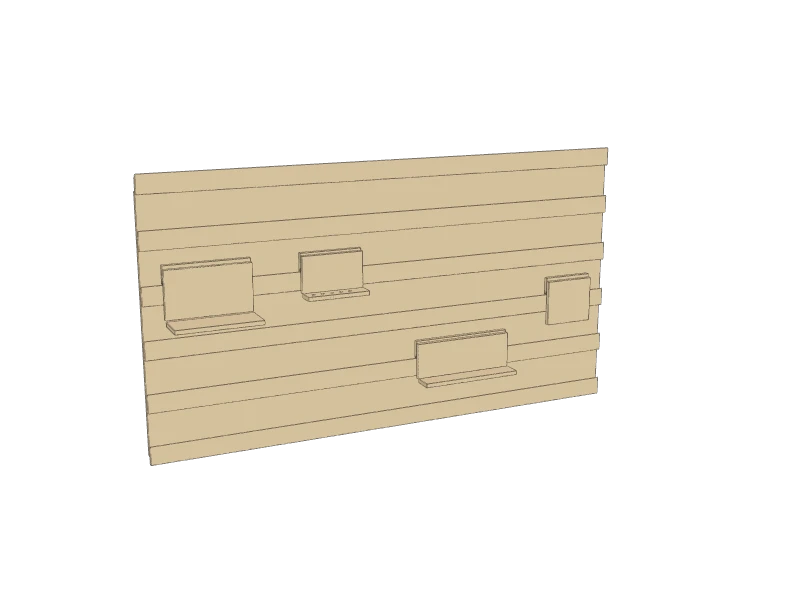
The backer (A) is a full sheet. From the second sheet, rip seven strips 3½″ wide for the cleats, plus pieces for the four holders.
Set your circular saw to 45° and rip a bevel along one edge of each cleat strip (B, C), so one face stays 3½″ and the other comes out 2¾″. Clamp a straight board to the strip as a saw guide.
- A Backer, one at 48″ × 96″
- B Wall cleats, six at 3½″ × 96″
- C Holder cleats, four at 3½″ × 20″
- D Holder plates, four at 9″ × 20″
- E Holder shelves, three at 6″ × 20″
Watch outSupport both sides of the cut so the strip can't drop and pinch the blade, and keep your hands clear of the line.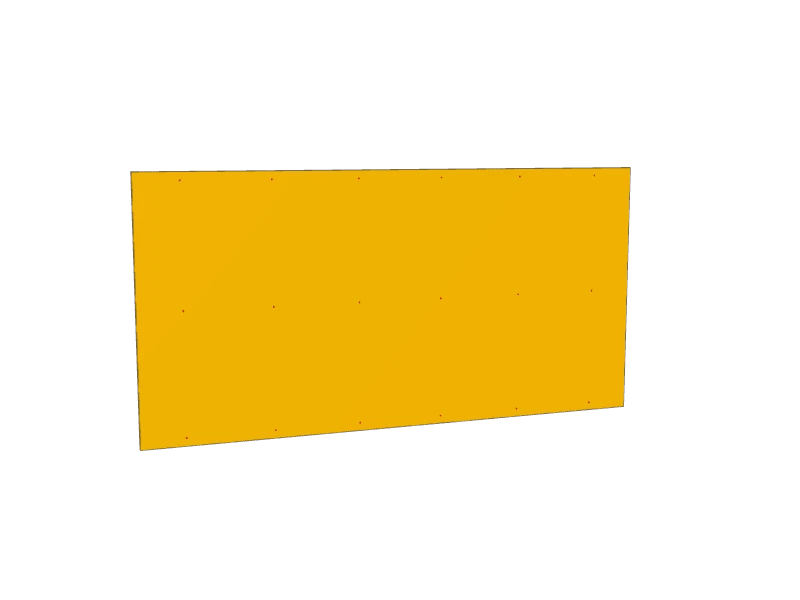 02
Screw the backer to the studs
Mark the studs on the wall. With a helper, hold the backer (A) level against the wall and drive three 2½″ screws into every stud it crosses: top, middle and bottom.
Watch outInto studs only. Everything on this wall hangs from these screws.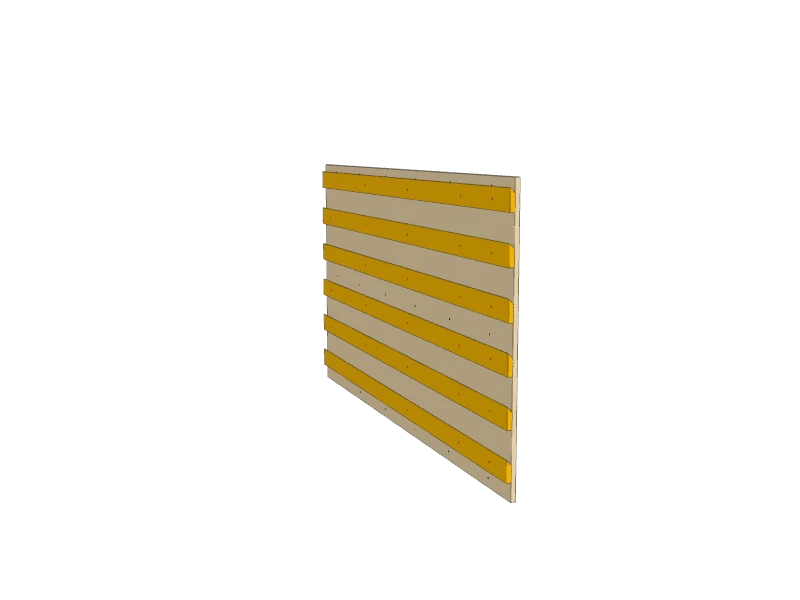 03
Add the wall cleats
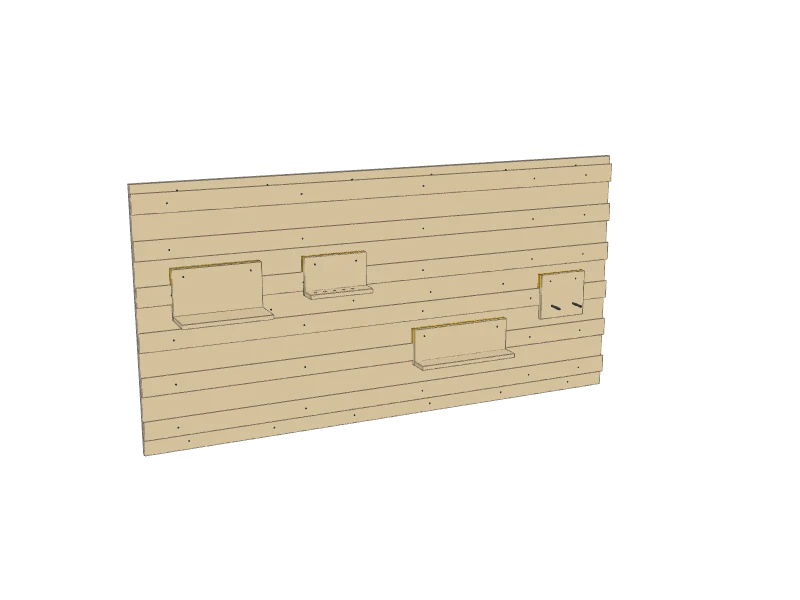
Glue and screw the wall cleats (B) across the backer, bevel facing up and toward the wall, the long face out. Start 3″ up from the bottom and space them 8″ apart. Use 1¼″ screws every 12″ or so.
 04
Build the holders
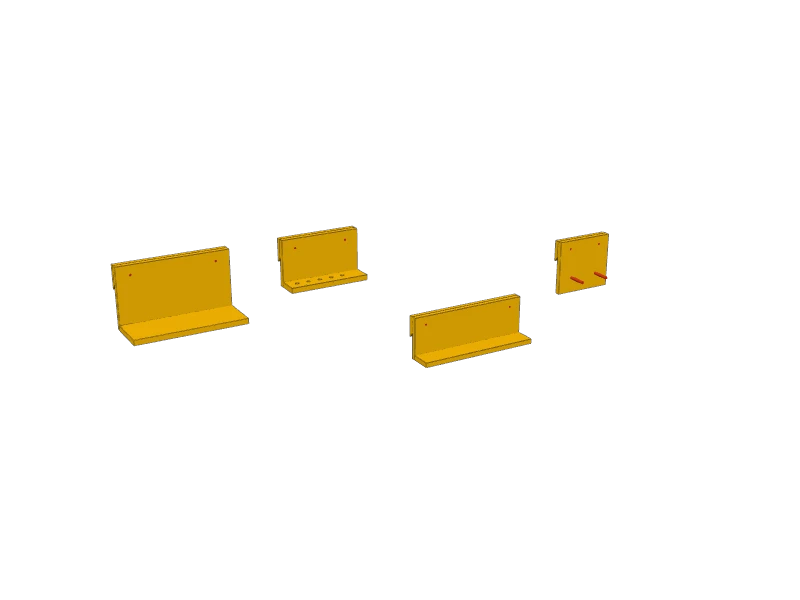
Each holder is a plate (D) with a holder cleat (C) glued and screwed across the top of its back, bevel facing down and toward the wall, and for three of them a shelf (E) screwed to the bottom. Sizes: shelf: plate 16″ × 9″, shelf 16″ × 6″; screwdriver rack: plate 12″ × 7″, shelf 12″ × 3″; clamp rail: plate 20″ × 7″, shelf 20″ × 3½″; hook board: plate 10″ × 9″.
Drill five ⅝″ holes in the screwdriver rack shelf, and screw two hooks into the hook board.
 05
Hang the holders
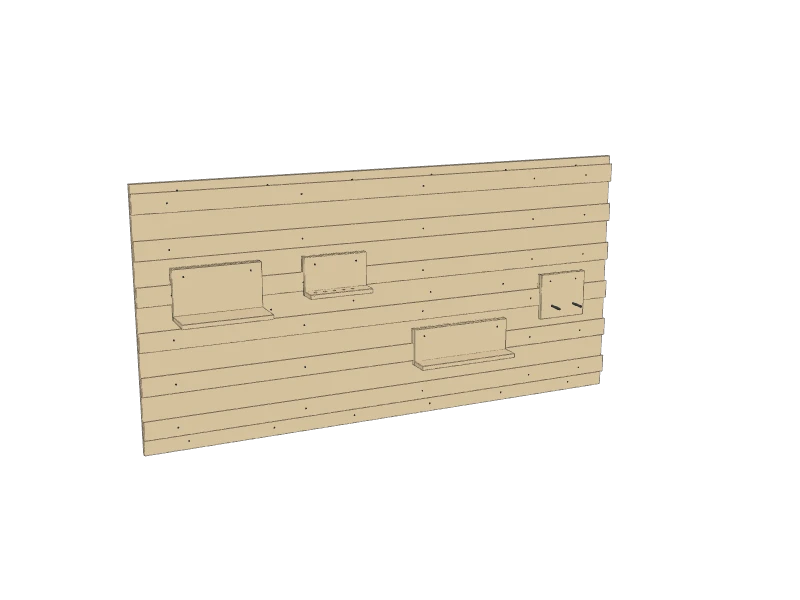
Hook each holder cleat (C) over any wall cleat and let it drop. The bevels pull the holder tight to the wall. Move them whenever you like.
 06
Finish
Paint the backer and cleats before you load them, or leave the plywood bare. Make more holders as your tools grow: any scrap with a holder cleat on the back hangs anywhere.
Build at your own risk. Check every measurement against your own lumber before you cut, test-fit before you glue, and wear eye and ear protection.