









Garment Rack
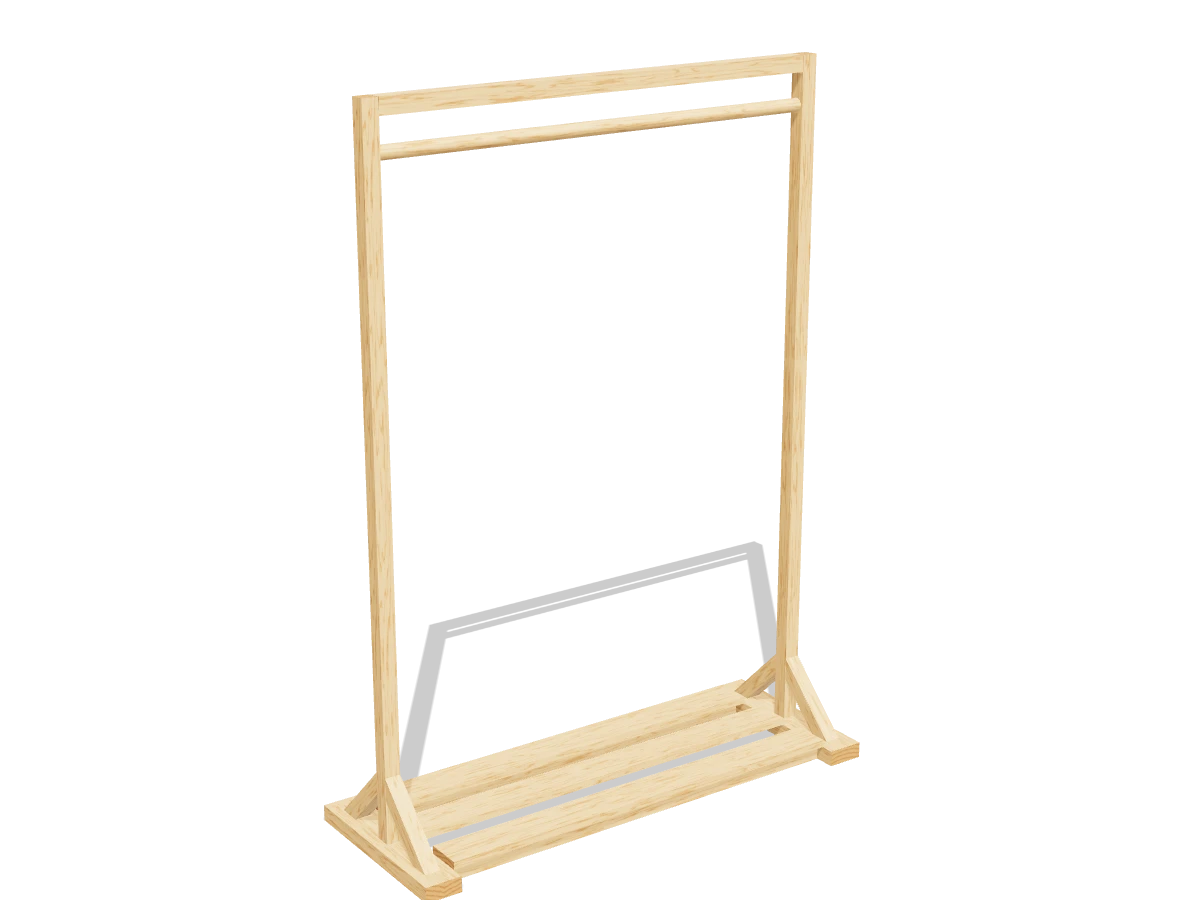
Draft · not yet checked by a carpenterA freestanding clothes rack with wide braced feet, a 4 ft closet rod and a low shoe shelf. 2x2s, two short 2x4s and a closet rod.
- Skill
- Beginner
- Build time
- 3 to 4 hours, plus finish
- Lumber
- 1 2x4, 4 2x2s and 2 1x4s
- Joinery
- Pocket holes, screws and glue
- Finished size
- 48″ W × 18″ D × 66″ H
A 2x4 is actually 1½″ × 3½″, a 2x2 is 1½″ × 1½″ and a 1x4 is ¾″ × 3½″. Every measurement in this plan uses the real size.
Shopping list
- 12x4, 8 ftFeet.
- 42x2, 8 ftUprights, braces and rails. Pick the straightest ones for the uprights.
- 11x4, 8 ftShoe shelf.
- 11x4, 6 ftShoe shelf.
- 11¼″ closet rod, 4 ftWood or steel.
- 1 pair1¼″ closet rod socketsOne closed and one open.
- ~202½″ coarse-thread pocket-hole screws
- 63″ wood screwsFor the uprights and braces.
- 61¼″ wood screwsFor the slats.
- 1Wood glue
- opt.Furniture anti-tip anchor strapIf small children are around.
- opt.Paint or clear finish
Tools
- Miter sawFor the 45° braces.
- Pocket-hole jigSet for 1½″ material.
- Drill/driverWith a ⅛″ bit for pilot holes.
- Tape measure, pencil
Cut list
| Part | Qty | Size, inches | From |
|---|---|---|---|
| AFeet | 2 | 1½ × 3½ × 18 | 2x4 |
| BUprights | 2 | 1½ × 1½ × 64½ | 2x2 |
| CBracesBoth ends cut at 45°, long point to long point. | 4 | 1½ × 1½ × 9 | 2x2 |
| DTop rail | 1 | 1½ × 1½ × 43 | 2x2 |
| EShelf rails | 2 | 1½ × 1½ × 41 | 2x2 |
| FShelf slats | 3 | ¾ × 3½ × 41 | 1x4 |
Board layout. Each row is one board, cut left to right, with the remainder hatched. Dark lines are saw cuts, about ⅛″ wide.
Build it
 01
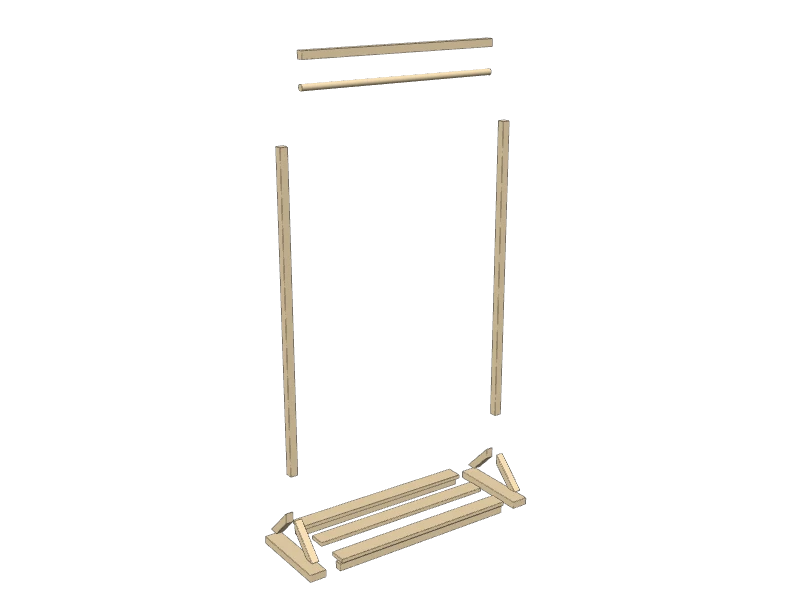
Cut the pieces
Cut every piece on the cut list, and cut the closet rod to 43″:
- A Feet, two at 18″
- B Uprights, two at 64½″
- C Braces, four at 9″
- D Top rail, one at 43″
- E Shelf rails, two at 41″
- F Shelf slats, three at 41″
TipFor the braces (C), set the miter saw to 45° and cut one end of each. Flip the board, measure 9″ from the long point, and cut the other end parallel.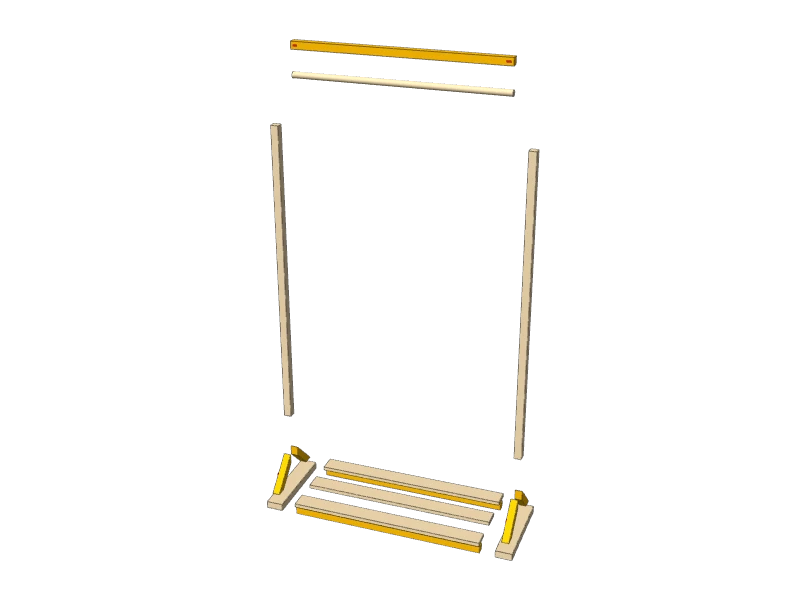 02
Drill the pocket holes
Set your jig for 1½″ material. Drill one pocket hole in the side of each brace (C) near the middle, aimed at the upright, one at each end of the top rail (D), and one at each end of each shelf rail (E).
 03
Build the two ends
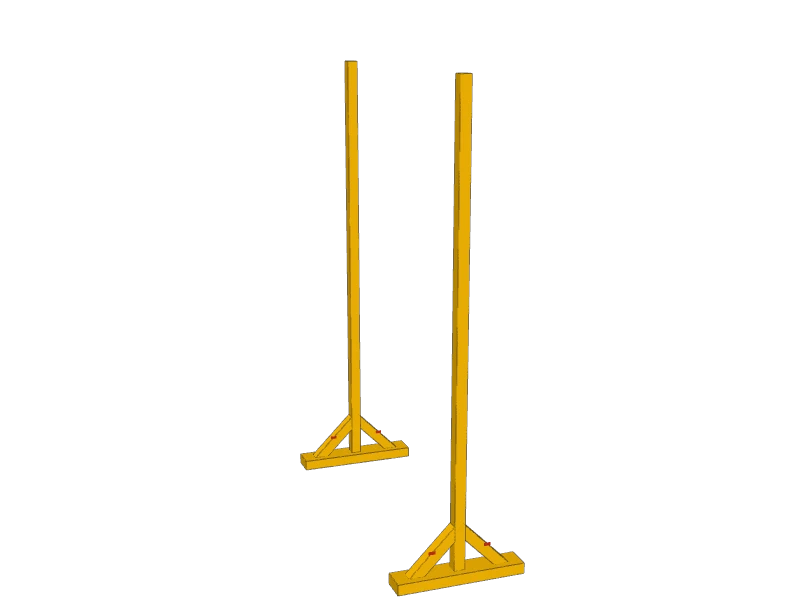
Stand an upright (B) on the middle of a foot (A), centered side to side and front to back. Glue it and drive a 3″ screw up through the foot into the end of the upright, after drilling a pilot hole.
Glue a brace (C) in front of and behind the upright, flat on the foot and tight to the upright, and screw it to the upright through its pocket hole. Pre-drill and toe-screw each brace into the foot as well.
Watch outThis joint takes all the leverage of a loaded rack. Use glue, and let it dry before you hang anything.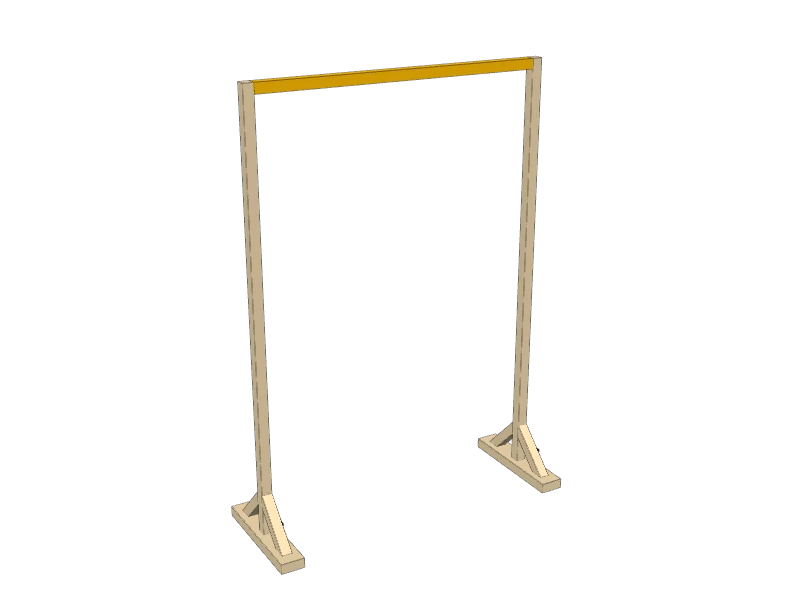 04
Add the top rail
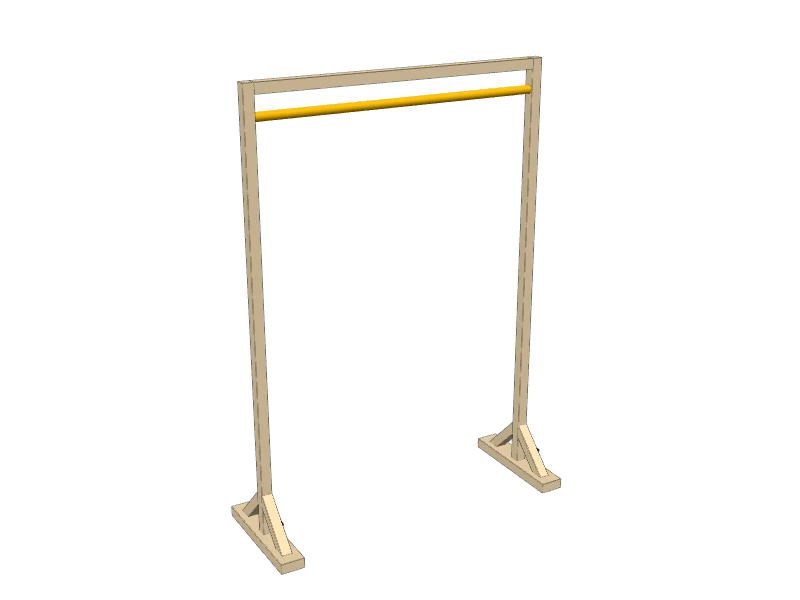
Fit the top rail (D) between the tops of the uprights, flush with the top, and drive 2½″ pocket screws.
 05
Hang the closet rod
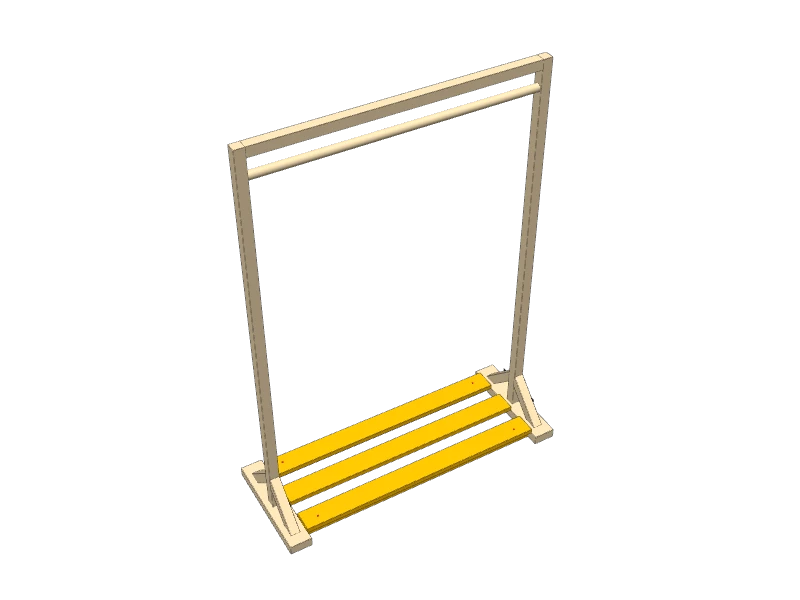
Screw a closet rod socket to the inside of each upright, centered 61½″ above the floor. Drop the rod into the sockets: the closed one first, then the open one.
 06
Add the shoe shelf
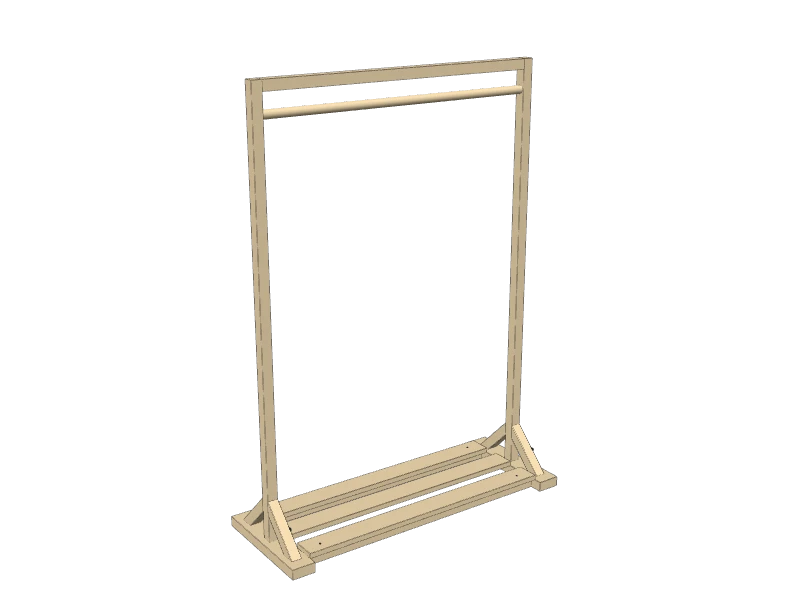
Fit the two shelf rails (E) between the feet, one near the back and one near the front, flush with the floor, and screw them in through their pocket holes. They tie the feet together.
Lay the three slats (F) across the rails and screw the front and back ones down with 1¼″ screws. The middle one rests between them: glue it to the rails.
 07
Sand and finish
Sand everything smooth, especially the rod and the top of the uprights where clothes rub, and finish with paint or a clear coat.
TipHang the heavy coats near the uprights and the light shirts in the middle, so the rod doesn't sag.Watch outIf small children are around, or the rack stands near a wall anyway, anchor it: run a furniture anti-tip strap from the top rail to a wall stud. Kids pull on hanging clothes.
Build at your own risk. Check every measurement against your own lumber before you cut, test-fit before you glue, and wear eye and ear protection.