









Hairpin-Leg Side Table
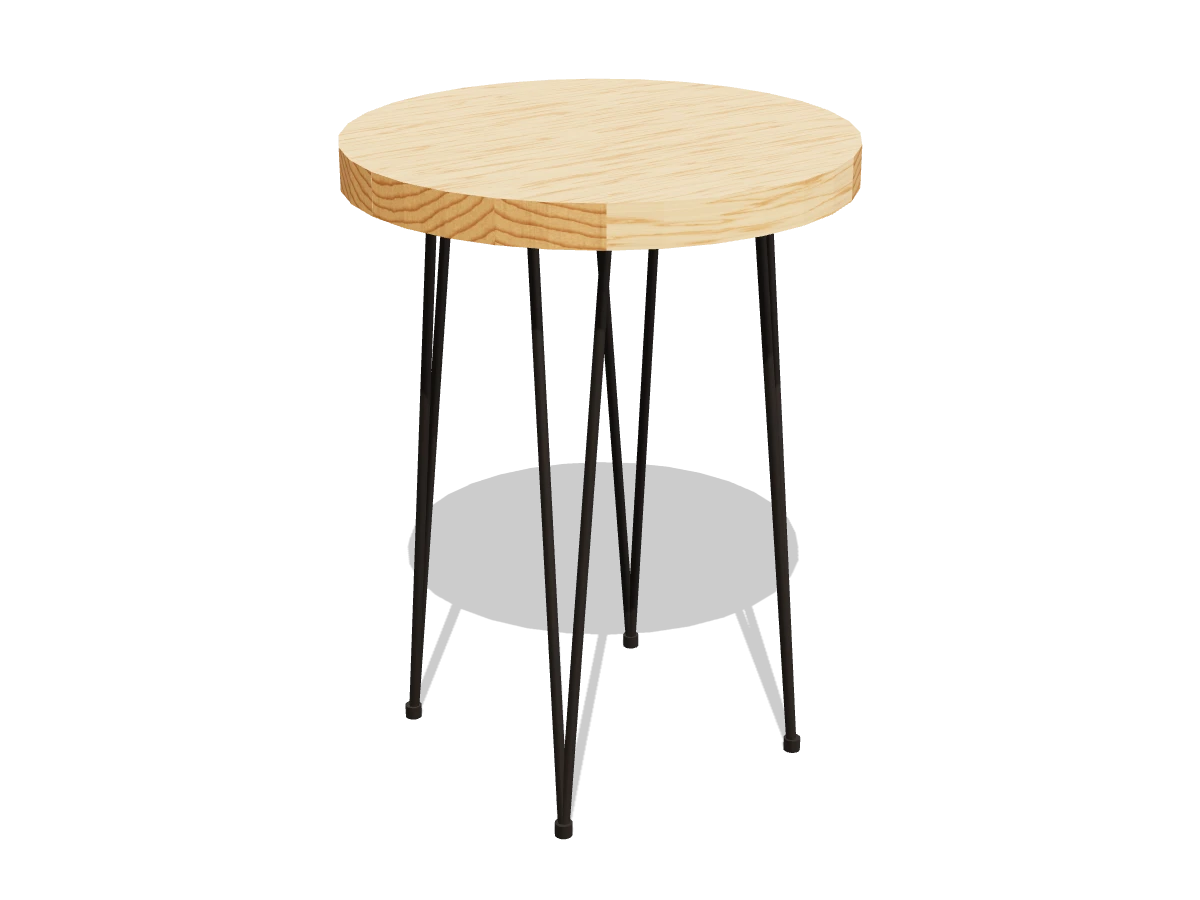
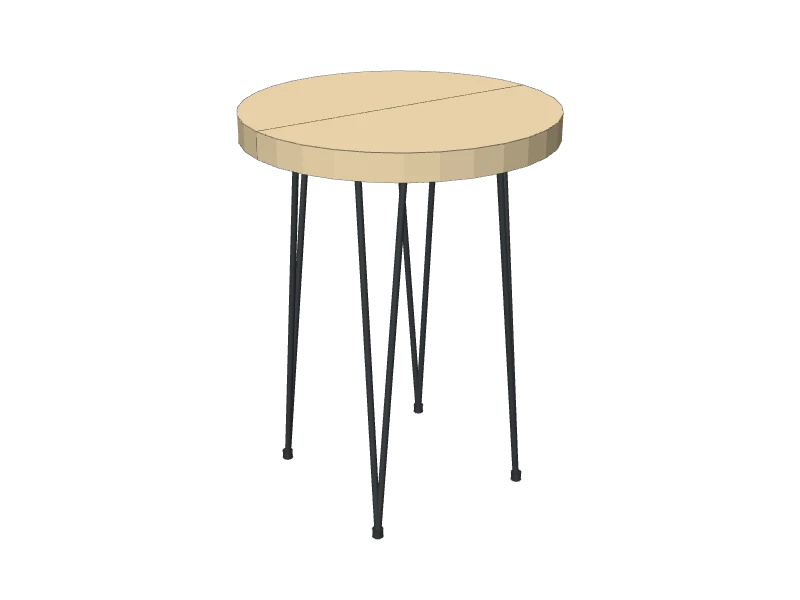
A round side table with a thick 18″ top and four steel hairpin legs. Two short 2x10 pieces and a jigsaw make the top.
- Skill
- Level 2 of 5 · Beginner
- Build time
- 2 to 3 hours, plus finish
- Lumber
- 1 2x10
- Joinery
- Pocket holes and leg screws
- Finished size
- 18″ W × 18″ D × 23½″ H
A 2x10 is actually 1½″ × 9¼″. Every measurement in this plan uses the real size.
Shopping list
- 12x10, 8 ftThe top. A short piece is enough: look for one without knots in the middle.
- 1 set22″ hairpin legs, set of 4⅜″ rod, two rods per leg.
- ~20#10 × 1″ pan-head screwsFor the leg plates, if your legs don't come with screws.
- ~102½″ coarse-thread pocket-hole screwsFor joining the blanks.
- 1Wood glue
- —Sandpaper, 80, 120 and 180 grit
- 1Polyurethane
Tools
- Miter saw or circular saw
- JigsawFor the circle.
- Pocket-hole jigSet for 1½″.
- Drill/driverWith a ⅛″ bit for pilot holes.
- Clamps
- Random orbit sander
- Tape measure, pencilAnd a piece of string.
Cut list
| Part | Qty | Size, inches | From |
|---|---|---|---|
| ATop blanksJoined edge to edge, then cut to an 18″ circle. | 2 | 1½ × 9¼ × 19 | 2x10 |
Board layout. Each row is one board, cut left to right, with the remainder hatched. Dark lines are saw cuts, about ⅛″ wide.
Build it
 01
Cut the blanks
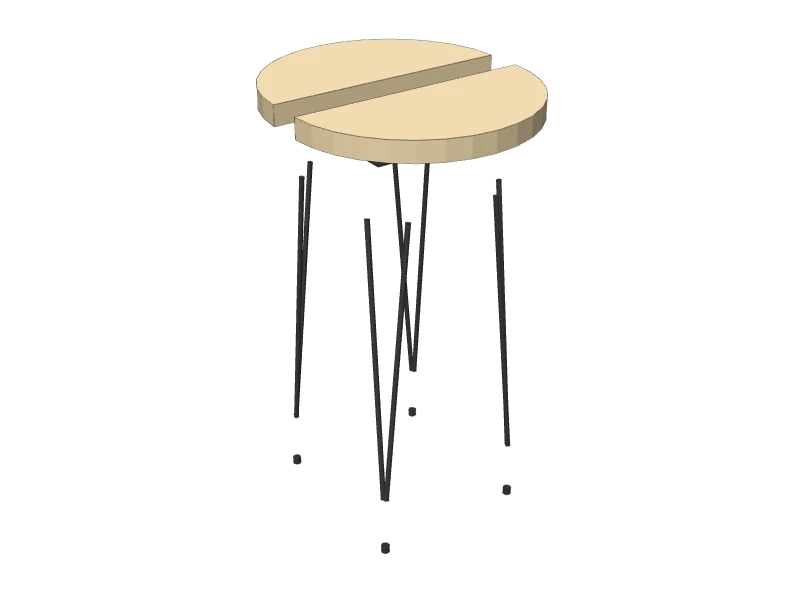
Cut two top blanks (A) from the 2x10:
- A Top blanks, two at 19″
Pick the best face of each for the top.
 02
Drill the pocket holes
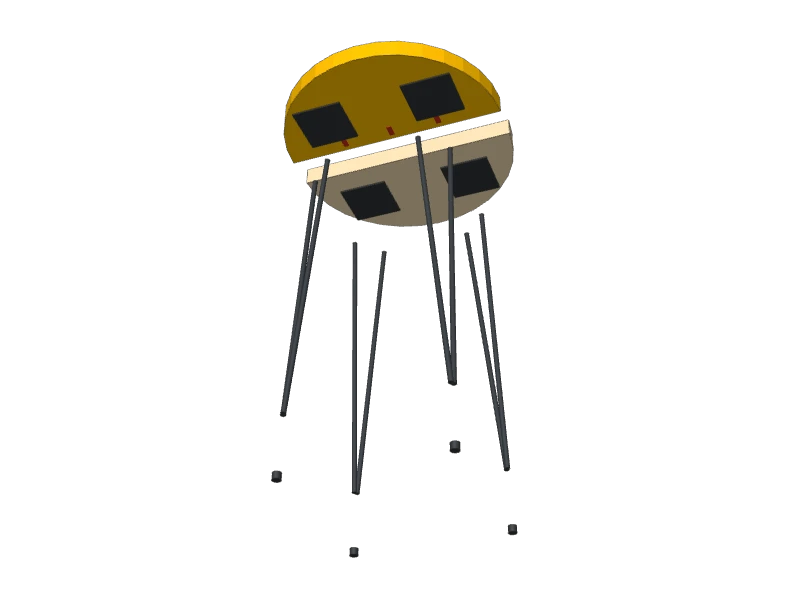
With the jig set for 1½″, drill three pocket holes along one edge of one blank (A), on the underside: one in the middle and one 4″ to each side of it. They stay inside the circle.
 03
Join the blanks
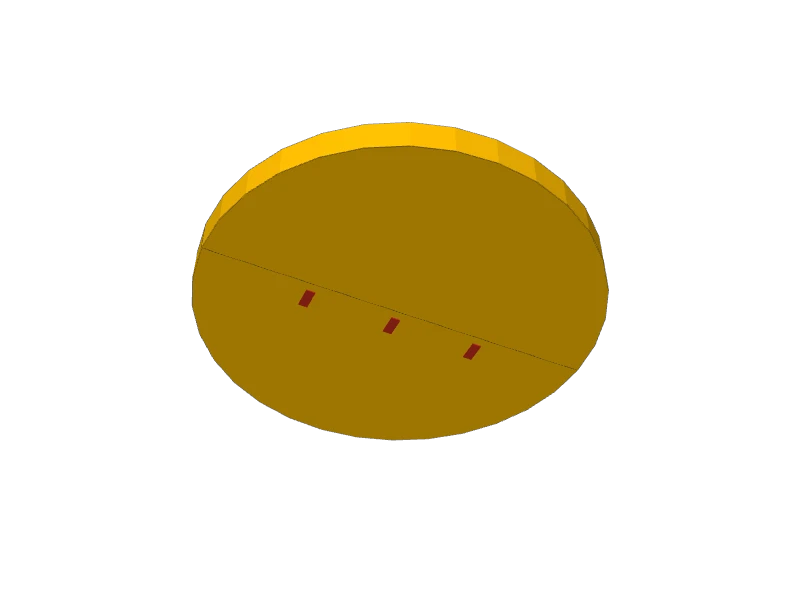
Lay the two blanks (A) face down, pocket holes along the joint, ends lined up. Clamp them flat, glue the edges and drive 2½″ pocket screws.
 04
Cut the circle
When the glue is dry, find the center of the joined top (A): the middle of the joint line. Tack a small nail there, tie a string to it and to a pencil 9″ away, and draw the circle.
Cut just outside the line with a jigsaw, then sand right to the line with 80 grit. Round the top and bottom edges with 120 grit or a roundover bit.
TipPut the nail hole on the underside so it won't show.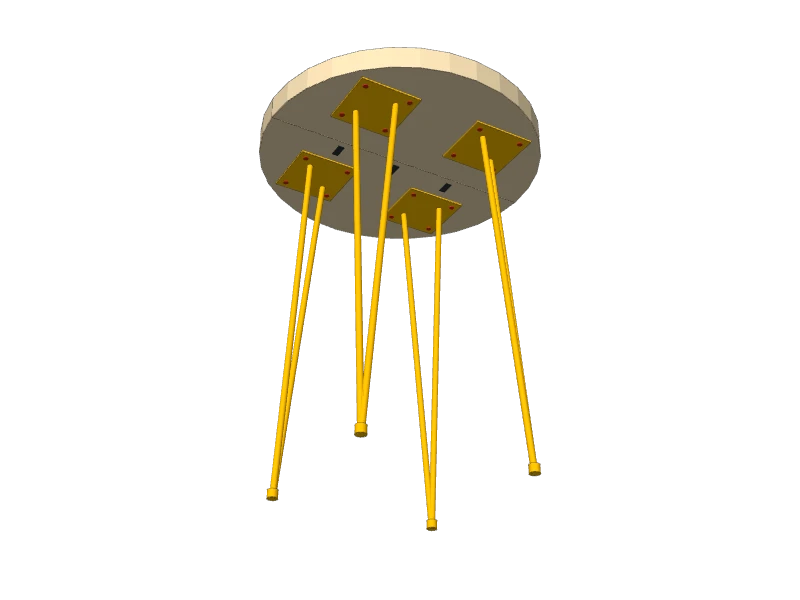 05
Screw on the hairpin legs
Lay the top (A) face down on a blanket. Draw two lines through the center at right angles, one along the joint. Set a leg plate in each quarter, its center 4″ from the center along both lines, the rods leaning out. Mark the holes, drill ⅛″ pilot holes no deeper than ¾″, and drive a #10 × 1″ pan-head screw in every hole.
Check your legs' own instructions first. The plan is drawn for 22″ legs with a 4″ plate; bigger plates must still sit inside the circle.
 06
Sand and finish
Stand it up. Sand the top with 120 then 180 grit. Finish with a hard clear coat, such as polyurethane, so drink rings wipe off.
Build at your own risk. Check every measurement against your own lumber before you cut, test-fit before you glue, and wear eye and ear protection.