









Hexagon Planter
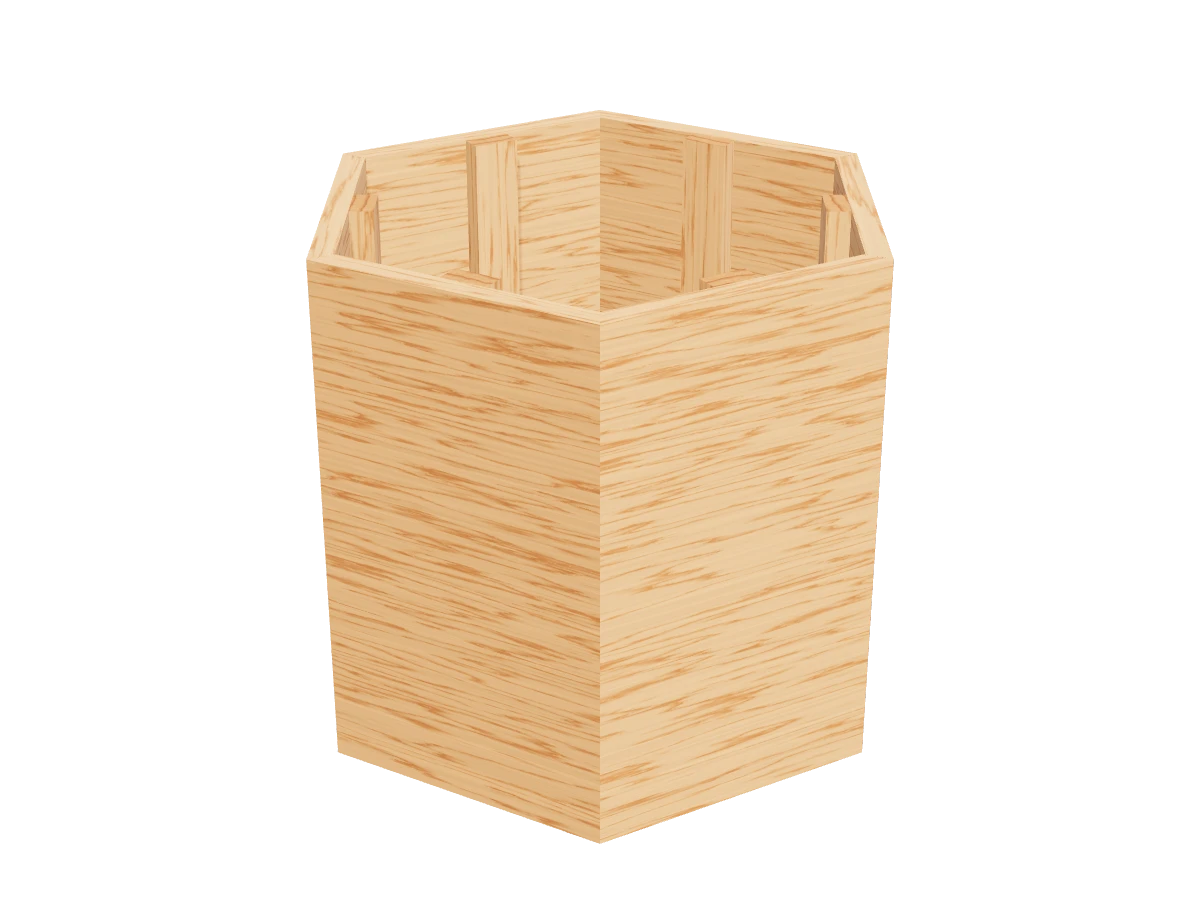
A six-sided cedar planter, 19″ across, built from 1x6 rings with 30° bevels on every corner. A step up in skill: the bevels have to be spot on for the rings to close.
- Skill
- Level 4 of 5 · Intermediate
- Build time
- 4 to 6 hours, plus finish
- Lumber
- 2 1x6s, 1 1x2 and 1 panel of ¾″ plywood
- Joinery
- Glue, brad nails and screws
- Finished size
- about 19″ W × 16½″ D × 16½″ H
A 1x6 is actually ¾″ × 5½″ and a 1x2 is ¾″ × 1½″. Every measurement in this plan uses the real size. ¾″ plywood is drawn at full thickness, but plywood sold that way is often a hair thinner, so measure yours and cut the pieces that fit between panels to match.
Shopping list
- 21x6, 8 ftCedar. Pick straight, flat boards.
- 11x2, 8 ftCedar. Cleats and floor blocks.
- 1¾″ plywood, 2 × 4 ft panelExterior grade. The floor.
- ~502″ brad nails, galvanized
- ~501¼″ exterior screws
- 1Exterior wood glue
- 1Landscape fabricTo line it.
- opt.Exterior oil
Tools
- Miter sawThat bevels to 30°.
- Band clampFor gluing the rings.
- Brad nailer
- Drill/driverWith a ½″ bit.
- JigsawFor the floor.
- Tape measure, pencil
Cut list
| Part | Qty | Size, inches | From |
|---|---|---|---|
| ASidesBoth ends beveled at 30°, measured long point to long point. | 18 | ¾ × 5½ × 9½ | 1x6 |
| BCleats | 6 | ¾ × 1½ × 13¼ | 1x2 |
| CFloor blocks | 6 | ¾ × 1½ × 1½ | 1x2 |
| DFloorCut to a hexagon to fit inside. | 1 | ¾ × 15 × 17⅜ | ¾″ plywood |
Board layout. Each row is one board, cut left to right, with the remainder hatched. Dark lines are saw cuts, about ⅛″ wide.
Build it
 01
Cut the sides
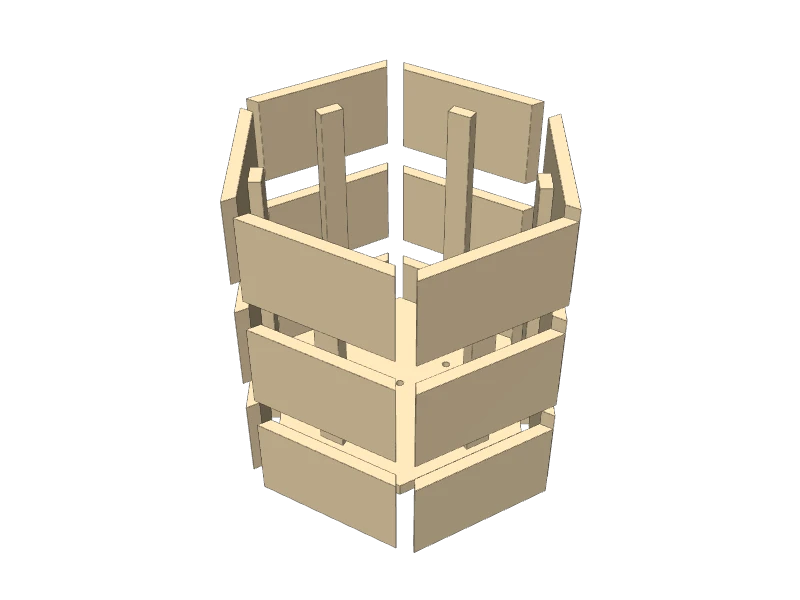
Tilt the miter saw blade to a 30° bevel. Cut one end of a 1x6, flip the board over, and cut the other end at 9½″ from long point to long point, so the two bevels lean toward each other. Make a stop block at that length and cut all eighteen sides (A) the same.
- A Sides, eighteen at 9½″
- B Cleats, six at 13¼″
- C Floor blocks, six at 1½″
- D Floor, one at 15″ × 17⅜″
TipCut six sides first and dry-fit them in a ring with a band clamp. If the corners gap on the outside, nudge the bevel a hair past 30°; if they gap on the inside, a hair under. Then cut the rest.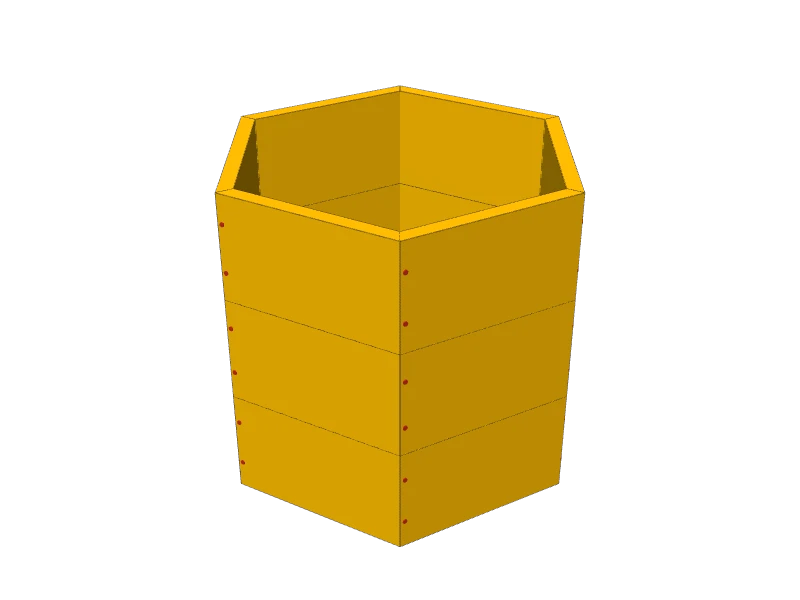 02
Glue up the three rings
For each ring, spread glue on the bevels of six sides (A), stand them up in a hexagon and pull them tight with a band clamp. Check each corner is closed and the ring sits flat.
Drive two 2″ brad nails across each corner, through one side into the end of the next. Make three rings.
 03
Stack the rings and add the cleats
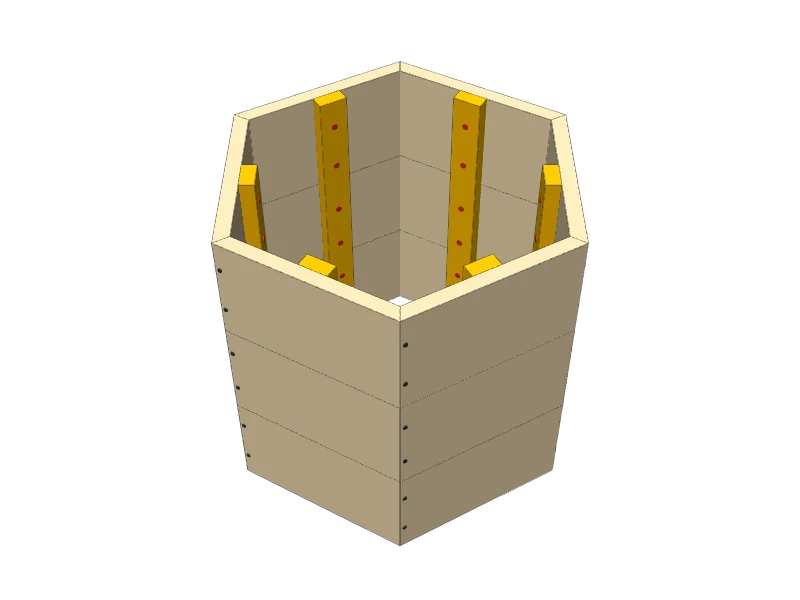
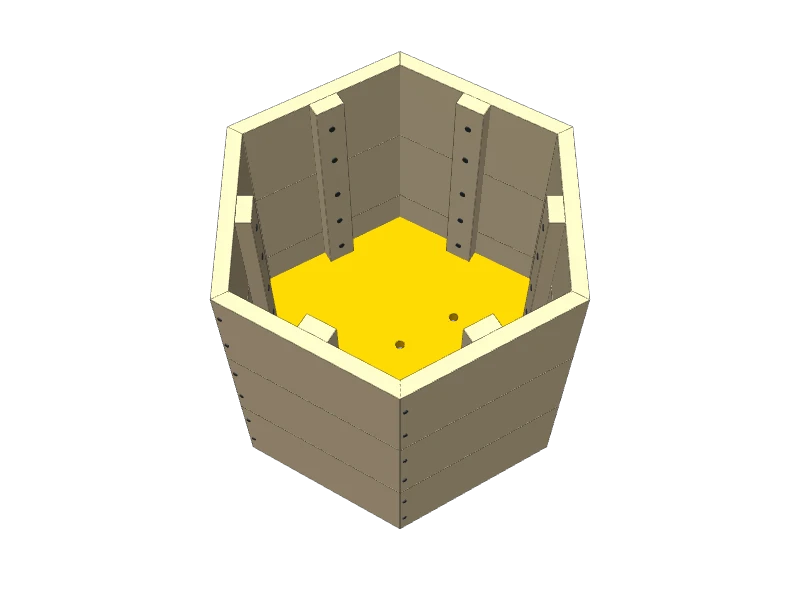
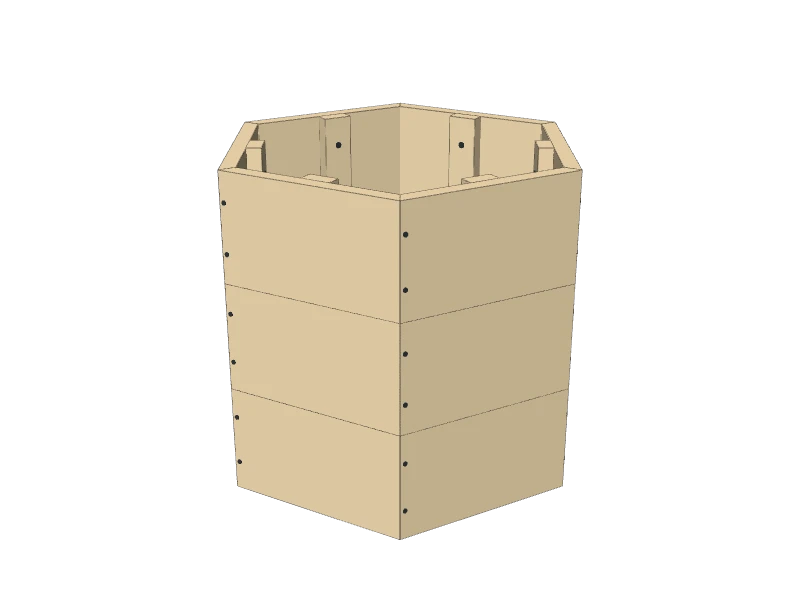
Stack the three rings, corners lined up. Glue and screw a cleat (B) to the middle of each inside face, its bottom 3¼″ up from the bottom of the planter, with 1¼″ exterior screws into every ring it crosses.
 04
Add the floor
Screw a floor block (C) under each cleat, its bottom 1″ up from the bottom. Trace the inside of the planter onto the plywood, cut the floor (D) to that hexagon, drill three ½″ drain holes, and drop it onto the blocks.
 05
Finish
Sand the top edges round and leave the cedar to weather gray, or oil the outside. Seal the plywood floor. Staple landscape fabric inside before you fill it, so soil stays in and water drains out.
TipSet it on three or four small pavers so the bottom stays dry and water can drain away.
Build at your own risk. Check every measurement against your own lumber before you cut, test-fit before you glue, and wear eye and ear protection.