









Key Holder
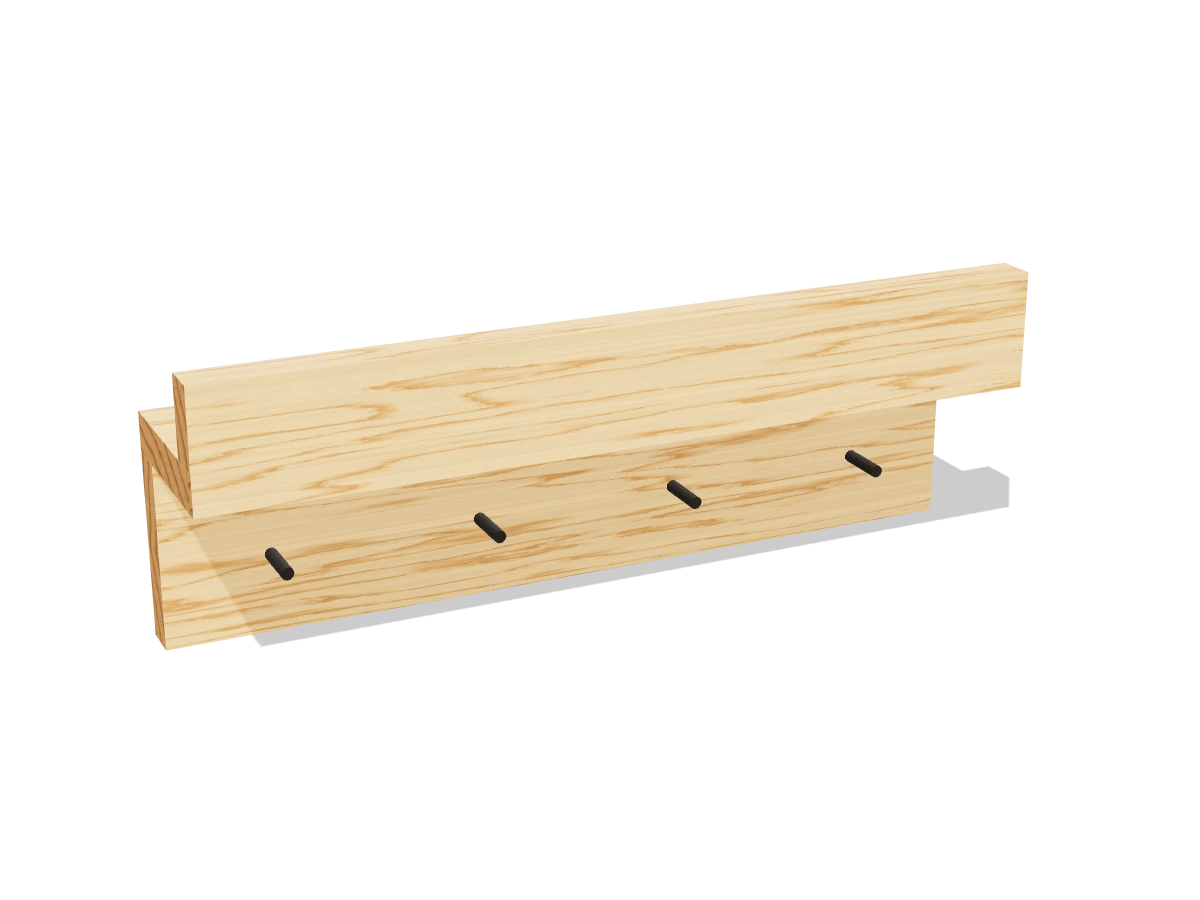
Draft · not yet checked by a carpenterFour hooks for keys and a little shelf with a lip for mail and sunglasses. A good use for offcuts and an easy housewarming gift.
- Skill
- Beginner
- Build time
- About 1 hour, plus finish
- Lumber
- 1 1x4 and 1 1x2
- Joinery
- Glue, screws and brads
- Finished size
- 16″ W × 3½″ D × 5¾″ H
A 1x4 is actually ¾″ × 3½″ and a 1x2 is ¾″ × 1½″. Every measurement in this plan uses the real size.
Shopping list
- 11x4, 6 ftOr use offcuts.
- 11x2, 6 ftOr an offcut.
- 4Key hooks or cup hooks
- 31½″ wood screws
- 31¼″ brad nails
- 22½″ screwsWith wall anchors if there's no stud.
- 1Wood glue
- —Sandpaper, 120 and 180 grit
- opt.Paint or stain
Tools
- SawMiter saw, circular saw or hand saw.
- Drill/driverWith a ⅛″ bit for pilot holes.
- HammerFor the brads.
- Level
- Tape measure, pencil
Cut list
| Part | Qty | Size, inches | From |
|---|---|---|---|
| ABacker | 1 | ¾ × 3½ × 16 | 1x4 |
| BShelf | 1 | ¾ × 3½ × 16 | 1x4 |
| CLip | 1 | ¾ × 1½ × 16 | 1x2 |
Board layout. Each row is one board, cut left to right, with the remainder hatched. Dark lines are saw cuts, about ⅛″ wide.
Build it
 01
Cut the pieces
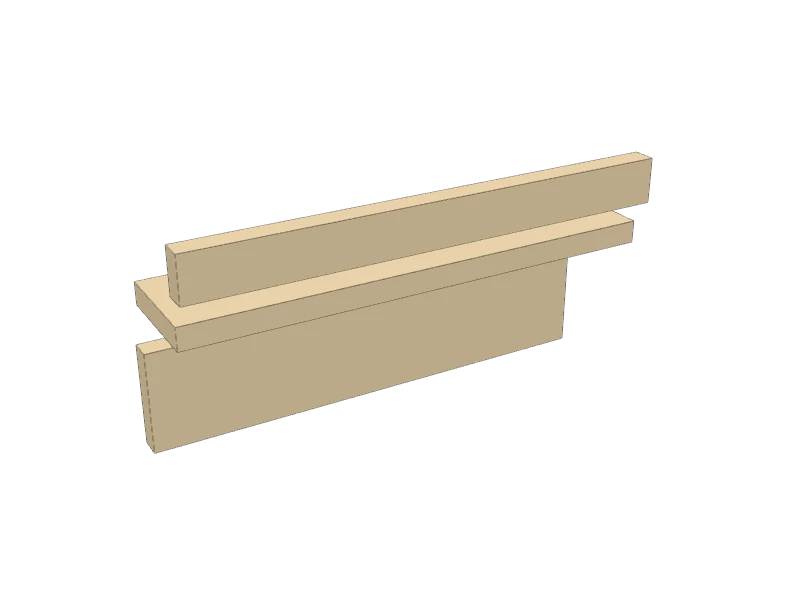
Cut the three pieces. Offcuts from another project are perfect:
- A Backer, one at 16″
- B Shelf, one at 16″
- C Lip, one at 16″
 02
Add the shelf
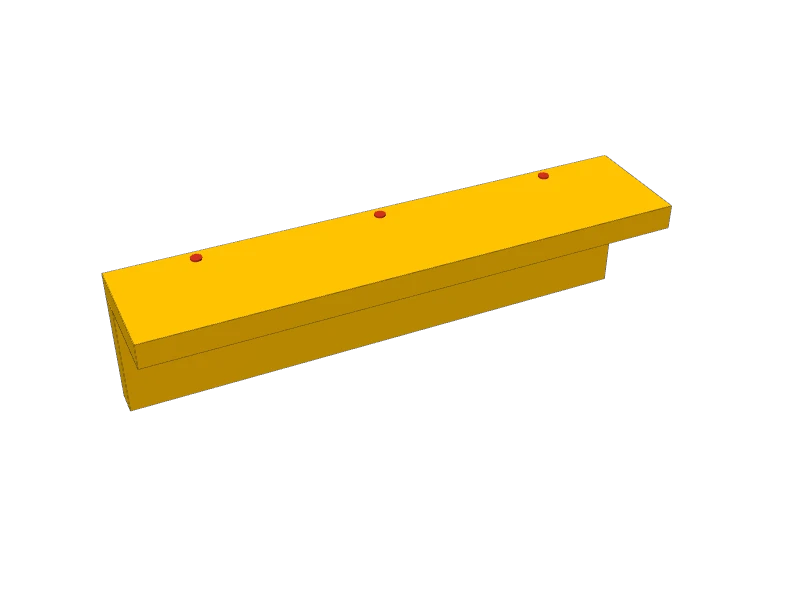
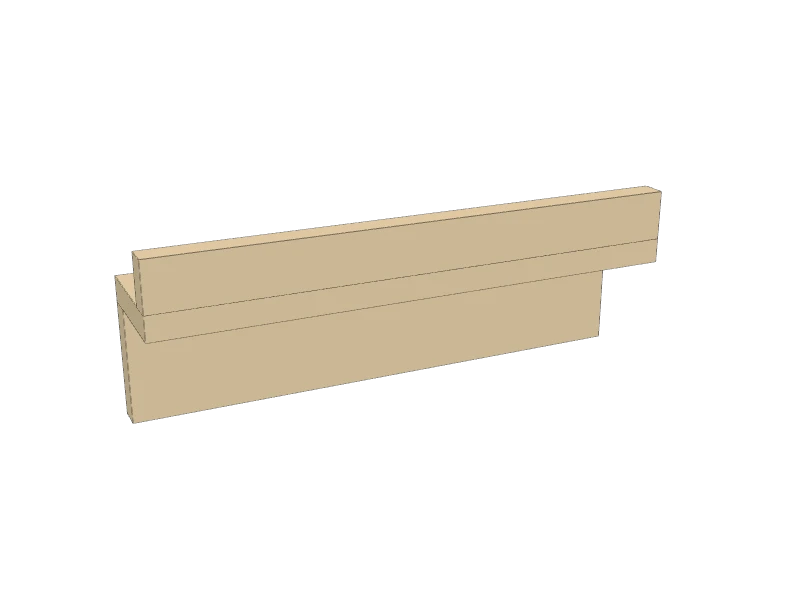
Glue the shelf (B) flat on the top edge of the backer (A), flush at the back and the ends. Pre-drill and drive three 1½″ screws down through the shelf into the backer.
 03
Add the lip
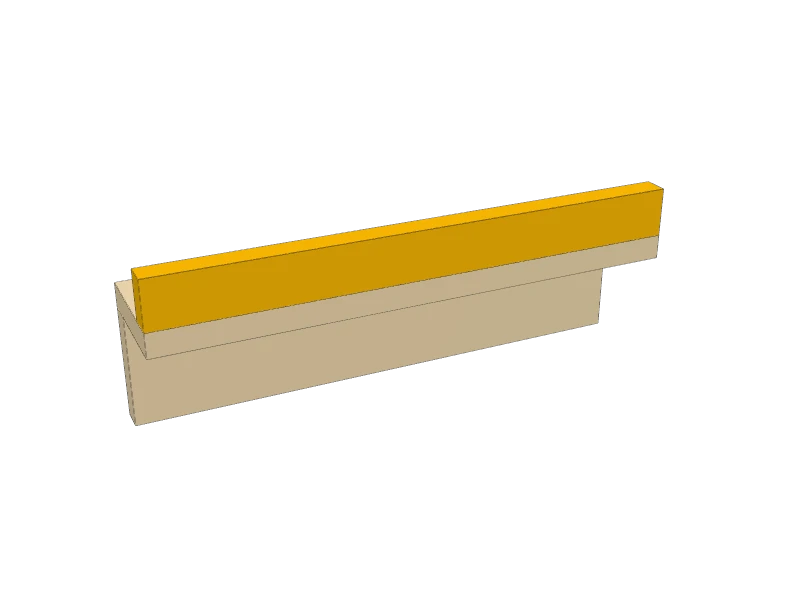
Glue the lip (C) on edge along the front of the shelf, flush with the front and the ends. Turn it over and drive three 1¼″ brad nails up through the shelf into the lip. The lip keeps mail and sunglasses from sliding off.
 04
Sand and finish
Sand with 120 then 180 grit, soften the edges, and paint or stain.
 05
Add the key hooks
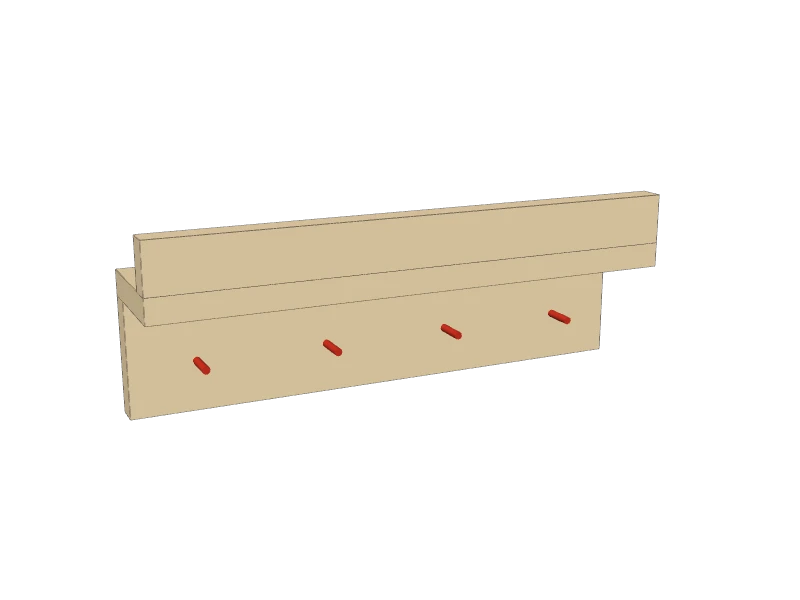
Mark four hooks across the front of the backer, 4″ apart starting 2″ from the left end, and 1½″ up from the bottom edge. Pre-drill and twist in small cup hooks or screw on key hooks.
 06
Hang it by the door
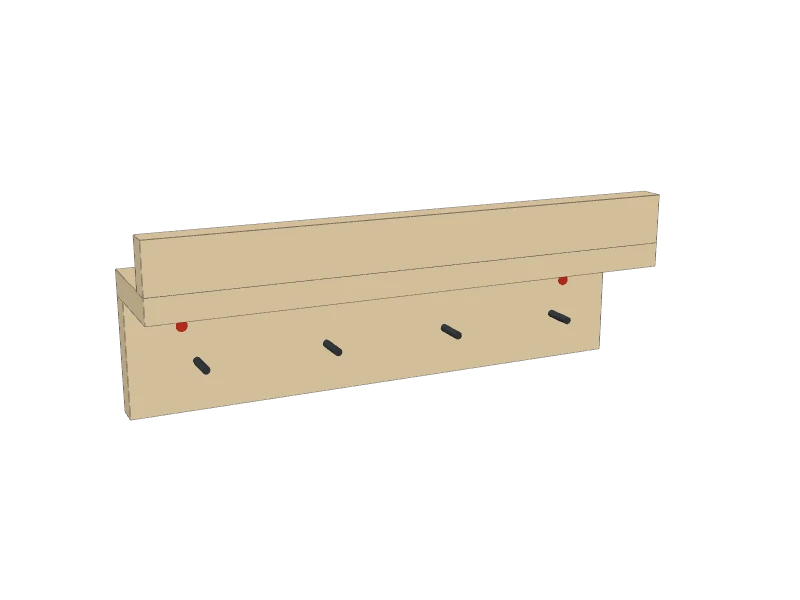
Hold it level by the door and drive a 2½″ screw through each end of the backer. Into a stud if one lines up, otherwise into rated wall anchors.
Build at your own risk. Check every measurement against your own lumber before you cut, test-fit before you glue, and wear eye and ear protection.