









Leaning Ladder Shelf
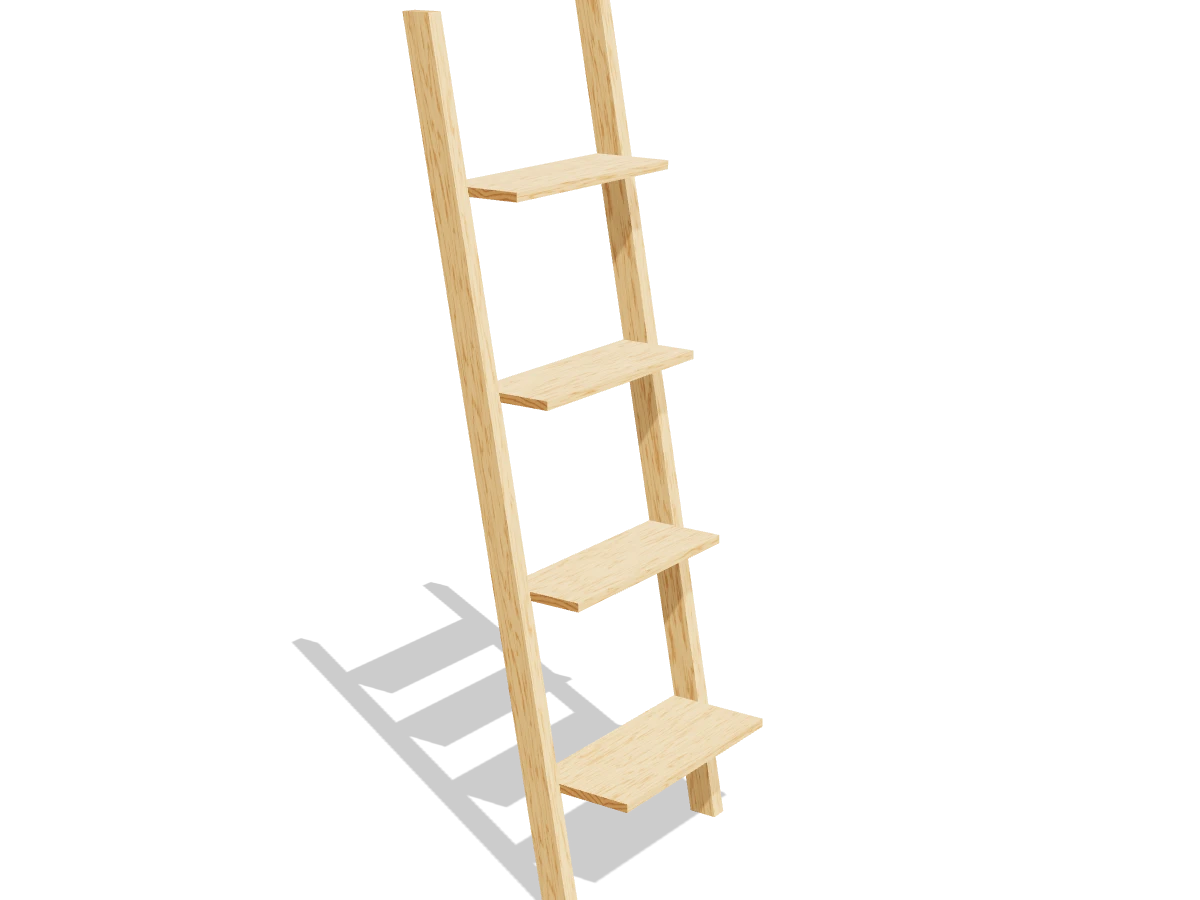
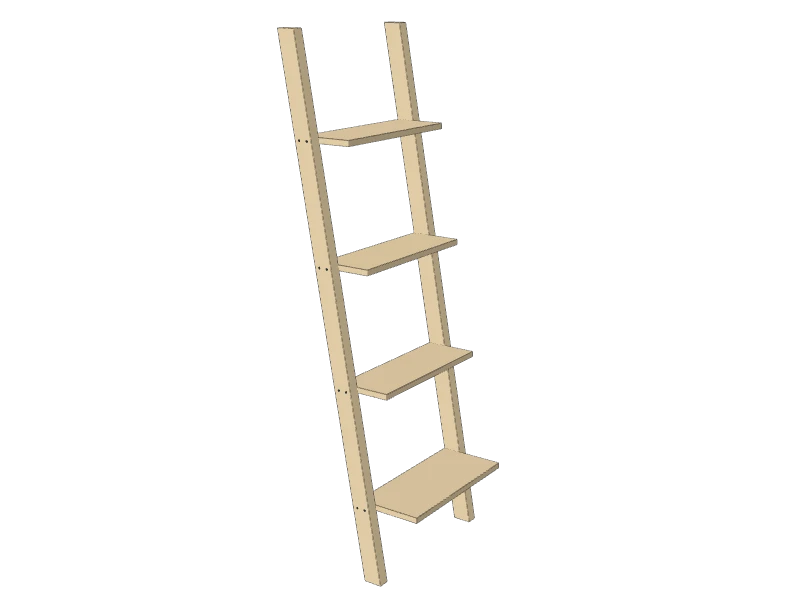
Draft · not yet checked by a carpenterA 6 ft shelf that leans against the wall like a ladder, with shelves that get deeper toward the floor. Two 2x3s, a 1x10 and a 1x8.
- Skill
- Intermediate
- Build time
- 2 to 3 hours, plus finish
- Lumber
- 1 1x10, 1 1x8 and 2 2x3s
- Joinery
- Glue and screws
- Finished size
- 24″ W × 20″ D × 72″ H
A 1x10 is actually ¾″ × 9¼″, a 1x8 is ¾″ × 7¼″ and a 2x3 is 1½″ × 2½″. Every measurement in this plan uses the real size.
Shopping list
- 11x10, 6 ftBottom shelf.
- 11x8, 6 ftThe other shelves.
- 22x3, 8 ftThe rails. Pick two straight ones.
- ~202½″ wood screws
- 2L-brackets or furniture anti-tip strapsTo anchor the top to a wall stud.
- 1Wood glue
- —Sandpaper, stain or paint
Tools
- Miter sawFor the 10° rail ends.
- Drill/driverWith a ⅛″ bit for pilot holes.
- Clamps
- Stud finder
- Tape measure, pencil
Cut list
| Part | Qty | Size, inches | From |
|---|---|---|---|
| ABottom shelf | 1 | ¾ × 9¼ × 21 | 1x10 |
| BShelves | 3 | ¾ × 7¼ × 21 | 1x8 |
| CRailsBoth ends cut at 10°, parallel. | 2 | 1½ × 2½ × 74 | 2x3 |
Board layout. Each row is one board, cut left to right, with the remainder hatched. Dark lines are saw cuts, about ⅛″ wide.
Build it
 01
Cut the pieces
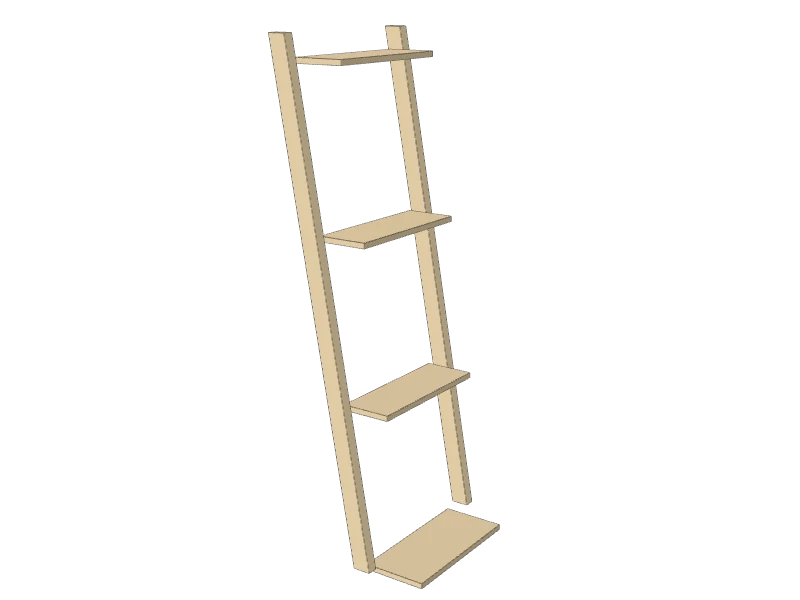
Cut the shelves (A, B) square. Then cut the rails (C): set the miter saw to 10°, cut one end of each 2x3, measure 73⅛″ along the long edge, and cut the other end at 10° the same way so the two cuts are parallel.
- A Bottom shelf, one at 21″
- B Shelves, three at 21″
- C Rails, two at 74″
 02
Mark the shelf positions
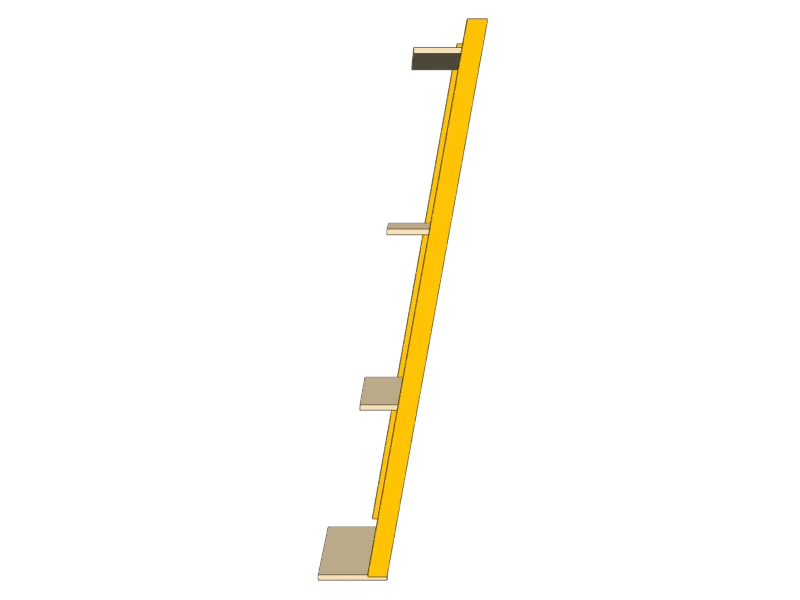
Lay the two rails (C) side by side, long edges together and ends lined up. From the bottom end, measure along the back (long) edge and mark 10⅛″, 26⅜″, 42⅝″ and 58⅞″. Those are the bottoms of the four shelves.
TipClamp the rails together and square the marks across both at once, so the shelves come out level.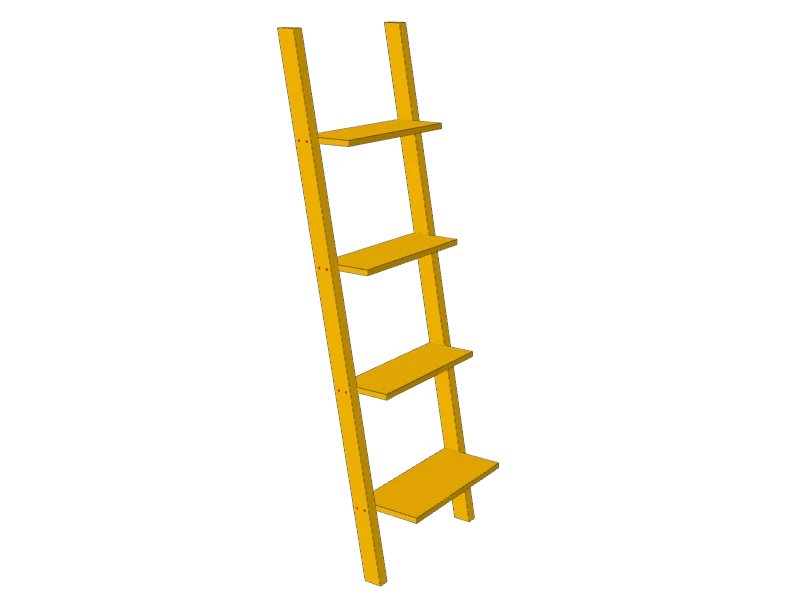 03
Screw the shelves between the rails
Stand the rails (C) on edge, 24″ apart at the outside. Set each shelf between them on its marks, with the back edge of the shelf in line with the back edge of the rails: the deepest shelf (A) at the bottom, the three others (B) above. Glue and drive two 2½″ screws through each rail into each shelf end.
 04
Lean it and anchor it
Finish it first: sand, then stain or paint. Lean the shelf against the wall with the bottoms of the rails 12¾″ out from the wall. The rail ends sit flat on the floor and the shelves come out level.
Watch outAlways anchor it. Screw an L-bracket or a furniture anti-tip strap from the top of each rail into a wall stud. A leaning shelf slides out at the bottom if it's bumped, and it is not a ladder: never climb it.
Build at your own risk. Check every measurement against your own lumber before you cut, test-fit before you glue, and wear eye and ear protection.