









Lazy Susan Serving Board
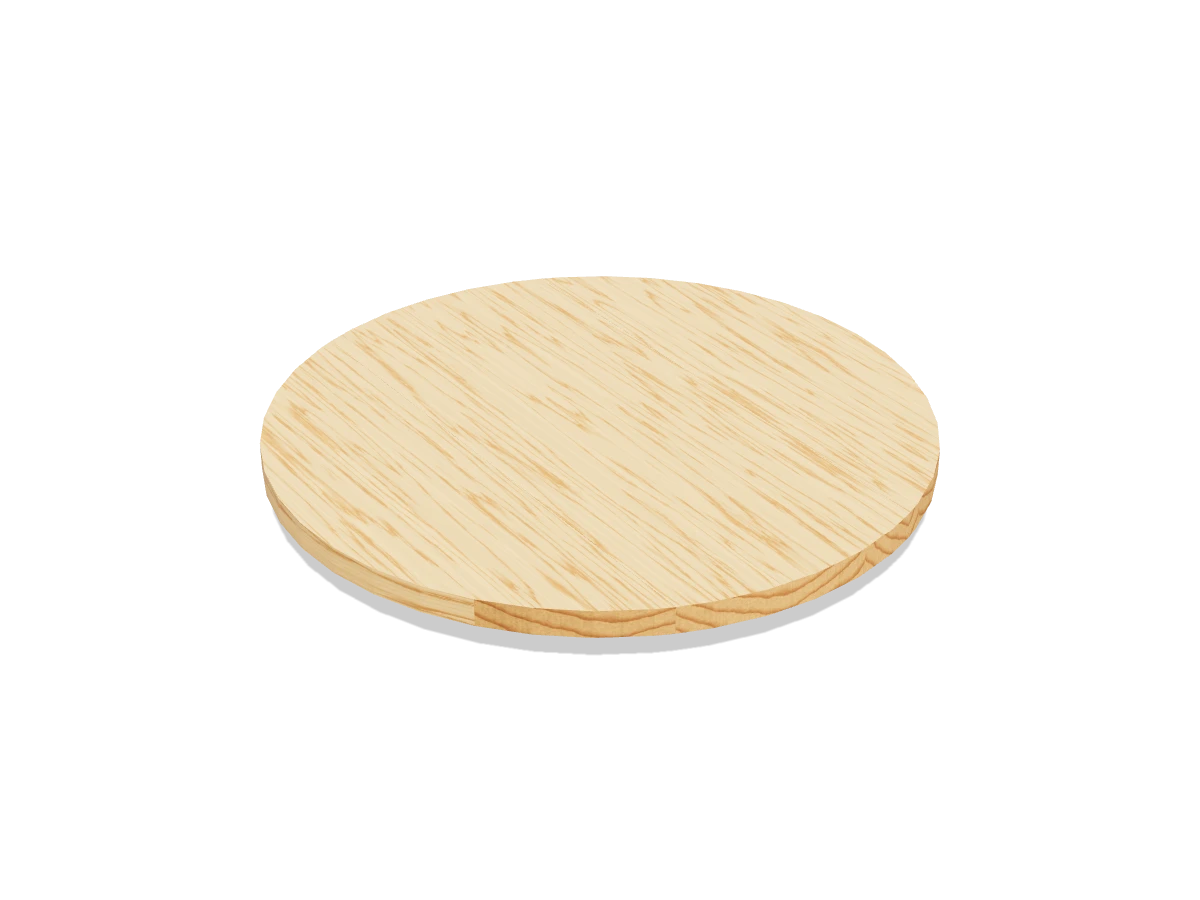
An 18″ round serving board that spins on a 12″ lazy susan bearing, so everyone at the table can reach the snacks. A one-afternoon build from two 1x8s.
- Skill
- Level 1 of 5 · Beginner
- Build time
- 2 to 3 hours, plus finish
- Lumber
- 1 1x8
- Joinery
- Glued panels and a bearing
- Finished size
- about 18″ W × 18″ D × 1⅞″ H
A 1x8 is actually ¾″ × 7¼″. Every measurement in this plan uses the real size.
Shopping list
- 11x8, 8 ftMaple, oak or poplar. Hardwood wears best, and it must be free of loose knots.
- 112″ round lazy susan bearingSteel, rated 500 lb or more.
- 8#10 × ⅝″ pan-head screwsCheck they fit the bearing's holes.
- 1Wood glueFood-safe once cured, such as a Type II PVA.
- 4Felt pads
- —Sandpaper, 120, 180 and 220 grit
- 1Butcher block oilFood-safe.
Tools
- Miter saw or circular saw
- JigsawFor the circles.
- ClampsFour that open 24″ or more.
- CompassOr a string and a nail.
- Drill/driverWith a ¾″ spade or Forstner bit.
- Random orbit sander
- Tape measure, pencil
Cut list
| Part | Qty | Size, inches | From |
|---|---|---|---|
| ATop boardsGlued edge to edge, then cut to an 18″ circle. | 3 | ¾ × 7¼ × 18 | 1x8 |
| BBase boardsGlued edge to edge, then cut to a 13″ circle. | 2 | ¾ × 7¼ × 13 | 1x8 |
Board layout. Each row is one board, cut left to right, with the remainder hatched. Dark lines are saw cuts, about ⅛″ wide.
Build it
 01
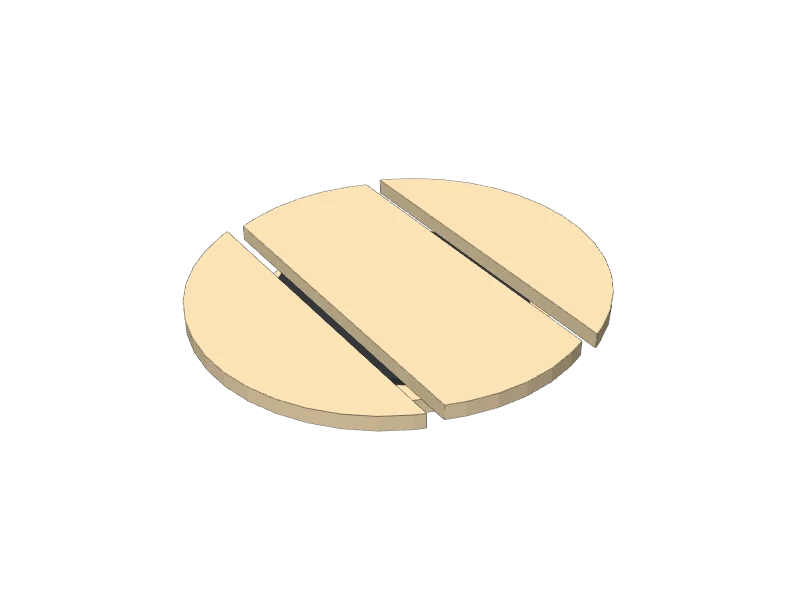
Cut the boards
Cut the boards to length:
- A Top boards, three at 18″
- B Base boards, two at 13″
Lay the three top boards (A) side by side and flip them until the edges meet with no gaps and the grain looks good. Mark a big triangle across all three so they go back in the same order. Do the same with the two base boards (B).
 02
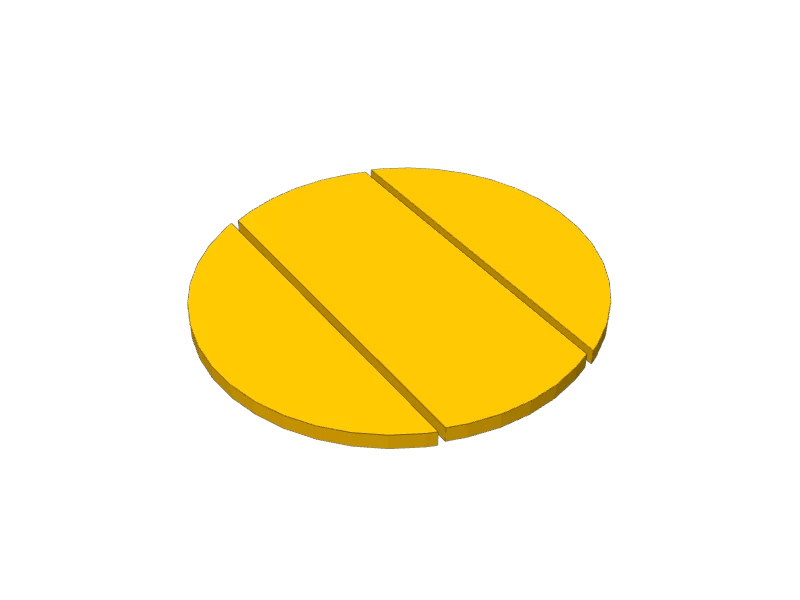
Glue up two panels
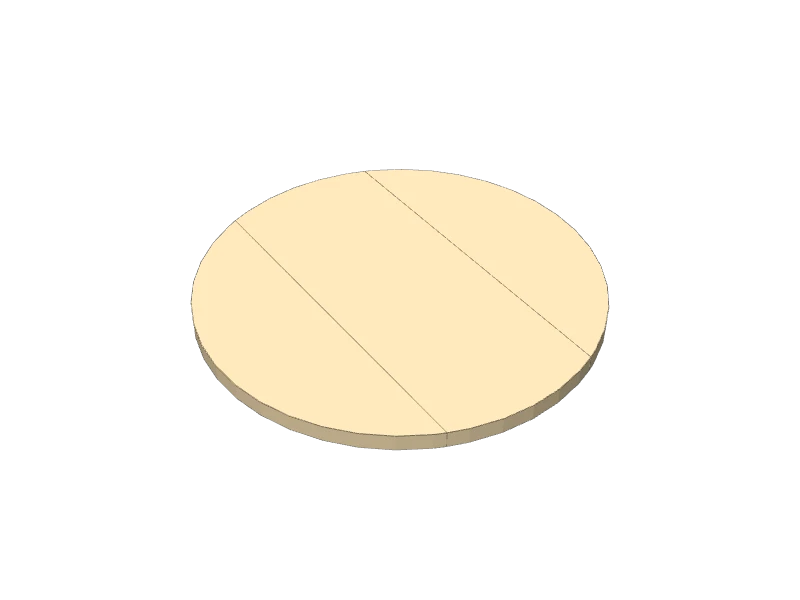
Spread glue on the meeting edges and clamp the three top boards (A) into one panel, with clamps above and below so it stays flat. Wipe off the glue that squeezes out. Glue the two base boards (B) the same way. Leave them clamped for an hour and let the glue cure overnight.
 03
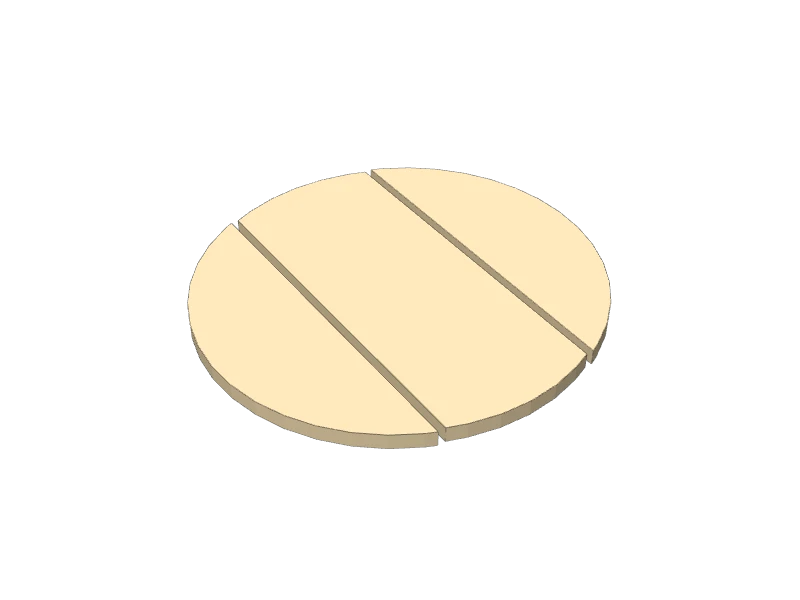
Cut the circles
Find the middle of each panel. Draw an 18″ circle on the top panel and a 13″ circle on the base panel with a compass, or with a string tied to a nail: 9″ for the top and 6½″ for the base, from nail to pencil.
Cut just outside each line with a jigsaw and sand down to the line. On the base, drill a ¾″ access hole 4⅝″ from the middle, along a line 45° from the glue joint.
 04
Sand and oil
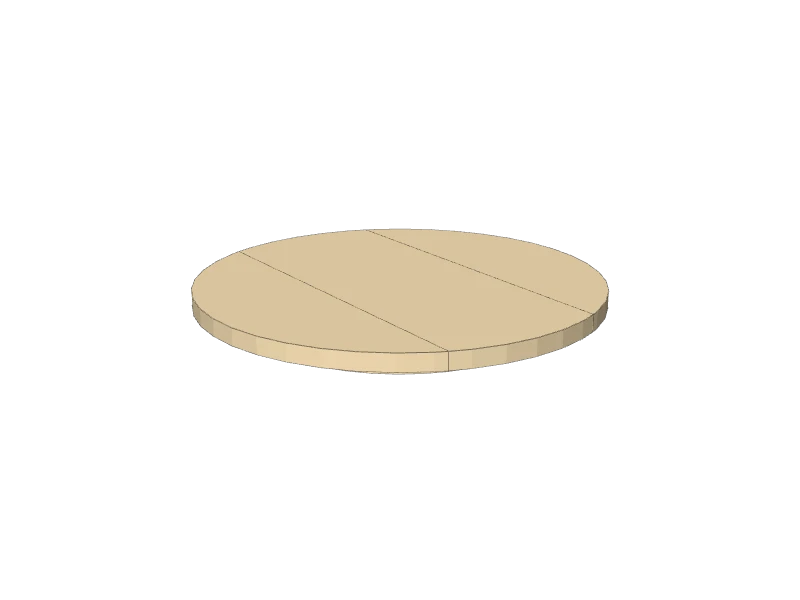
Sand both pieces with 120, 180 and then 220 grit, and round over every edge. Wipe on a food-safe butcher block oil, let it soak in, and wipe off the rest. Add a second coat the next day.
 05
Add the bearing
Check the bearing's own instructions for its screw holes before you drill. Lay the top upside down, center the bearing on it, and screw the ring that touches the top to it with short #10 × ⅝″ pan-head screws, so none come through the top.
Center the base on the bearing, upside down. Turn it until the access hole lines up with a screw hole in the other ring, drop a screw through the hole and drive it into the base. Turn to the next hole and repeat. Stick four felt pads under the base.
TipPut a little dish in the middle and it's a turning cheese board. Wipe it clean and re-oil it when it looks dry.
Build at your own risk. Check every measurement against your own lumber before you cut, test-fit before you glue, and wear eye and ear protection.