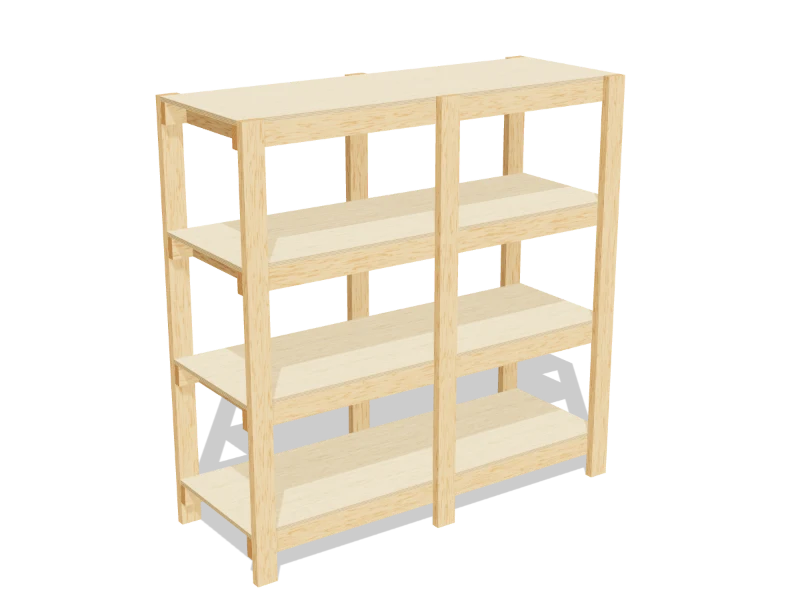
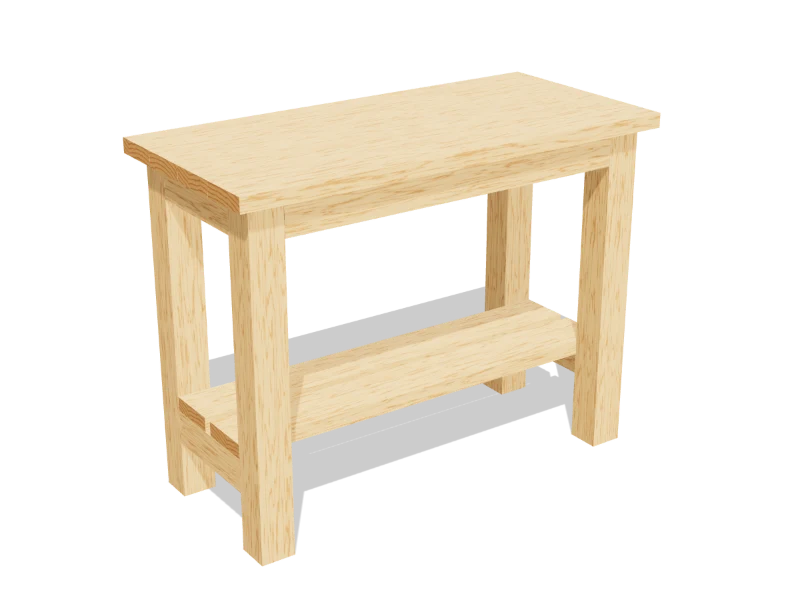
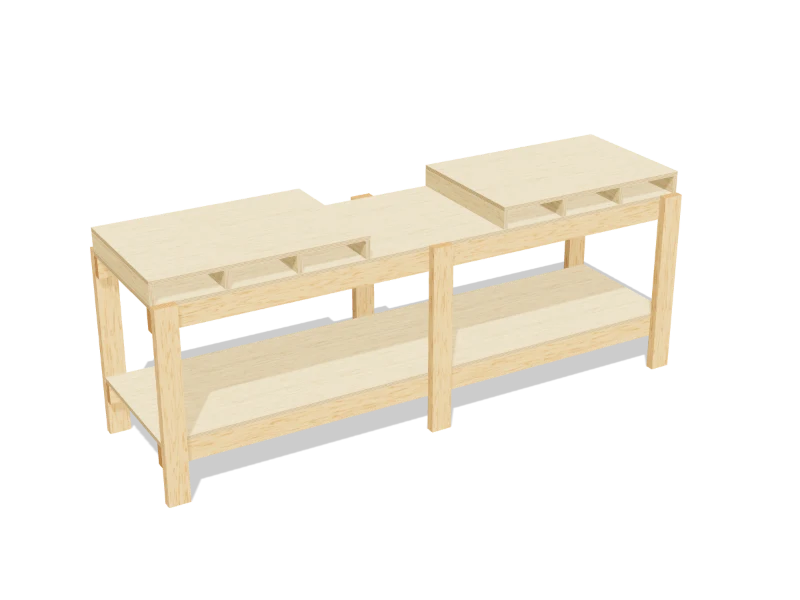
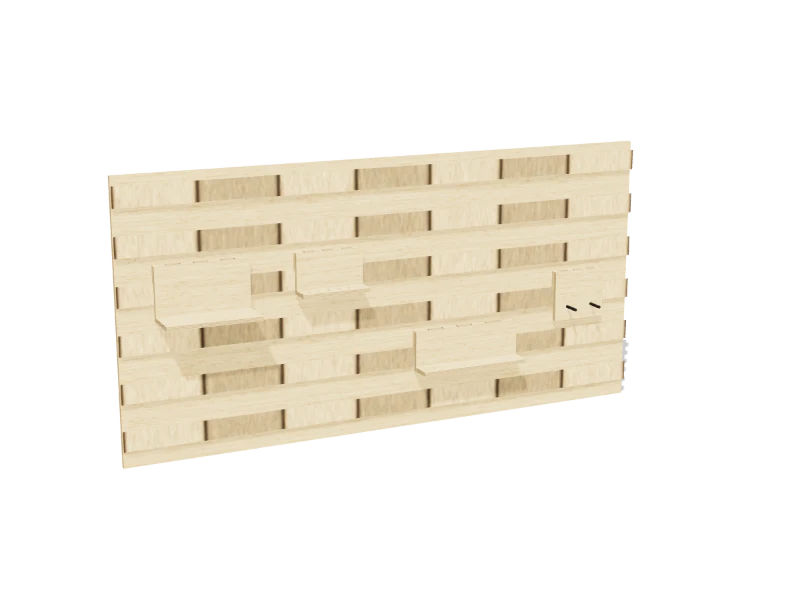
Rolling Lumber Cart
Draft · not yet checked by a carpenterA shop cart on locking casters that stores sheet goods on one side and long boards and offcuts in bins on the other, and rolls out of the way.
- Skill
- Intermediate
- Build time
- 4 to 6 hours, plus finish
- Lumber
- 3 2x4s, 2 2x2s and 2 sheets of ¾″ plywood
- Joinery
- Structural screws
- Finished size
- 49½″ L × 24″ W × 48″ H
What you need
A 2x4 is actually 1½″ × 3½″ and a 2x2 is 1½″ × 1½″. Every measurement in this plan uses the real size. ¾″ plywood is drawn at full thickness, but plywood sold that way is often a hair thinner, so measure yours and cut the pieces that fit between panels to match.
Shopping list
- 32x4, 8 ftBase frame and lips.
- 22x2, 8 ftWall cleats.
- 2¾″ plywood, 4 × 8 ft sheetFloor, end panels, center wall and divider.
- 44″ swivel casters, 2 lockingRated for 200 lb or more each, with 1½″ lag screws.
- 323″ structural wood screwsSuch as GRK or Spax.
- ~301⅝″ wood screws
- opt.Furniture anti-tip anchor strapFor where it parks.
Tools
- Circular saw
- Miter sawOr the circular saw, for the 2x4s.
- Drill/driver
- Tape measure, pencil
Cut list
Fifteen pieces from five boards and two sheets. Label each piece with its letter in pencil as you cut it.
| Part | Qty | Size, inches | From |
|---|---|---|---|
| AFrame rails | 2 | 1½ × 3½ × 48 | 2x4 |
| BFrame cross pieces | 3 | 1½ × 3½ × 21 | 2x4 |
| CWall cleats | 2 | 1½ × 1½ × 48 | 2x2 |
| DFront lip | 1 | 1½ × 3½ × 48 | 2x4 |
| JBack lips | 2 | 1½ × 3½ × 23⅝ | 2x4 |
| EFloor | 1 | ¾ × 24 × 48 | ¾″ plywood |
| FEnd panels | 2 | ¾ × 24 × 44 | ¾″ plywood |
| GCenter wall | 1 | ¾ × 39¾ × 48 | ¾″ plywood |
| HBin divider | 1 | ¾ × 27¾ × 10⅛ | ¾″ plywood |
Board layout. Each row is one board, cut left to right, with the remainder hatched. Dark lines are saw cuts, about ⅛″ wide.
Build it
Eight steps. The 3D view follows along as you scroll. The parts you're working on are yellow, and the pocket holes or screws for that step are red.
- 01
Cut the pieces
Cut every piece on the cut list:
- A Frame rails, two at 48″
- B Frame cross pieces, three at 21″
- C Wall cleats, two at 48″
- D Front lip, one at 48″
- J Back lips, two at 23⅝″
- E Floor, one at 24″ × 48″
- F End panels, two at 24″ × 44″
- G Center wall, one at 39¾″ × 48″
- H Bin divider, one at 27¾″ × 10⅛″
TipHave the store rip the plywood into 24″ strips: the floor, end panels and center wall all come from them. - 02
Build the base frame
Stand the frame rails (A) on edge and fit the three cross pieces (B) between them: one at each end and one in the middle. Drive two 3″ structural screws through the rails into each cross piece.
- 03
Screw down the floor
Lay the floor (E) on the frame, flush all round, and screw it down every 6″ or so into the rails and cross pieces with 1⅝″ screws.
- 04
Add the end panels
Screw an end panel (F) to each end of the base, flush with the bottom of the frame and the front and back edges. Drive four 3″ structural screws through each panel into the end cross piece.
- 05
Fit the center wall
Stand the center wall (G) on the floor between the end panels, centered front to back. Screw a wall cleat (C) to the floor on each side of it, tight against the wall, then screw through the cleats into the wall and through the end panels into its ends.
TipThe wall is the backbone: plywood sheets lean on the front side and long boards stand in the bins at the back. - 06
Add the lips and bin divider
Screw the bin divider (H) to the center of the back side of the wall, standing on the floor. Screw the front lip (D) along the front edge of the floor and the two back lips (J) along the back edge, one each side of the divider. The lips stop sheets and boards from sliding off.
- 07
Add the casters
Turn the cart on its side. Screw a 4″ caster under each corner of the frame, under the end cross pieces, with 1½″ lag screws, the two locking ones at the same end.
Watch outA loaded cart can weigh several hundred pounds. Buy casters rated for at least 200 lb each, lock them before loading, and load sheets evenly on both sides. Where it parks for good, anchor it: a strap from the top of an end panel to a wall stud stops it tipping if someone pulls a sheet out hard. - 08
Finish
Ease the edges where you grab the cart. A coat of paint or sealer keeps the plywood clean, but it's a shop cart, so it's optional.
Build at your own risk. Check every measurement against your own lumber before you cut, test-fit before you glue, and wear eye and ear protection. Full disclaimer.