









Wall Mug Rack
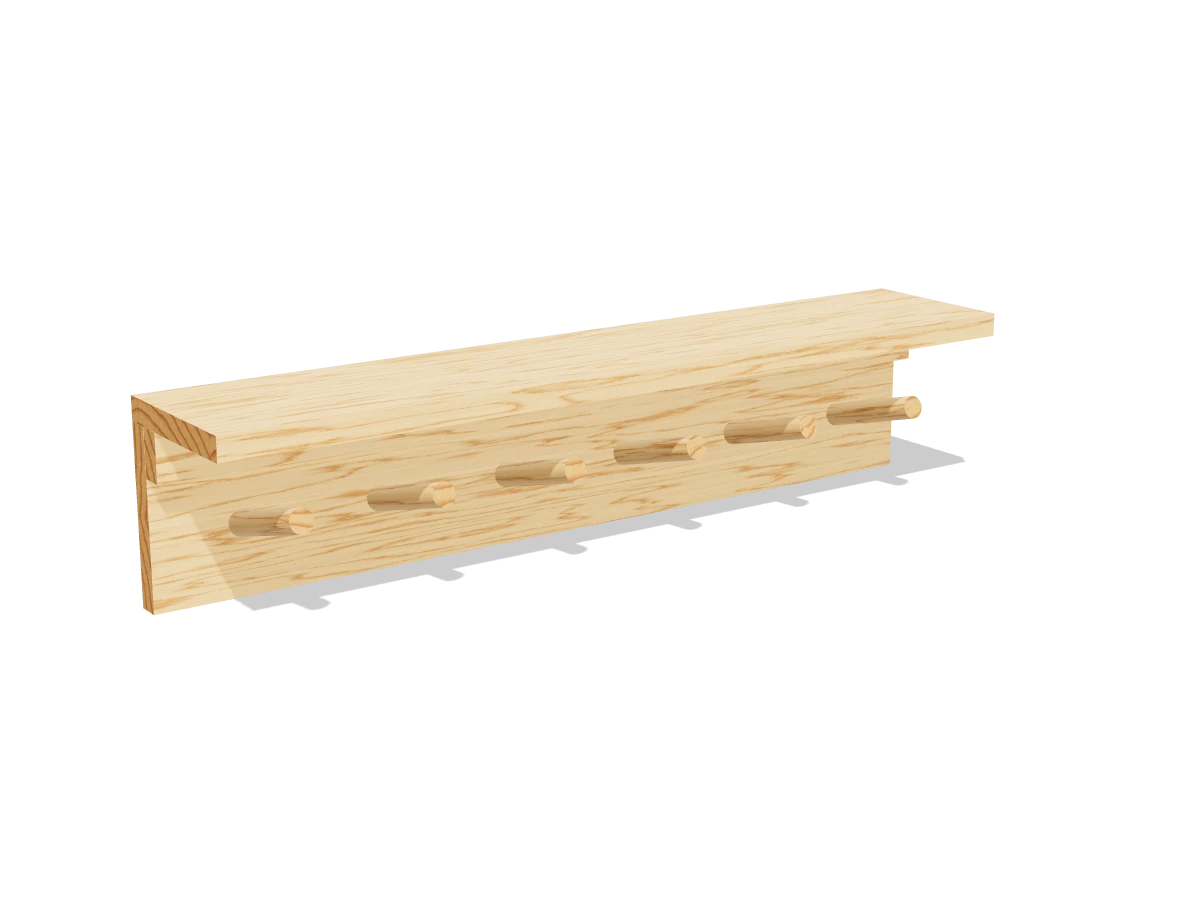
Six angled pegs for your favorite mugs, with a shelf on top for the coffee and sugar. One 1x6, a 1x2 and a hardwood dowel, screwed into the studs.
- Skill
- Level 1 of 5 · Beginner
- Build time
- 2 to 3 hours, plus finish
- Lumber
- 1 1x6 and 1 1x2
- Joinery
- Glue and screws
- Finished size
- 28″ W × 5½″ D × 6¼″ H
A 1x6 is actually ¾″ × 5½″ and a 1x2 is ¾″ × 1½″. Every measurement in this plan uses the real size.
Shopping list
- 11x6, 6 ftSelect pine or poplar.
- 11x2, 6 ftFor the shelf cleat.
- 1¾″ hardwood dowel, 36″Oak, maple or birch. Cut into six 4½″ pegs.
- ~101¼″ wood screwsFor the cleat.
- ~101½″ wood screwsFor the shelf.
- 43″ wood screwsFor the studs.
- opt.Drywall anchors rated 25 lbWhere there's no stud.
- 1Wood glue
- —Sandpaper, wood filler, paint or stain
Tools
- Miter saw or circular saw
- Drill/driver with a ¾″ Forstner bitFor the peg holes.
- Drill guideOptional. Set to 15°, it keeps every peg hole the same.
- HammerTo tap in the pegs.
- Stud finder
- Level
- Tape measure, pencil
Cut list
| Part | Qty | Size, inches | From |
|---|---|---|---|
| ABacker | 1 | ¾ × 5½ × 28 | 1x6 |
| BShelf | 1 | ¾ × 5½ × 28 | 1x6 |
| CCleat | 1 | ¾ × 1½ × 28 | 1x2 |
Board layout. Each row is one board, cut left to right, with the remainder hatched. Dark lines are saw cuts, about ⅛″ wide.
Build it
 01
Cut the pieces
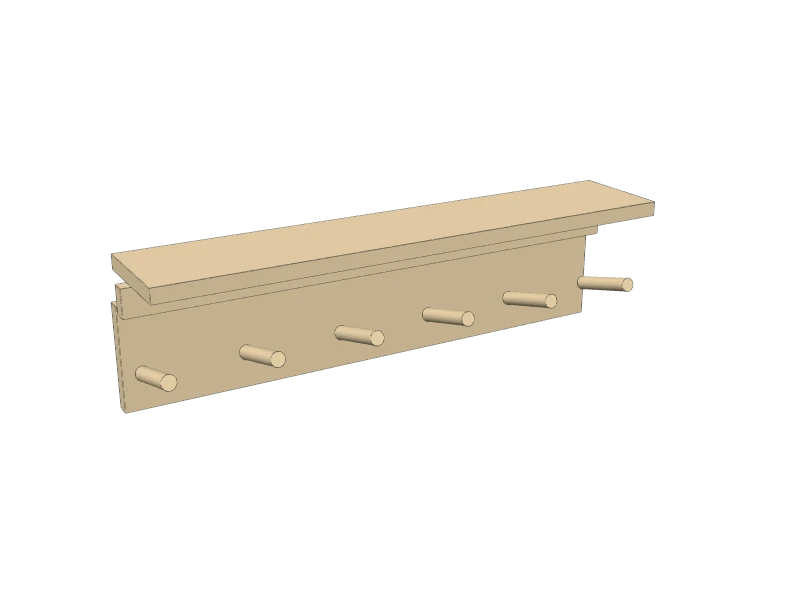
Cut the three boards, and cut six pegs 4½″ long from the ¾″ dowel:
- A Backer, one at 28″
- B Shelf, one at 28″
- C Cleat, one at 28″
Sand a small bevel on one end of each peg so it slides into its hole easily.
 02
Drill the peg holes
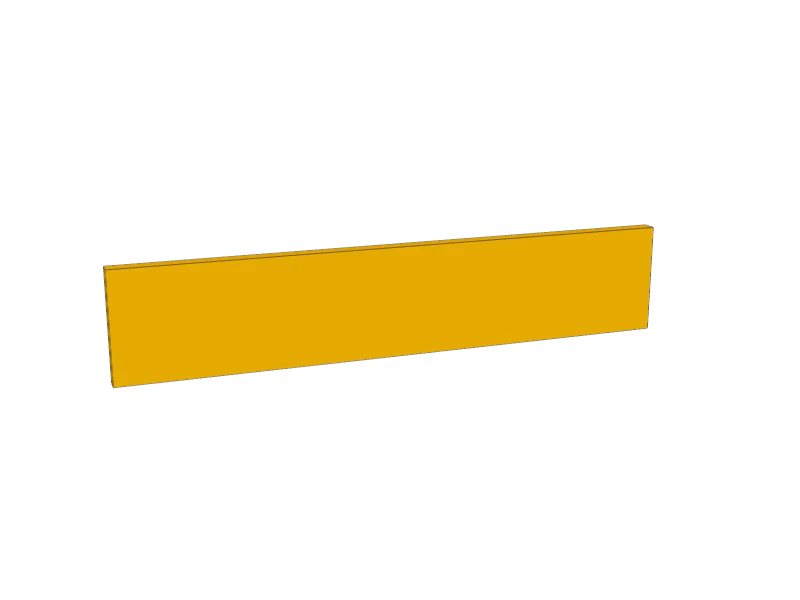
Draw a line along the front of the backer (A), 2¼″ up from the bottom edge. Mark six peg centers on it: the first 2¾″ from the left end, then every 4½″.
With a ¾″ Forstner bit, drill each hole ½″ deep, tilted 15° up from square to the face, so the pegs point up and the mugs can't slide off. Wrap tape around the bit as a depth mark.
TipA drill guide set to 15° keeps every hole the same. Or cut a 15° wedge from scrap, clamp it below each mark and keep the bit flat on the wedge as you drill.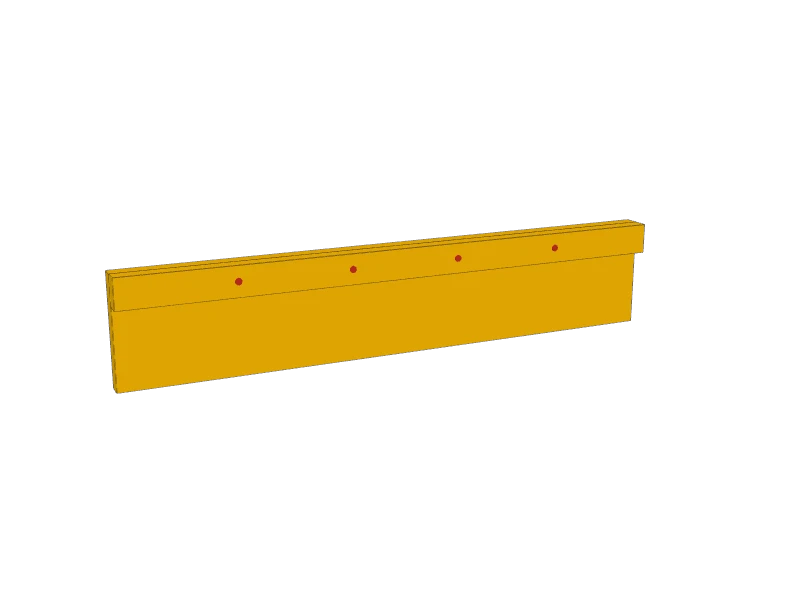 03
Add the cleat
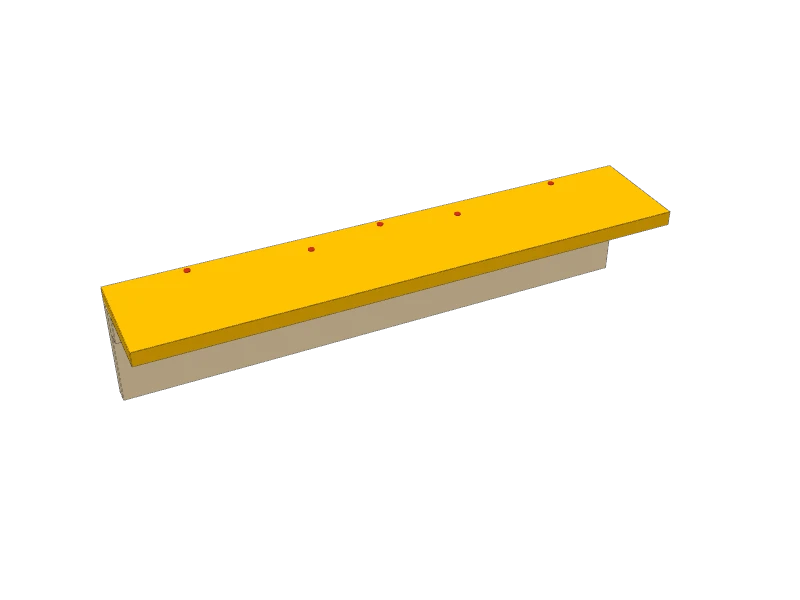
Lay the backer (A) face up. Glue the cleat (C) along its front face, flush with the top edge and both ends. Drive four 1¼″ screws through the cleat into the backer.
 04
Add the shelf
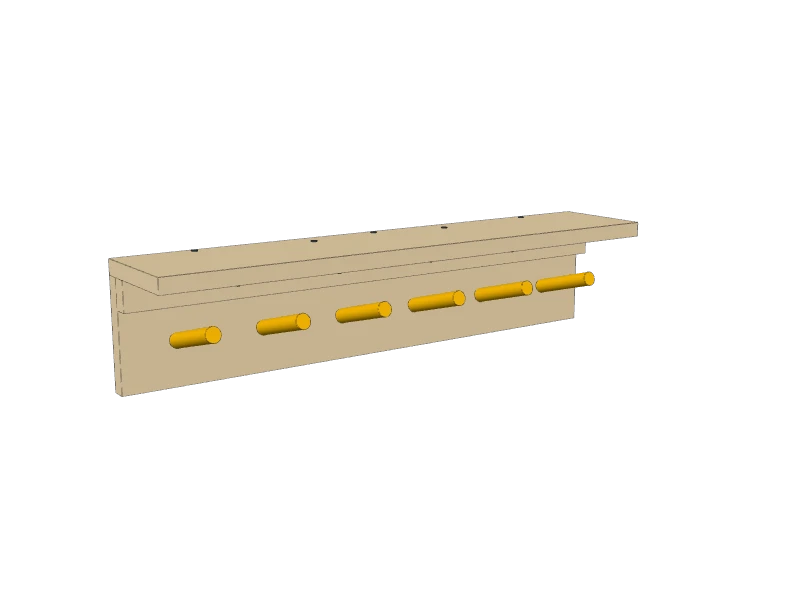
Glue the shelf (B) flat on top of the backer and the cleat, flush at the back and the ends. Pre-drill and drive 1½″ screws down through the shelf: three into the backer and two into the cleat.
 05
Glue in the pegs
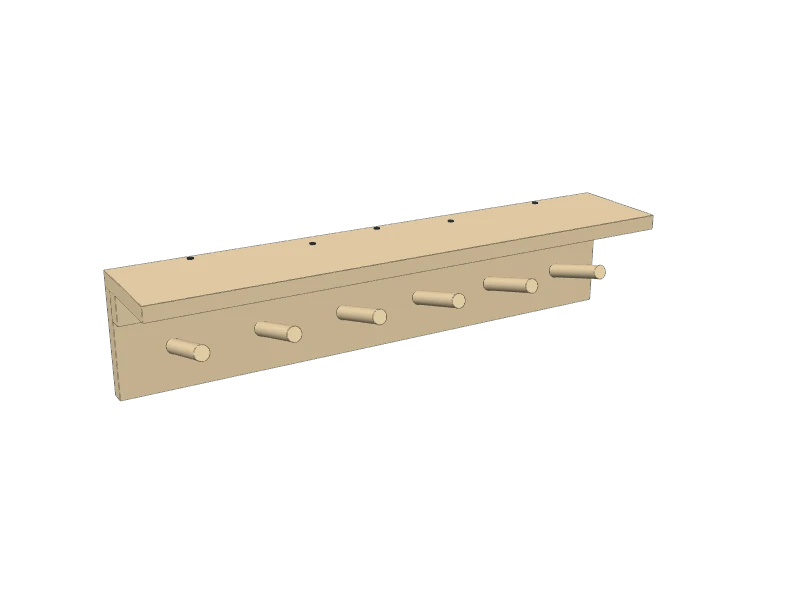
Put a little glue in each hole in the backer (A). Push a peg in, beveled end first, and tap it with a hammer and a scrap block until it bottoms out, with 4″ sticking out. Wipe off the glue that squeezes out.
 06
Sand and finish
Fill the screw holes on top of the shelf. Sand everything with 120 then 180 grit, and round over the ends of the pegs.
Paint or stain the boards. Leave the hardwood pegs natural under a clear coat, or paint them to match.
 07
Hang it
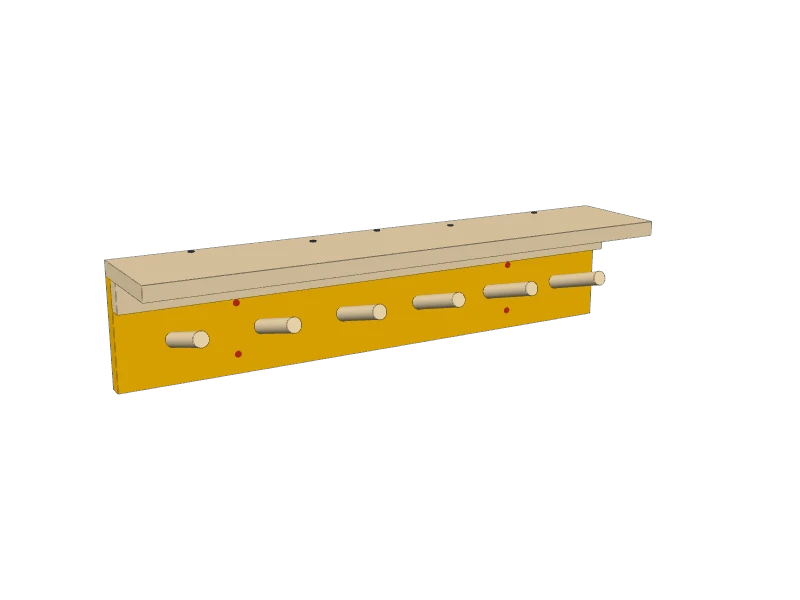
Find two studs with a stud finder. They're usually 16″ apart. Hold the rack level, with its bottom edge at least 12″ above the counter so the mugs hang clear. Pre-drill and drive two 3″ screws into each stud through the backer (A), between the pegs: one above the peg line and one below.
Watch outA row of stoneware mugs is heavier than it looks. Screw into studs. If the studs don't line up, use drywall anchors rated 25 lb or more each, never plain plastic plugs.
Build at your own risk. Check every measurement against your own lumber before you cut, test-fit before you glue, and wear eye and ear protection.