









Park Bench with Back
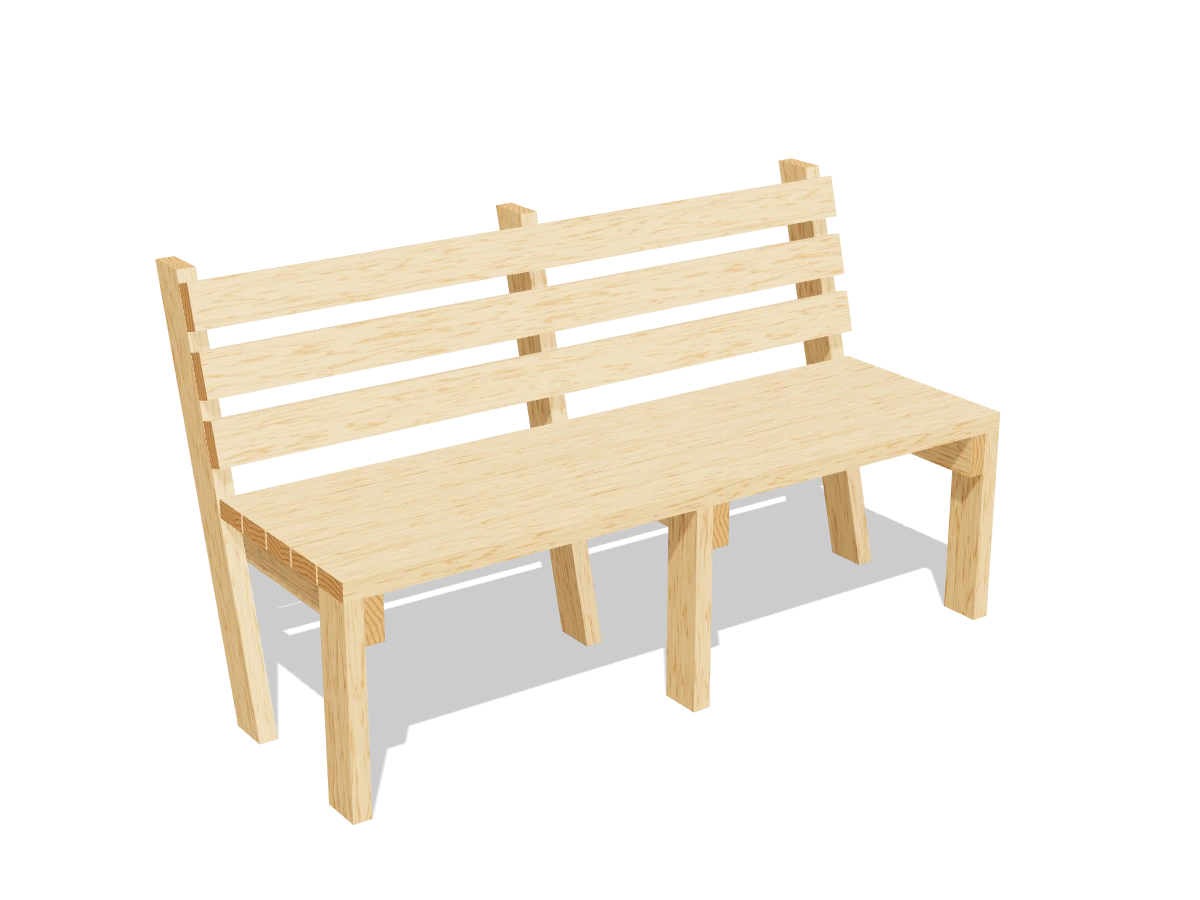
A classic 5 ft slatted bench with a back that leans 15°, built from 2x4s only. Three bolted leg frames keep it solid for three people.
- Skill
- Level 3 of 5 · Intermediate
- Build time
- 5 to 7 hours, plus finish
- Lumber
- 10 2x4s
- Joinery
- Carriage bolts and deck screws
- Finished size
- about 60″ L × 27″ D × 34″ H
A 2x4 is actually 1½″ × 3½″. Every measurement in this plan uses the real size.
Shopping list
- 10Pressure-treated or cedar 2x4, 8 ftLegs, supports, seat and back.
- 12⅜″ × 3½″ galvanized carriage boltsWith washers and nuts.
- ~603″ exterior deck screws
- 1Exterior stain or sealer
Tools
- Miter sawFor the 15° back legs.
- Drill/driverWith a ⅜″ bit.
- Wrench or socket
- Clamps
- Tape measure, speed square, pencil
Cut list
| Part | Qty | Size, inches | From |
|---|---|---|---|
| AFront legs | 3 | 1½ × 3½ × 16½ | 2x4 |
| BBack legsBoth ends cut at 15°, parallel. | 3 | 1½ × 3½ × 36¼ | 2x4 |
| CSeat supports | 3 | 1½ × 3½ × 21¼ | 2x4 |
| DSeat slats | 5 | 1½ × 3½ × 60 | 2x4 |
| EBack slats | 3 | 1½ × 3½ × 60 | 2x4 |
Board layout. Each row is one board, cut left to right, with the remainder hatched. Dark lines are saw cuts, about ⅛″ wide.
Build it
 01
Cut the pieces
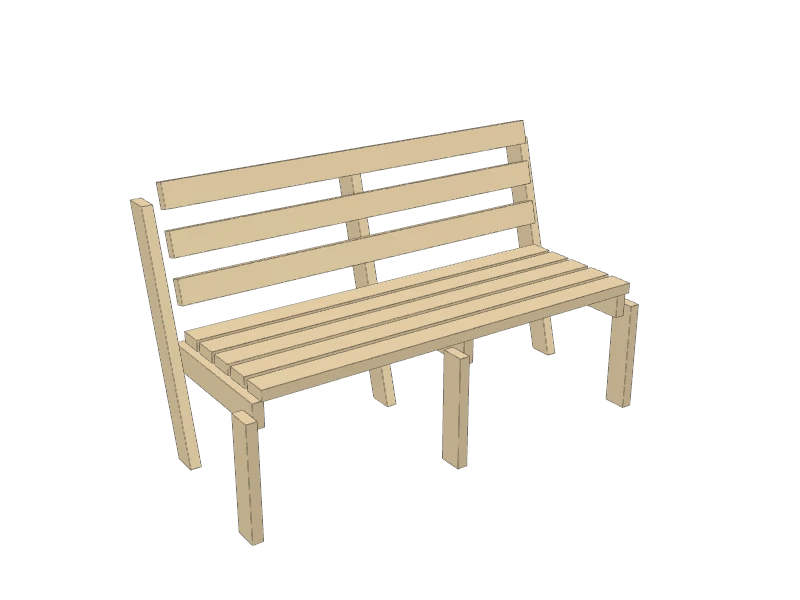
Cut the square pieces to length. Cut the back legs (B) to the blank length for now:
- A Front legs, three at 16½″
- B Back legs, three at 36¼″
- C Seat supports, three at 21¼″
- D Seat slats, five at 60″
- E Back slats, three at 60″
 02
Cut the angled back legs
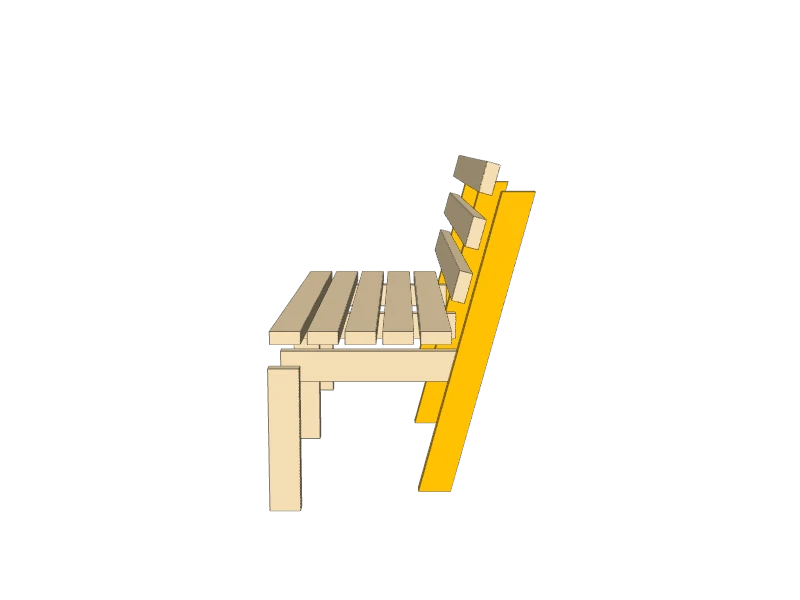
Set the miter saw to 15°. Cut the bottom of each back leg (B), measure 35¼″ along one long edge, and cut the top parallel. The leg leans back 15° when both cuts sit level.
TipCut one back leg, check it against the drawing, then use it as the pattern for the other two.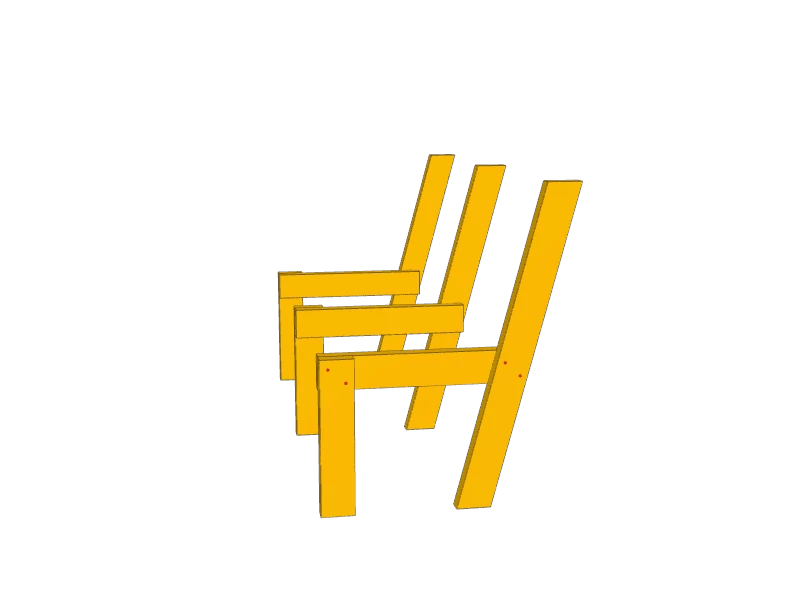 03
Build the three leg frames
On a flat floor, lay a front leg (A) and a back leg (B) with their feet on a straight line, 14¼″ apart from the front of the front leg to the front of the back leg's foot. Lay a seat support (C) across them, its top flush with the top of the front leg, 16½″ up from the floor.
Clamp, drill two ⅜″ holes through each leg and the support, and fit ⅜″ × 3½″ carriage bolts with washers and nuts. Build all three frames the same way; the middle one can face either way.
 04
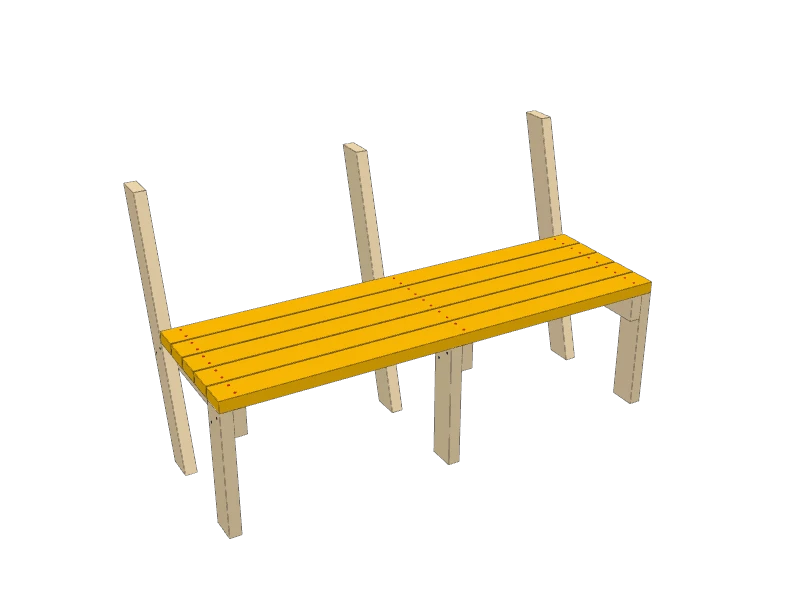
Screw down the seat slats
Stand the frames up: one at each end and one in the middle, 29¼″ apart on center, all facing the same way. Screw the first seat slat (D) across the front, flush with the front legs and the ends, then the rest with ¼″ gaps. Two 3″ deck screws into each seat support.
Check that the bench sits flat and the frames stand square to the slats before you drive the last screws.
 05
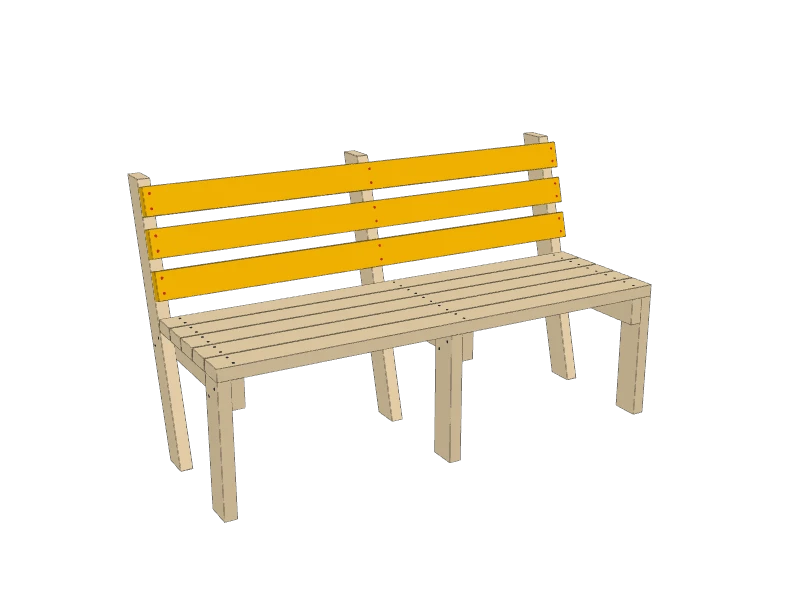
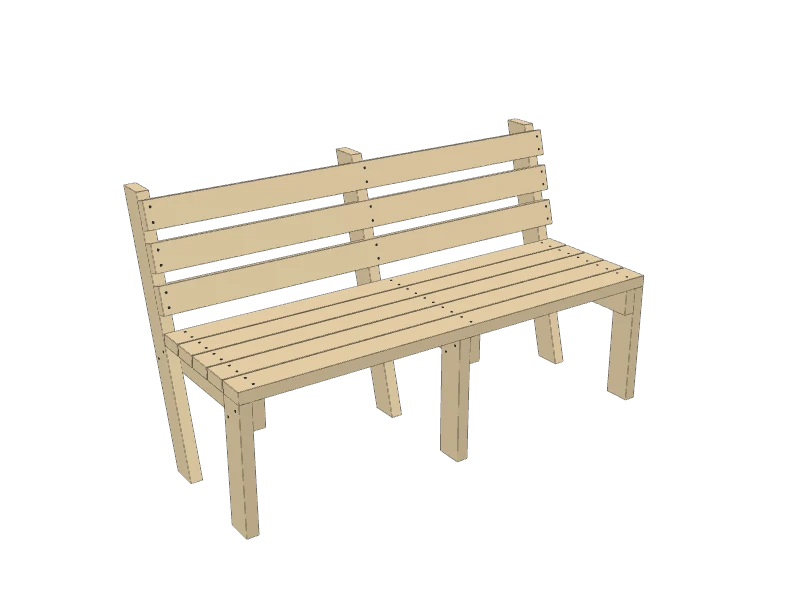
Add the back slats
Screw the three back slats (E) across the front faces of the back legs, the lowest one about 2″ above the seat, the others 1½″ apart, ends flush. Two 3″ deck screws into each back leg.
 06
Finish
Round over the front edge of the seat, the top of the back and every corner people touch. Sand smooth and brush on an exterior stain or sealer, and recoat every year or two.
Watch outCheck the bolts each spring and tighten them. Set the bench on level ground so all six legs bear.
Build at your own risk. Check every measurement against your own lumber before you cut, test-fit before you glue, and wear eye and ear protection.