









6 ft Picnic Table
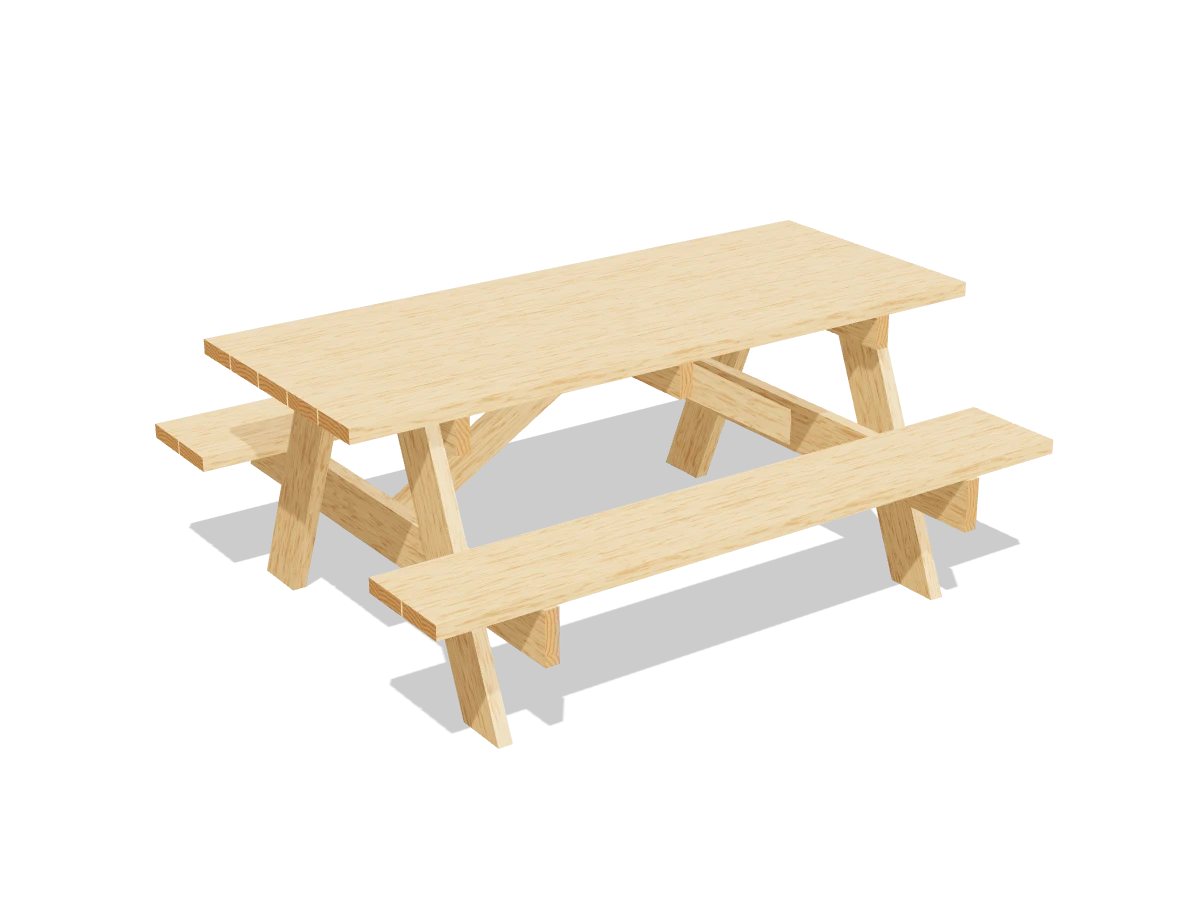
Draft · not yet checked by a carpenterA classic picnic table with attached benches that seats six. A-frame legs at 22½°, carriage bolts at every leg joint, and the angles worked out for you.
- Skill
- Intermediate
- Build time
- 6 to 8 hours, plus finish
- Lumber
- 12 2x6s and 2 2x4s
- Joinery
- Carriage bolts and deck screws
- Finished size
- about 72″ L × 56½″ W × 30″ H
A 2x6 is actually 1½″ × 5½″ and a 2x4 is 1½″ × 3½″. Every measurement in this plan uses the real size.
Shopping list
- 12Pressure-treated 2x6, 8 ftTop, seats, seat supports and legs.
- 2Pressure-treated 2x4, 8 ftCleats and braces.
- 8⅜″ × 4″ galvanized carriage boltsWith washers and nuts.
- ~602½″ exterior deck screws
- 103″ exterior deck screwsFor the braces.
- 1Exterior stain or sealer
Tools
- Miter sawFor the 22½° legs and the braces.
- Drill/driverWith a ⅜″ bit for the bolts.
- Wrench or socketFor the nuts.
- Clamps
- Tape measure, speed square, pencil
Cut list
| Part | Qty | Size, inches | From |
|---|---|---|---|
| ATop boards | 5 | 1½ × 5½ × 72 | 2x6 |
| BSeat boards | 4 | 1½ × 5½ × 72 | 2x6 |
| CSeat supports | 2 | 1½ × 5½ × 56½ | 2x6 |
| DLegsBoth ends cut at 22½°, parallel. | 4 | 1½ × 5½ × 34 | 2x6 |
| ETop cleats | 2 | 1½ × 3½ × 28½ | 2x4 |
| FCenter cleat | 1 | 1½ × 3½ × 28½ | 2x4 |
| GBracesBoth ends cut at 31°, parallel. | 2 | 1½ × 3½ × 30 | 2x4 |
Board layout. Each row is one board, cut left to right, with the remainder hatched. Dark lines are saw cuts, about ⅛″ wide.
Build it
 01
Cut the pieces
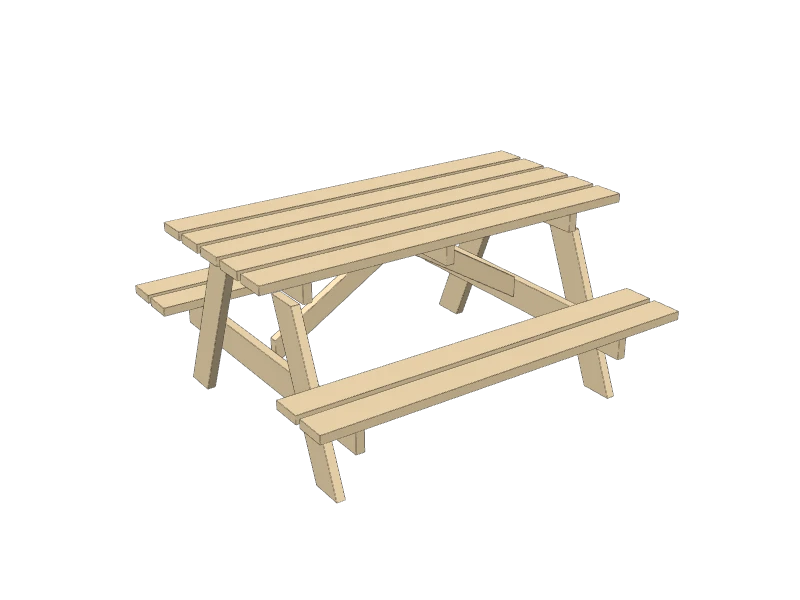
Cut the top boards, seat boards, seat supports and cleats (A, B, C, E, F) square:
- A Top boards, five at 72″
- B Seat boards, four at 72″
- C Seat supports, two at 56½″
- D Legs, four at 34″
- E Top cleats, two at 28½″
- F Center cleat, one at 28½″
- G Braces, two at 30″
 02
Cut the angled legs and braces
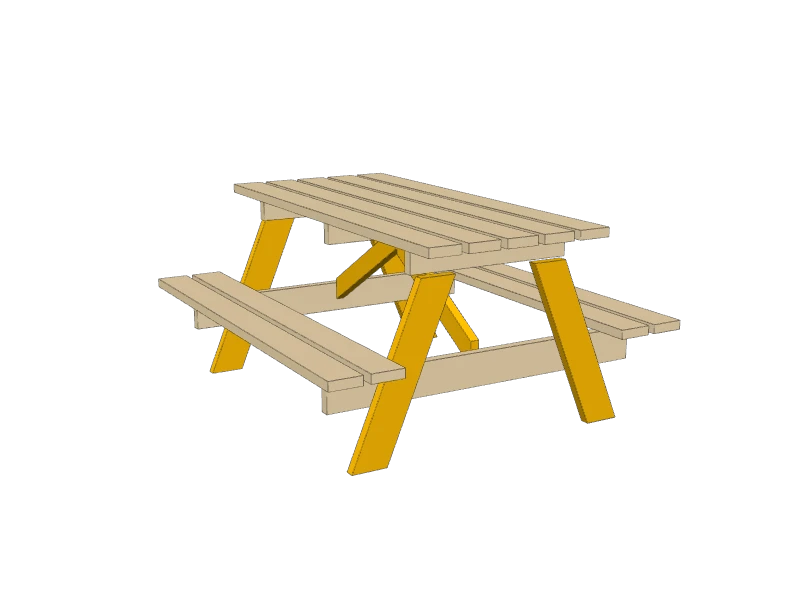
Set the miter saw to 22½°. Cut one end of each leg (D), measure 33⅛″ along the long edge, and cut the other end parallel.
Set the saw to 31° and cut the braces (G) the same way, 29¼″ long point to long point.
TipCut one leg, check it against the drawing, then use it as the pattern for the other three.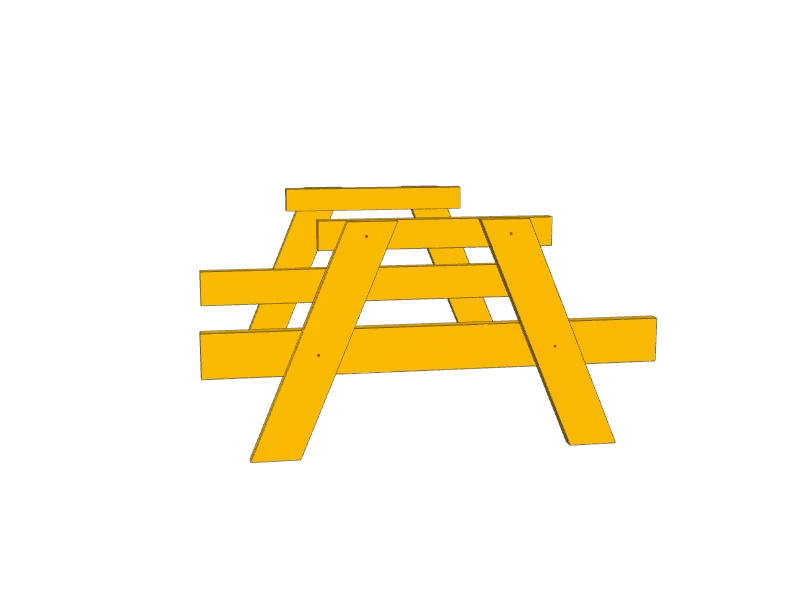 03
Build the two ends
On a flat floor, lay out one end: the top cleat (E) and the seat support (C) on edge, 13″ apart from the top of one to the top of the other, both centered on the same line. Lay two legs (D) across them, their tops flush with the top edge of the cleat and the center of each leg top 8″ from the center of the cleat, and their bottoms on a line 15½″ below the top of the seat support.
Clamp everything, drill ⅜″ holes and fit two ⅜″ × 4″ carriage bolts through each leg, one into the cleat and one into the seat support, with washers and nuts on the inside. Build the second end as a mirror image.
 04
Add the seats
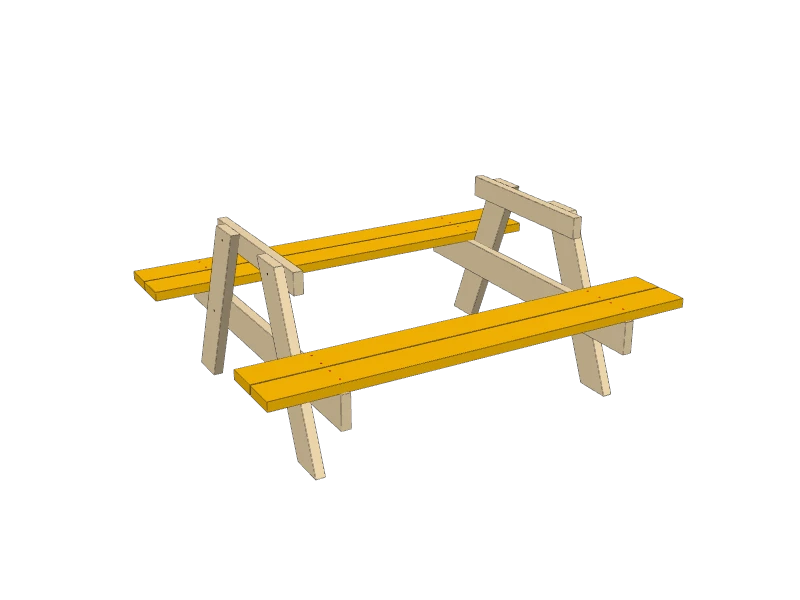
Stand both ends up 54″ apart at the outside. Screw the seat boards (B) onto the seat supports, two each side with a ¼″ gap, overhanging 9″ at the ends. Two 2½″ deck screws per board at each support.
 05
Add the center cleat and braces
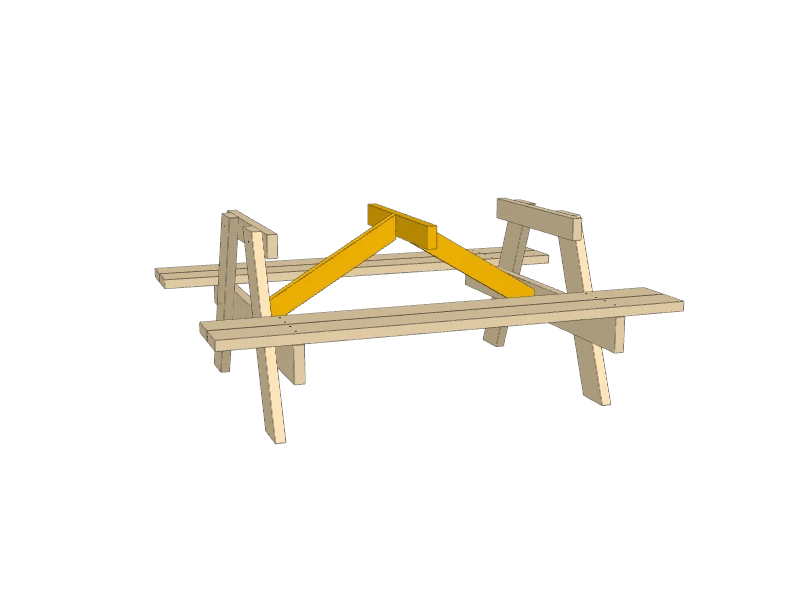
Hold the center cleat (F) across the middle of the table, at the same height as the end cleats. Fit a brace (G) from each seat support up to it, side by side, one on each side of the center line. Screw each brace end with two 3″ deck screws through the seat support and through the center cleat.
 06
Screw down the top
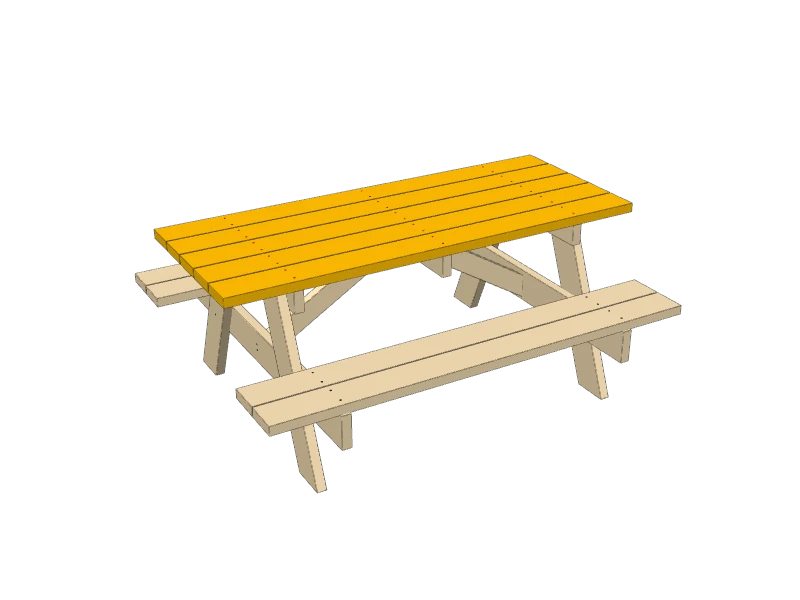
Lay the five top boards (A) on the cleats with ¼″ gaps, overhanging the ends evenly, and screw each one to all three cleats with two 2½″ deck screws.
 07
Finish
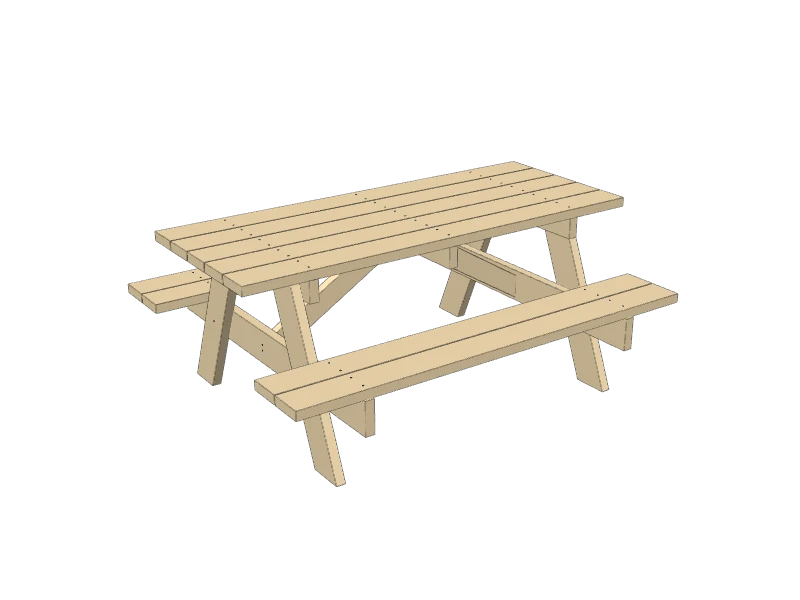
Sand the top and seat edges and round over every corner. Brush on an exterior stain or sealer, and recoat every year or two.
Watch outCheck the bolts each spring and tighten them: the wood shrinks and they loosen. Set the table on level ground so all four legs bear.
Build at your own risk. Check every measurement against your own lumber before you cut, test-fit before you glue, and wear eye and ear protection.