









Industrial Pipe Bookshelf
A tall bookshelf of five chunky 2x10 shelves on columns of black pipe. The flanges screw to the shelves, so there are no holes to drill through the wood.
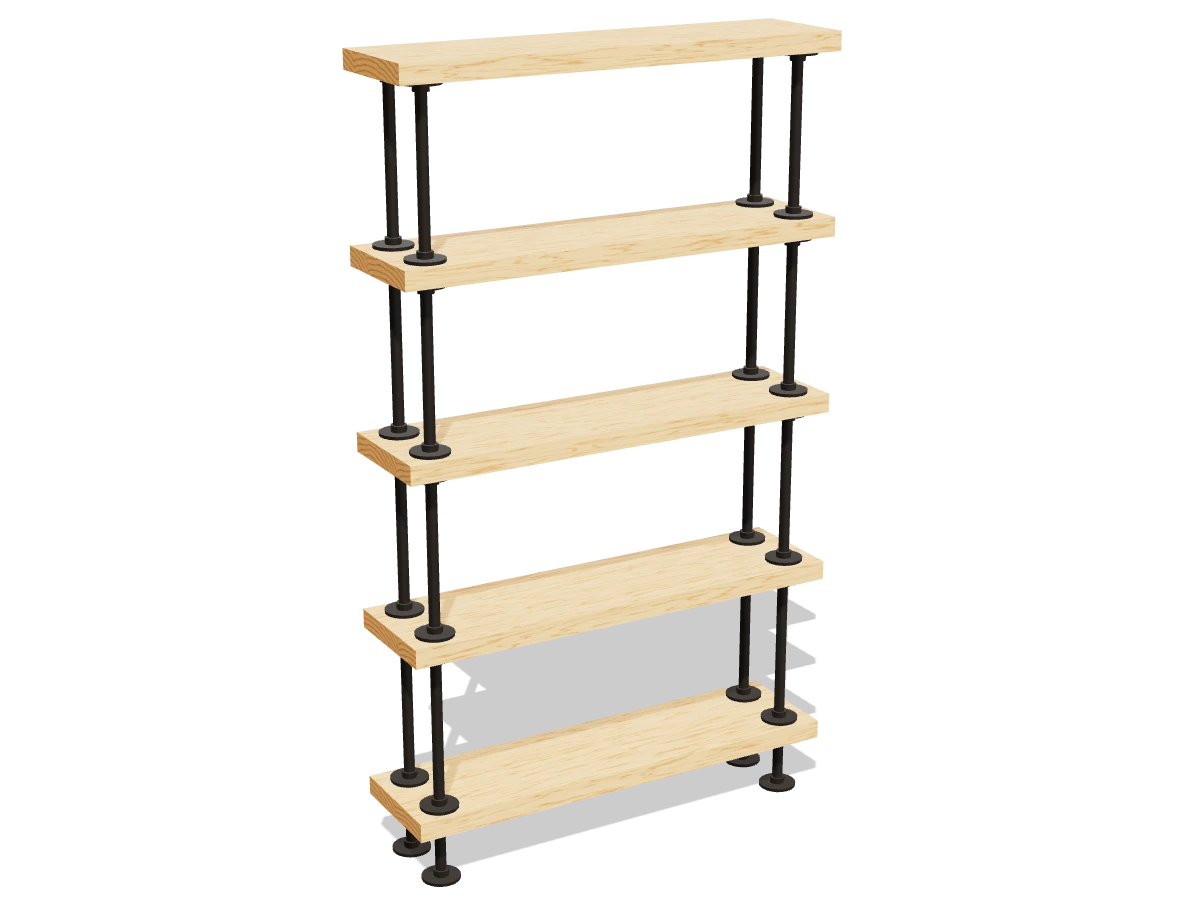
- Skill
- Level 2 of 5 · Beginner
- Build time
- 4 to 5 hours, plus finish
- Lumber
- 3 2x10s
- Joinery
- Pipe flanges and screws
- Finished size
- about 36″ W × 9¼″ D × 62″ H
A 2x10 is actually 1½″ × 9¼″. Every measurement in this plan uses the real size.
Shopping list
- 32x10, 8 ftThe shelves. Pick flat, dry boards.
- 40½″ black pipe floor flanges3″ across, with 4 screw holes.
- 16½″ × 12″ black pipe nipples
- 4½″ × 4″ black pipe nipplesFor the feet.
- ~170#10 × 1″ pan-head screwsFor the flanges.
- 1Furniture anti-tip kitStrap or cable with screws for a wall stud.
- 4Felt padsUnder the floor flanges.
- 1Clear spray finish for metalFor the pipe.
- —Sandpaper, stain or oil
Tools
- Miter saw or circular saw
- Drill/driverWith a ⅛″ bit for pilot holes.
- Random orbit sander
- Level
- Stud finder
- Tape measure, speed square, pencil
Cut list
| Part | Qty | Size, inches | From |
|---|---|---|---|
| AShelves | 5 | 1½ × 9¼ × 36 | 2x10 |
Board layout. Each row is one board, cut left to right, with the remainder hatched. Dark lines are saw cuts, about ⅛″ wide.
Build it
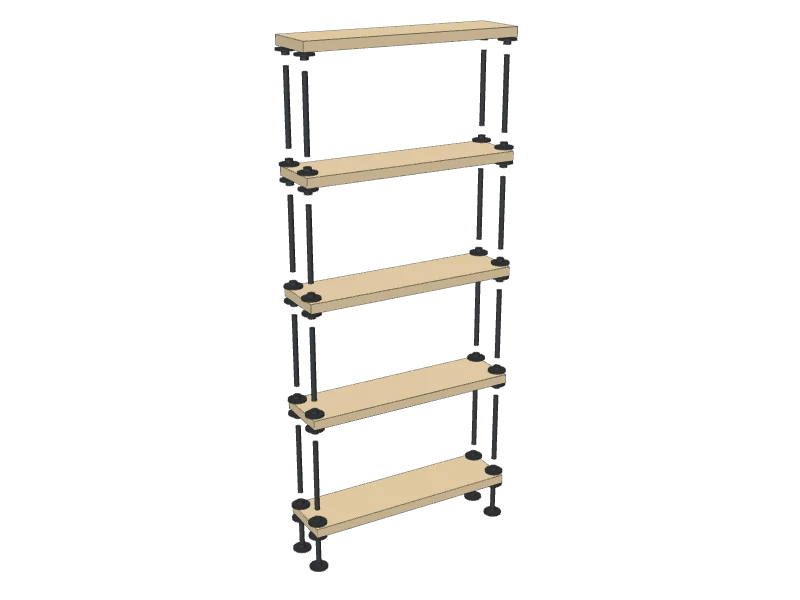 01
Cut and sand the shelves
Cut the shelves:
- A Shelves, five at 36″
Sand them with 80, 120 and 180 grit and round every edge a little. Stain or oil them now, before the pipe goes on.
TipPick 2x10s that are flat and dry, with no cracks at the ends. A cupped shelf won't sit flat on its flanges.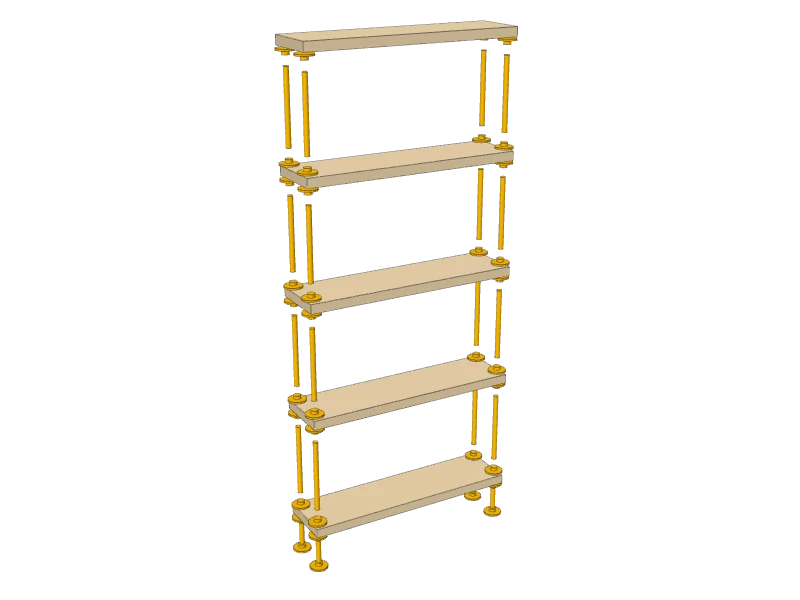 02
Clean the pipe
Black pipe comes coated in oil that rubs off on hands and books. Wash every flange and nipple in hot soapy water or wipe it with mineral spirits, and let it dry.
Dry-fit one column first: screw a flange onto each end of a 12″ nipple by hand until it's snug. Measure between the flange faces. This plan uses 12½″; if yours differs, every gap changes by the same amount, and that's fine.
A coat of clear spray finish stops the pipe from rusting or leaving marks. Spray it outdoors and let it dry.
 03
Screw the flanges to the shelves
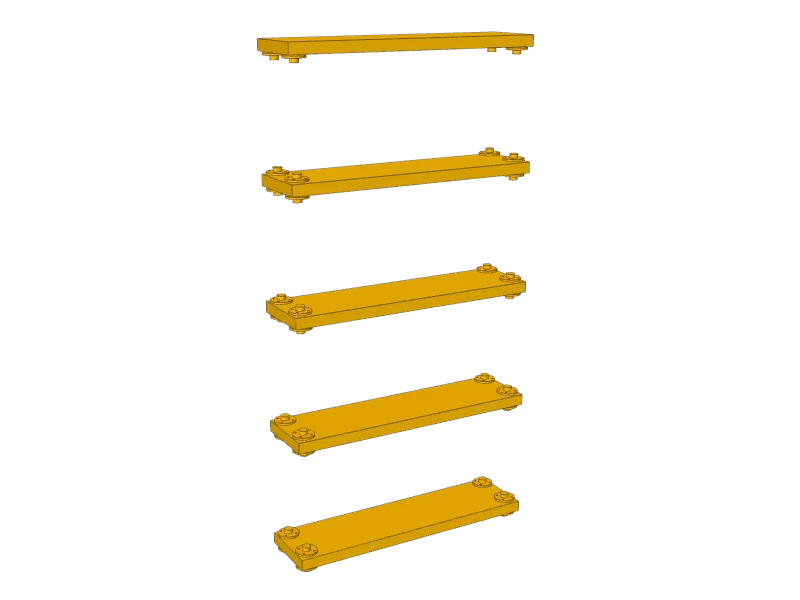
Mark the four flange spots on both faces of each shelf (A): centered 2½″ in from each end and 2″ in from the front and back edges.
The bottom shelf gets four flanges underneath. The top shelf gets four underneath too, and nothing on top. The three middle shelves get four on each face. Turn the flanges on the top faces an eighth of a turn from the ones underneath, so the screws from each side miss each other.
Drill pilot holes and drive 1″ pan-head screws, four per flange.
 04
Add the feet
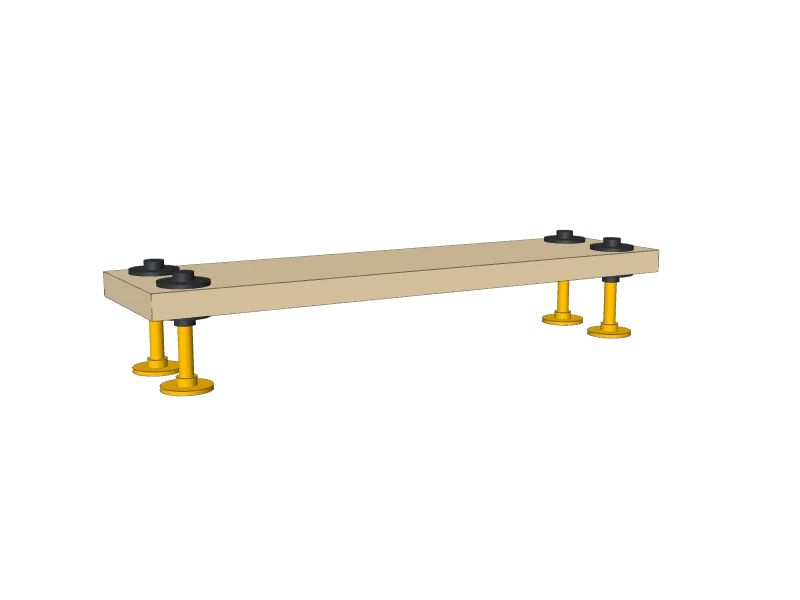
Turn the bottom shelf (A) upside down. Thread a 4″ nipple into each flange underneath, then thread a floor flange onto each nipple. Hand-tight, then a quarter turn more, all four the same. Stick a felt pad under each floor flange and stand the shelf up.
 05
Stack the shelves
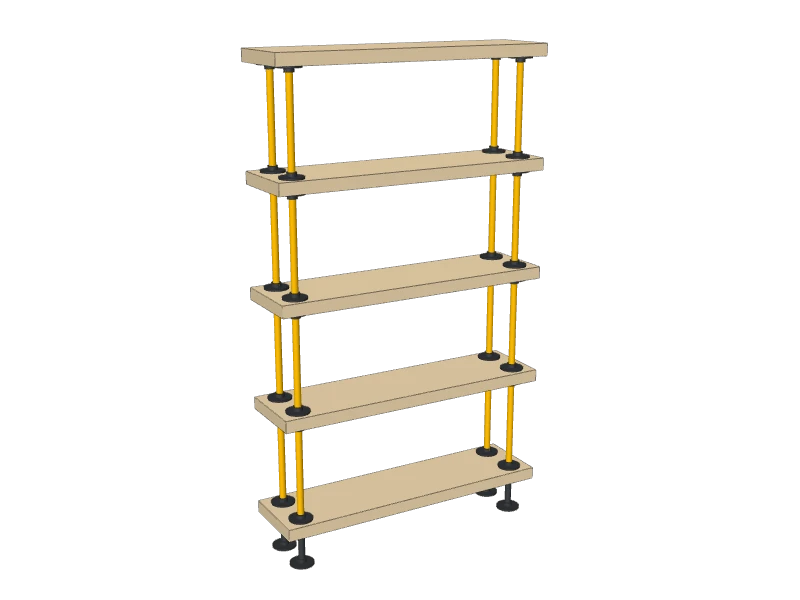
Thread a 12″ nipple into each flange on top of the bottom shelf (A). Lower the next shelf onto them, line its flanges up over the pipes, and turn each flange down onto its pipe a little at a time, going around the four corners, until the shelf sits level. Repeat for each shelf up to the top.
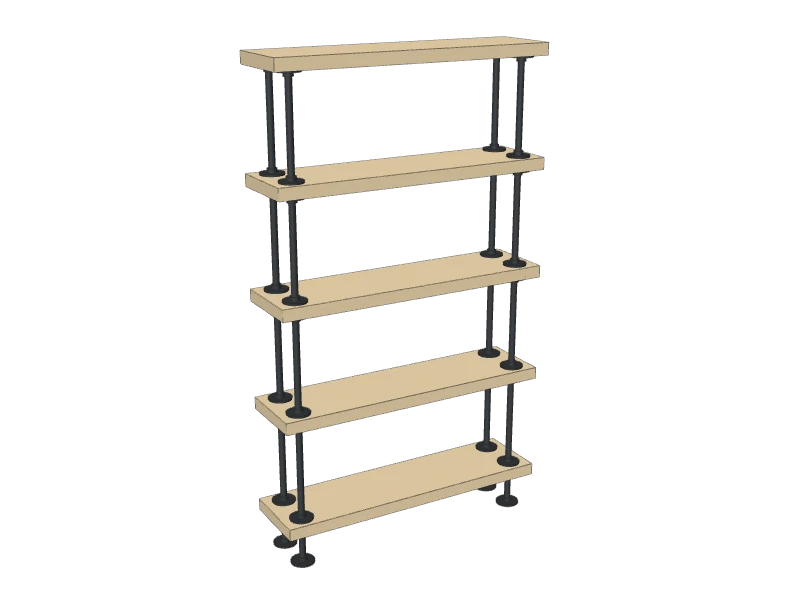
Check each shelf with a level as you go. Tighten or loosen a flange a quarter turn to level it.
 06
Anchor it to the wall
Stand the bookshelf against the wall where it will live. Fasten the top shelf to a wall stud with a furniture anti-tip kit, following the kit's instructions: one bracket on the back of the top shelf, one in the stud, joined by its strap or cable.
Watch outAt 62″ tall and only 9¼″ deep, this bookshelf can tip forward if someone pulls on a shelf or a child climbs it. Anchor it before you load any books, and load the bottom shelves first.
Build at your own risk. Check every measurement against your own lumber before you cut, test-fit before you glue, and wear eye and ear protection.