









Wall-Mounted Headboard
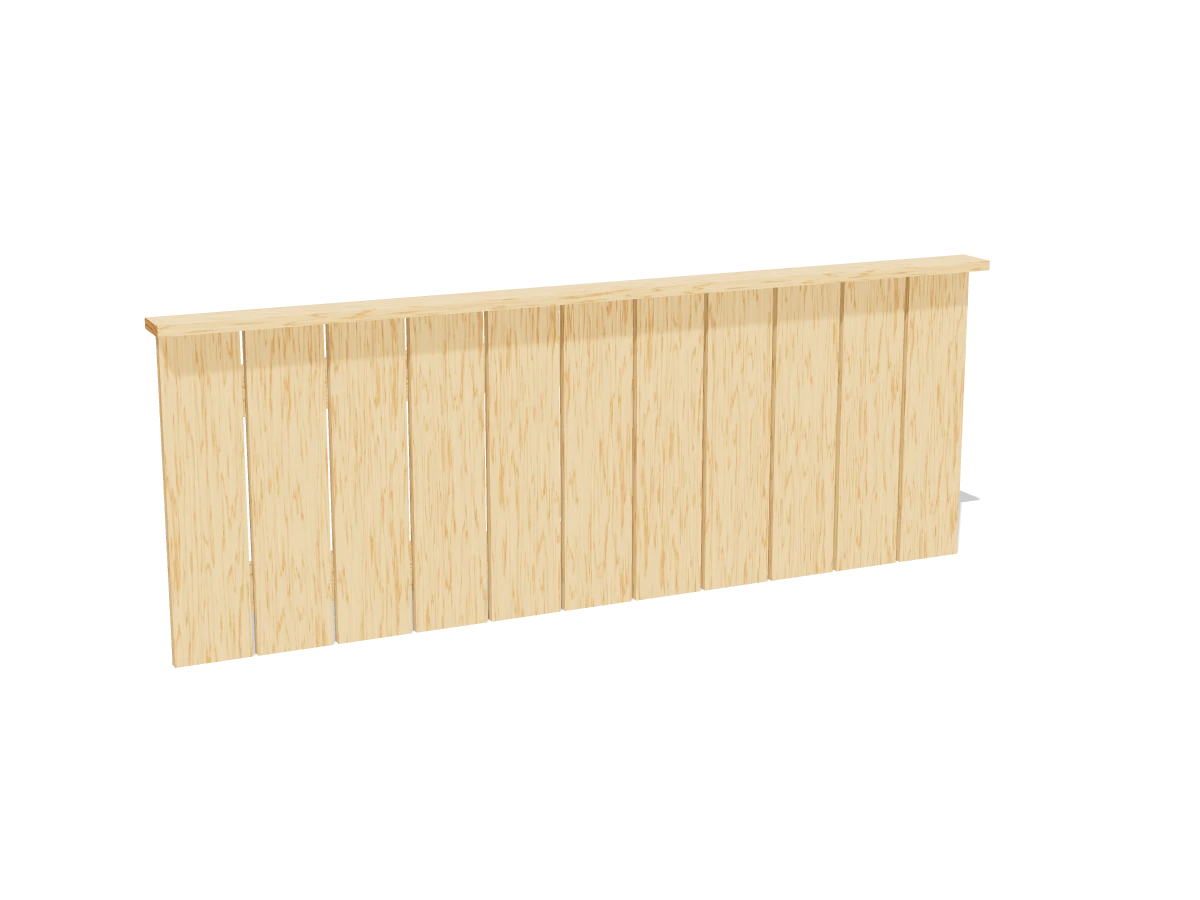
Draft · not yet checked by a carpenterA queen-size slatted headboard that screws to the wall studs instead of the bed frame. Eleven 1x6 boards, two battens and a cap with a small ledge.
- Skill
- Beginner
- Build time
- 3 to 4 hours, plus finish
- Lumber
- 3 1x4s and 3 1x6s
- Joinery
- Screws into studs, trim screws and brads
- Finished size
- 65¼″ W × 3½″ D × 24¼″ H
A 1x4 is actually ¾″ × 3½″ and a 1x6 is ¾″ × 5½″. Every measurement in this plan uses the real size.
Shopping list
- 31x4, 6 ftBattens and cap.
- 21x6, 8 ftThe boards. Pick clear, flat ones: they all show.
- 11x6, 6 ftThe boards. Pick clear, flat ones: they all show.
- 163″ wood screwsFor the battens, into the studs.
- ~601¼″ trim-head screwsSmall heads that hide easily.
- ~201¼″ brad nailsFor the cap.
- 1Wood glue
- —Sandpaper, wood filler, stain or paint
Tools
- Miter saw or circular saw
- Drill/driver
- Stud finder
- Level4 ft if you have one.
- Brad nailer or hammer
- Tape measure, pencil
Cut list
| Part | Qty | Size, inches | From |
|---|---|---|---|
| ABattens | 2 | ¾ × 3½ × 63¼ | 1x4 |
| BBoards | 11 | ¾ × 5½ × 23½ | 1x6 |
| CCap | 1 | ¾ × 3½ × 65¼ | 1x4 |
Board layout. Each row is one board, cut left to right, with the remainder hatched. Dark lines are saw cuts, about ⅛″ wide.
Build it
 01
Cut the pieces
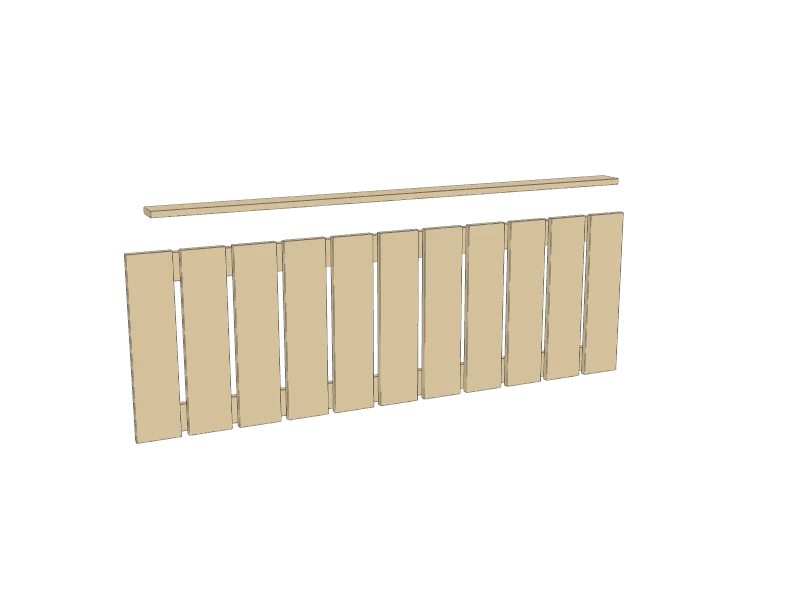
Cut every piece on the cut list:
- A Battens, two at 63¼″
- B Boards, eleven at 23½″
- C Cap, one at 65¼″
 02
Sand and finish the pieces
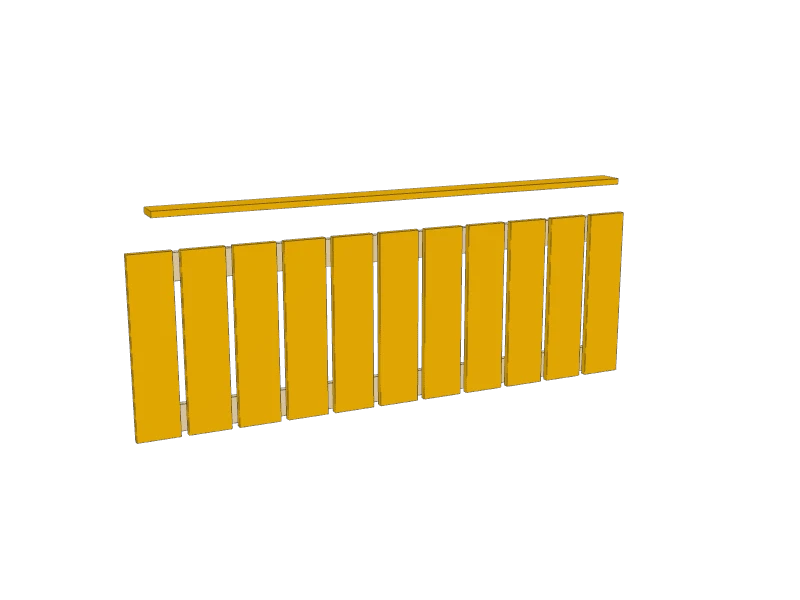
Sand the boards (B) and the cap (C) with 120 then 180 grit, and ease the front edges so the gaps read as clean lines. Stain or paint them now, and the edges of the boards too: they show in the gaps.
TipPaint the battens (A) a dark color, or the wall color, so they disappear behind the gaps.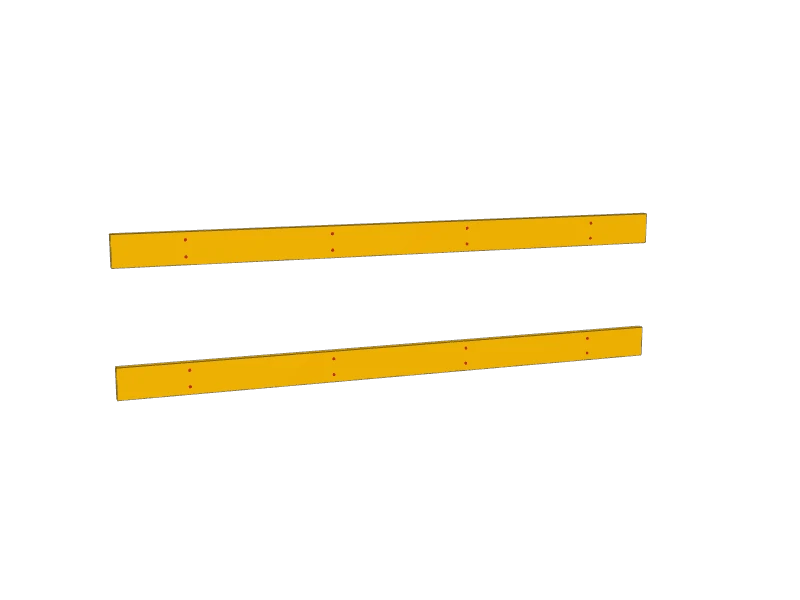 03
Screw the battens to the studs
Center the bed's spot on the wall and find the studs with a stud finder. A 63¼″ batten crosses three or four of them.
Decide where the bottom of the headboard goes: about 2″ below the top of the mattress looks right. Screw the lower batten (A) level to the wall 3″ above that line, then the upper batten 14″ above the lower one, with two 3″ screws into every stud.
Watch outInto studs only, not drywall anchors. People lean back against a headboard.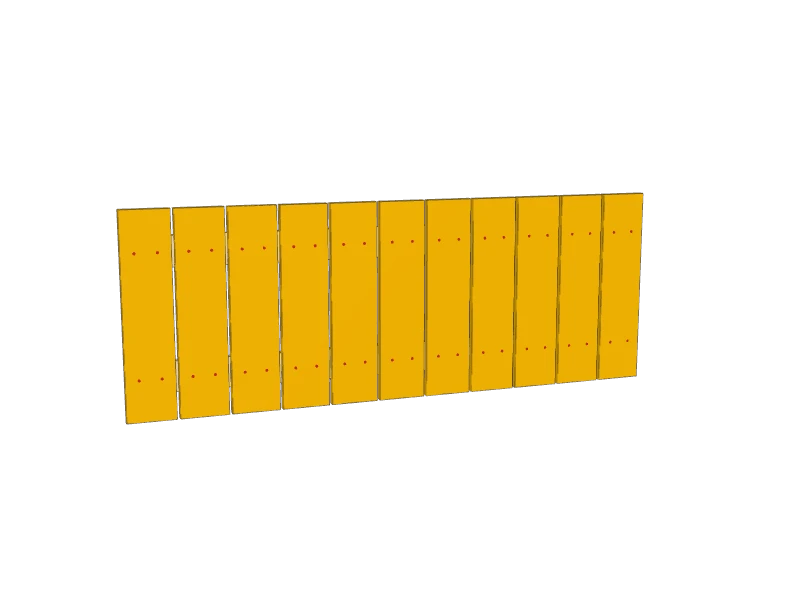 04
Screw on the boards
Start in the middle and work out. Hold each board (B) on the battens with its bottom on your line, plumb, and drive two 1¼″ trim-head screws into each batten. Use a ⅜″ spacer between boards.
The outside boards should hang ½″ past the ends of the battens.
TipTwo pieces of ⅜″ plywood make good spacers. Check every third board with a level so the gaps don't creep.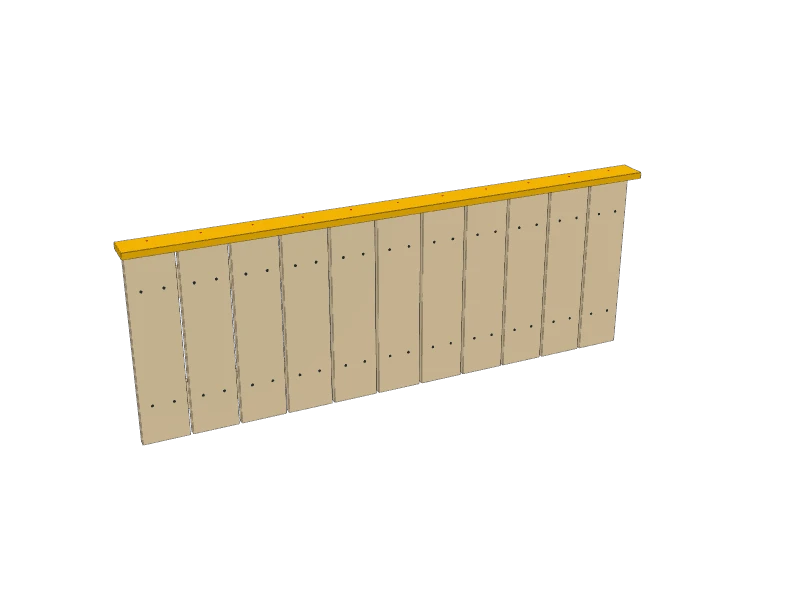 05
Add the cap
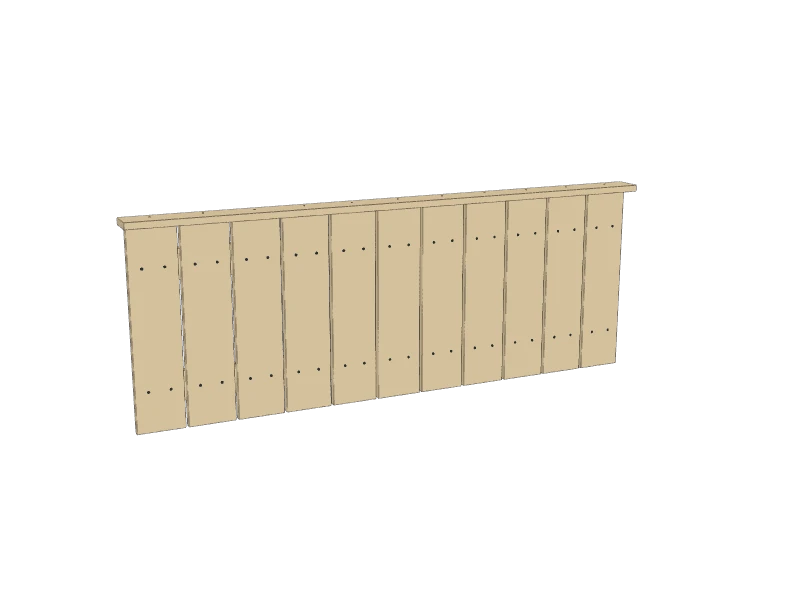
Glue the cap (C) across the tops of the boards, tight to the wall, overhanging ½″ at each end. Nail down into each board with a 1¼″ brad.
The cap sticks out 2″ past the boards: a small ledge for a book or a phone.
 06
Touch up
Fill the screw and nail holes with wood filler or a matching wax stick, and touch up the finish. Push the bed back against it.
Build at your own risk. Check every measurement against your own lumber before you cut, test-fit before you glue, and wear eye and ear protection.