









Slim Sofa Table
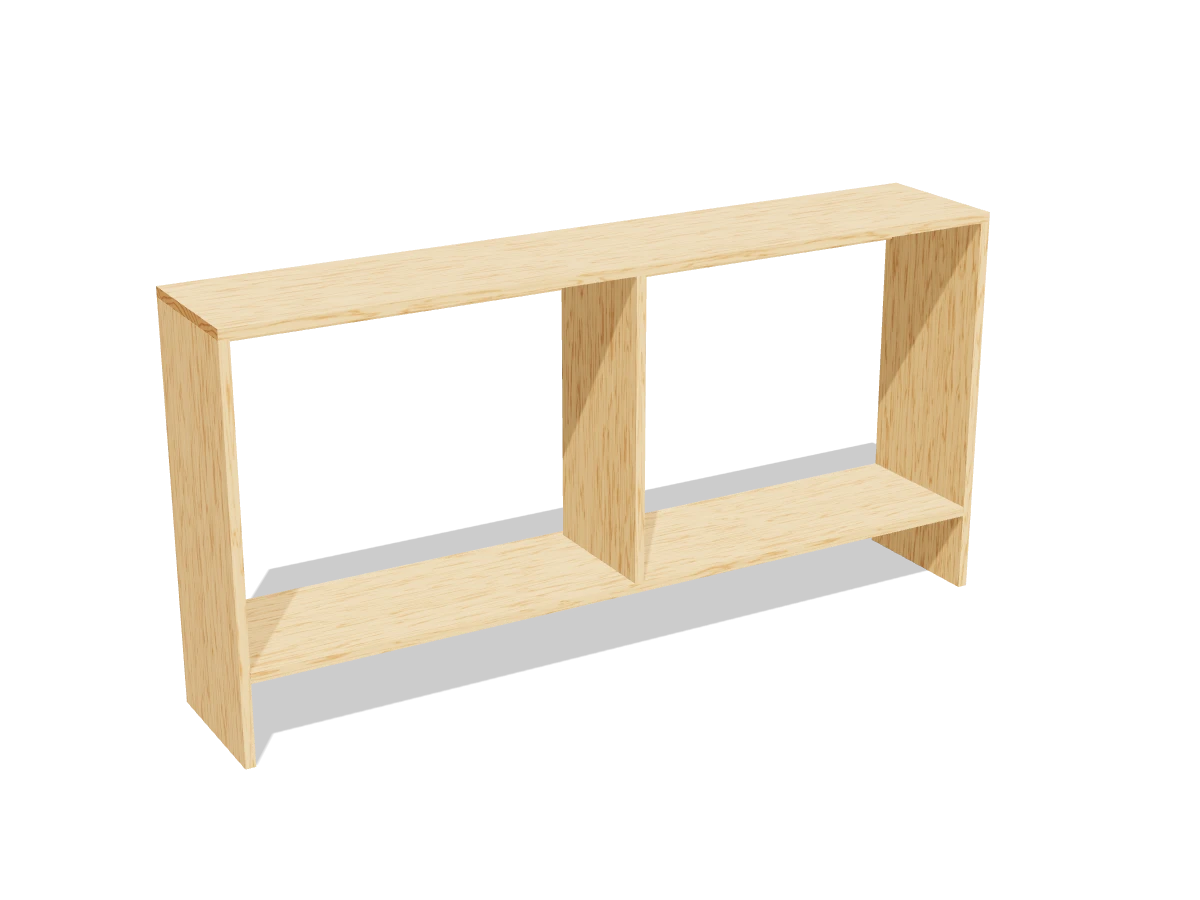
A narrow table to stand behind a couch: just 11¼″ deep and 30″ high, with a divided lower shelf for baskets. Made from 1x12 boards and a 1x4.
- Skill
- Level 2 of 5 · Beginner
- Build time
- 3 to 4 hours, plus finish
- Lumber
- 3 1x12s and 2 1x4s
- Joinery
- Pocket holes and glue
- Finished size
- 60″ L × 11¼″ D × 30″ H
A 1x12 is actually ¾″ × 11¼″ and a 1x4 is ¾″ × 3½″. Every measurement in this plan uses the real size.
Shopping list
- 21x12, 8 ftSelect or premium pine: the top and shelf show every knot and bow.
- 11x12, 6 ftSelect or premium pine: the top and shelf show every knot and bow.
- 21x4, 6 ftThe back rails.
- ~301¼″ coarse-thread pocket-hole screws
- 1Wood glue
- —Sandpaper, stain and a clear coat
- opt.Furniture anti-tip anchorIf it stands away from the couch.
Tools
- Miter saw or circular saw
- Pocket-hole jigSet for ¾″.
- Drill/driver
- Clamps
- Sander
Cut list
| Part | Qty | Size, inches | From |
|---|---|---|---|
| AEnds | 2 | ¾ × 11¼ × 29¼ | 1x12 |
| BTop | 1 | ¾ × 11¼ × 60 | 1x12 |
| CShelf | 1 | ¾ × 11¼ × 58½ | 1x12 |
| DDividerRipped to 10½″ wide so it fits in front of the back rail. | 1 | ¾ × 11¼ × 22½ | 1x12 |
| EBack rails | 2 | ¾ × 3½ × 58½ | 1x4 |
Board layout. Each row is one board, cut left to right, with the remainder hatched. Dark lines are saw cuts, about ⅛″ wide.
Build it
 01
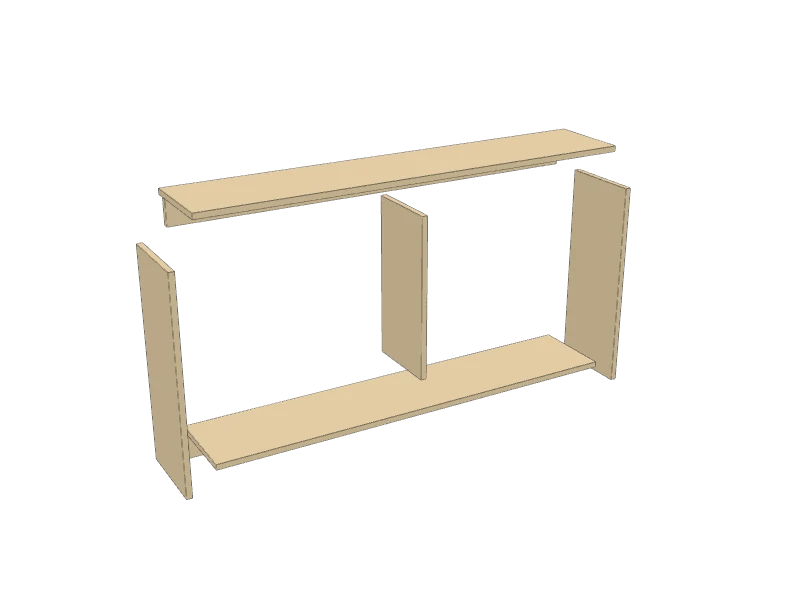
Cut the pieces
Pick the flattest, straightest 1x12s you can find: the top and shelf show every bow. Cut every piece:
- A Ends, two at 29¼″
- B Top, one at 60″
- C Shelf, one at 58½″
- D Divider, one at 22½″
- E Back rails, two at 58½″
 02
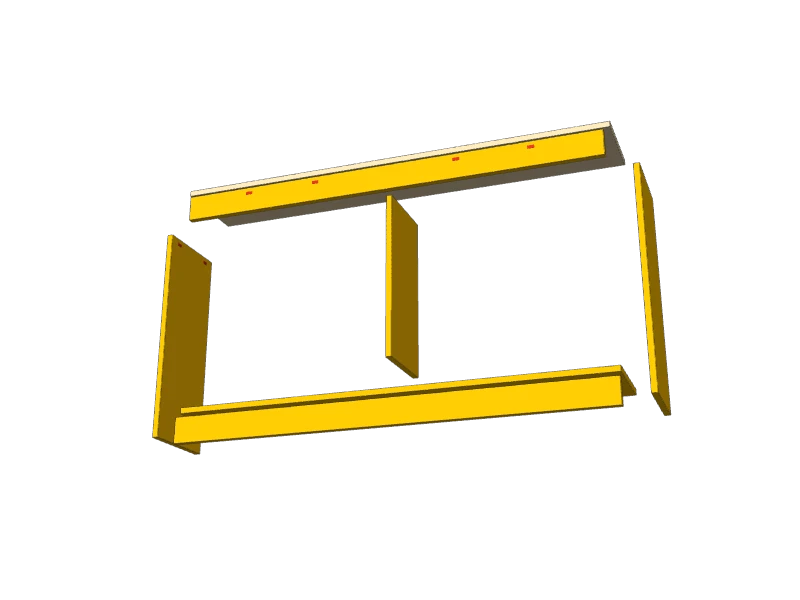
Drill the pocket holes
With the jig set for ¾″, drill on the faces nobody sees: three holes at each end of the shelf (C) on its underside, two at each end of the back rails (E) on their backs, two at each end of the divider (D) on one face, and two near the top of each end (A) on the inside. Add four holes along the top edge of the upper back rail for the top.
 03
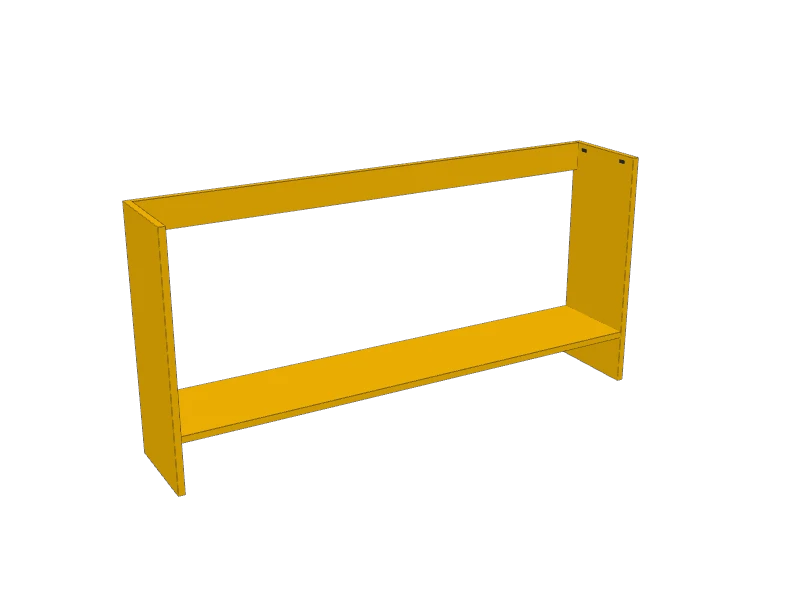
Build the base
Stand the two ends (A) up 60″ apart at the outside. Fit the shelf (C) between them with its bottom 6″ up from the floor, and the two back rails (E) flush with the back edges: one under the shelf, one flush with the tops of the ends. Glue and drive 1¼″ pocket screws.
TipCut a 6″ scrap block and stand the shelf on it at both ends while you screw. It comes out level.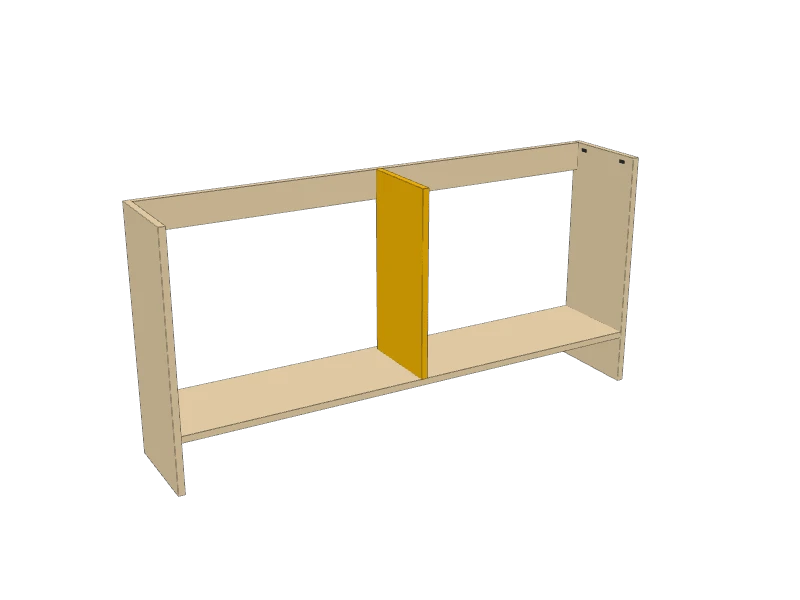 04
Add the divider
Rip the divider (D) to 10½″ wide. Stand it on the shelf at the center, 29⅝″ from either end, front edge flush with the shelf and back edge against the upper back rail. Glue and pocket-screw it to the shelf.
 05
Attach the top
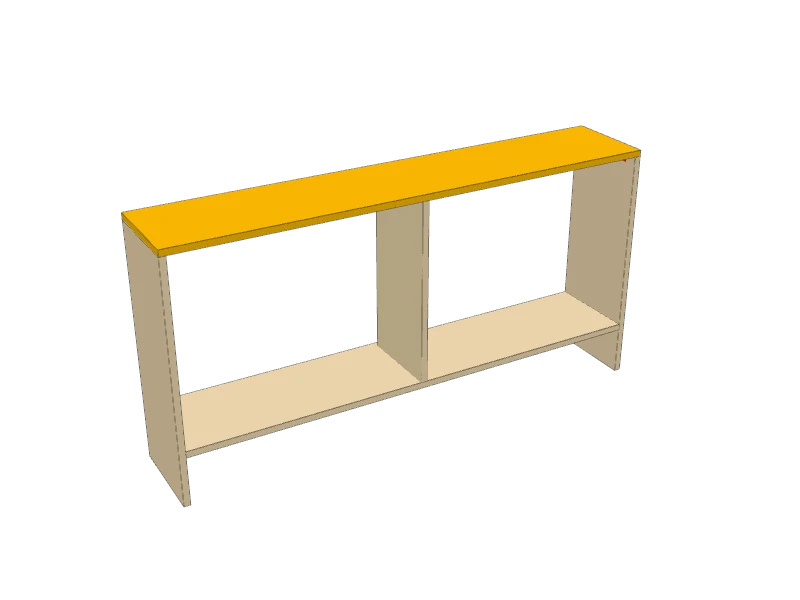
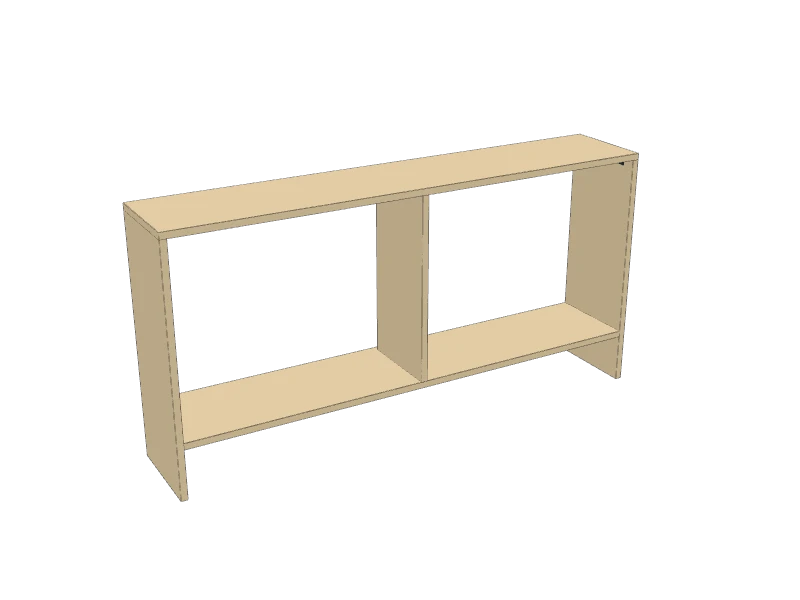
Lay the top (B) on the base, flush at the ends, front and back. Drive 1¼″ pocket screws up through the ends, the divider and the back rail into the top.
 06
Sand and finish
Sand with 120 then 180 grit and ease every edge. Stain and seal, or paint the base and stain the top.
TipPush it tight against the back of the couch: the couch keeps it from being knocked over. Out in the open, a narrow table like this is easy to tip, so anchor it to the wall.
Build at your own risk. Check every measurement against your own lumber before you cut, test-fit before you glue, and wear eye and ear protection.