









Tall Bookcase
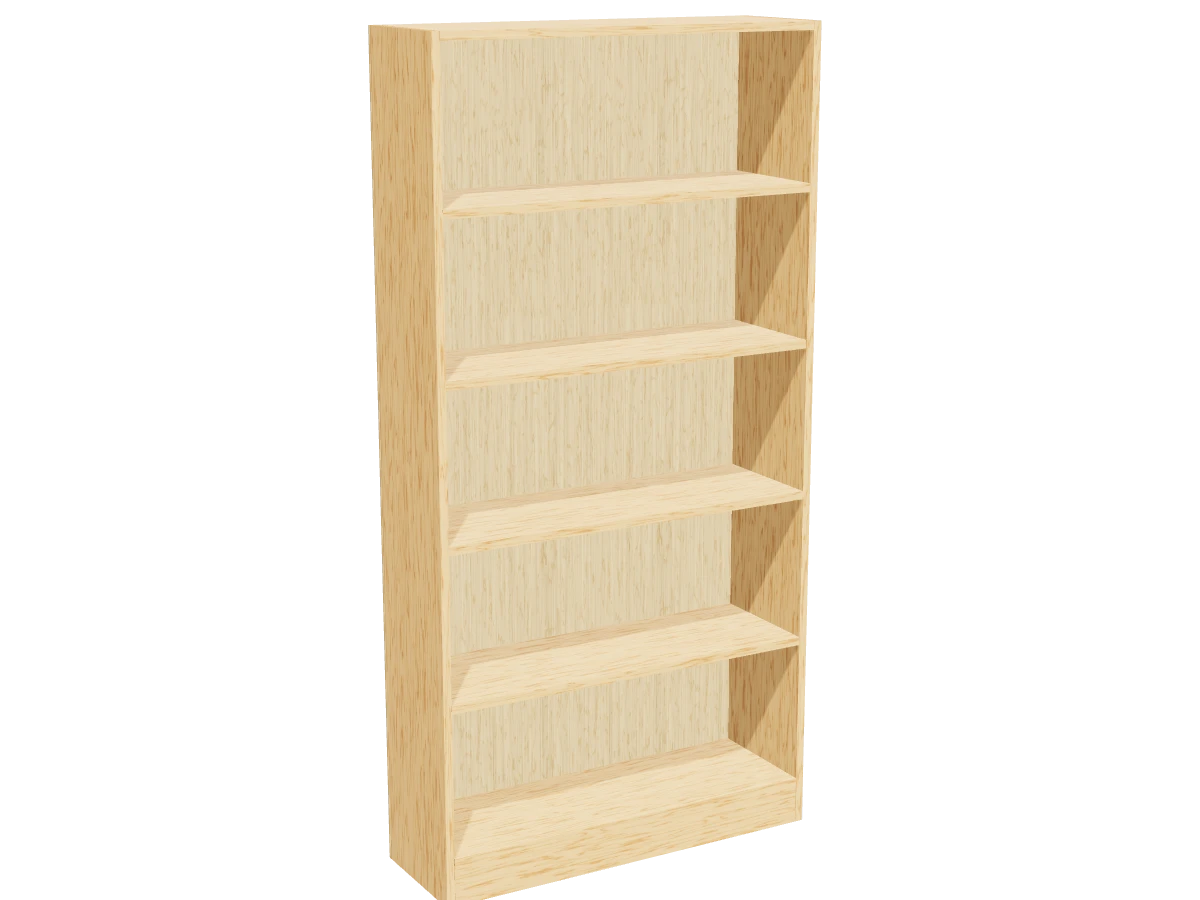
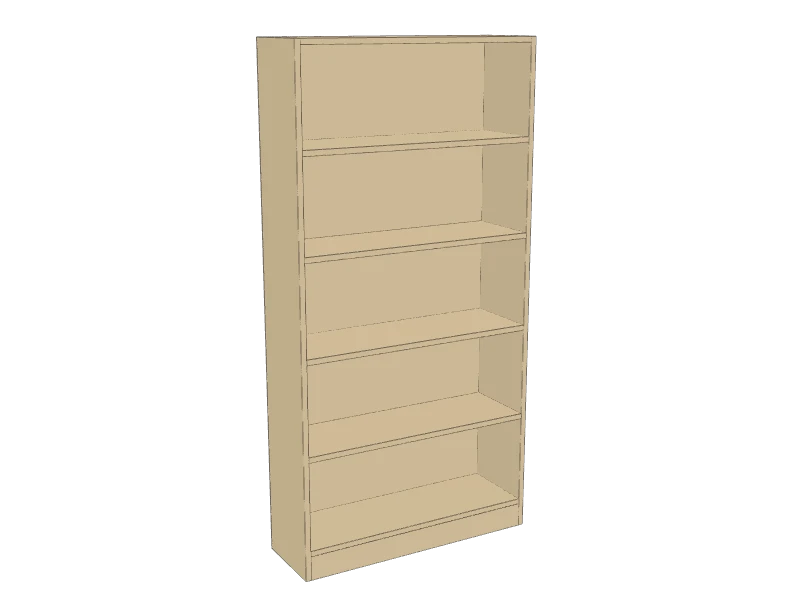
A simple 6 ft bookcase with five openings tall enough for most books, built from 1x12 boards with a plywood back. Pocket holes keep the outside clean.
- Skill
- Level 2 of 5 · Beginner
- Build time
- 4 to 5 hours, plus finish
- Lumber
- 5 1x12s, 1 1x4 and 1 sheet of ¼″ plywood
- Joinery
- Pocket holes, glue and brads
- Finished size
- 36″ W × 11½″ D × 71¾″ H
A 1x12 is actually ¾″ × 11¼″ and a 1x4 is ¾″ × 3½″. Every measurement in this plan uses the real size. ¼″ plywood is drawn at full thickness, but plywood sold that way is often a hair thinner, so measure yours and cut the pieces that fit between panels to match.
Shopping list
- 21x12, 8 ftSelect or premium pine: look for flat boards without big knots near the edges.
- 31x12, 6 ftSelect or premium pine: look for flat boards without big knots near the edges.
- 11x4, 6 ftThe kick.
- 1¼″ plywood, 4 × 8 ft sheetThe back.
- ~501¼″ coarse-thread pocket-hole screws
- ~401″ brad nailsFor the back.
- 1Furniture anti-tip kitStrap or bracket with screws for a wall stud.
- 1Wood glue
- —Paint or stain, sandpaper
Tools
- Miter saw or circular saw
- Pocket-hole jigSet for ¾″.
- Drill/driver
- Brad nailer or hammer
- Clamps
- Stud finder
Cut list
| Part | Qty | Size, inches | From |
|---|---|---|---|
| ASides | 2 | ¾ × 11¼ × 71¾ | 1x12 |
| BShelves | 6 | ¾ × 11¼ × 34½ | 1x12 |
| CKick | 1 | ¾ × 3½ × 34½ | 1x4 |
| DBack | 1 | ¼ × 36 × 71¾ | ¼″ plywood |
Board layout. Each row is one board, cut left to right, with the remainder hatched. Dark lines are saw cuts, about ⅛″ wide.
Build it
 01
Cut the pieces
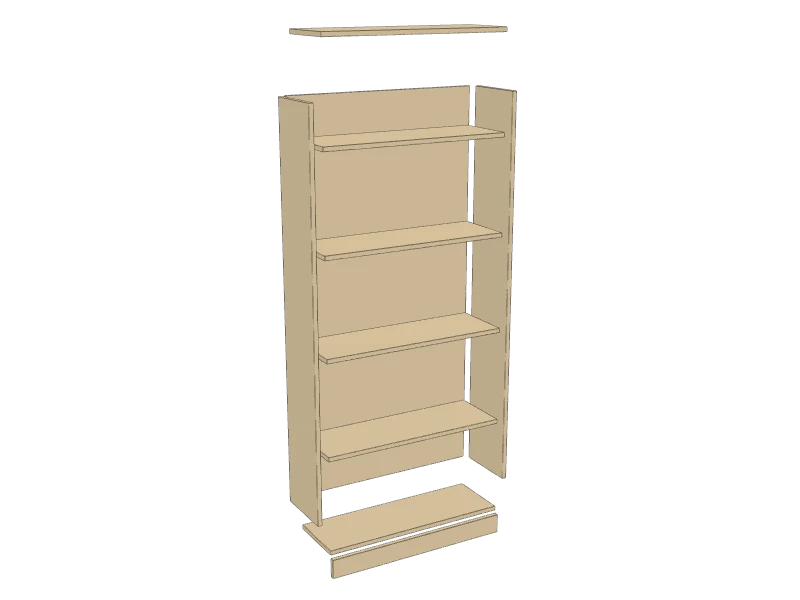
Clamp the two sides together and cut them at the same time so they match exactly. Then cut the rest:
- A Sides, two at 71¾″
- B Shelves, six at 34½″
- C Kick, one at 34½″
- D Back, one at 36″ × 71¾″
 02
Drill the pocket holes
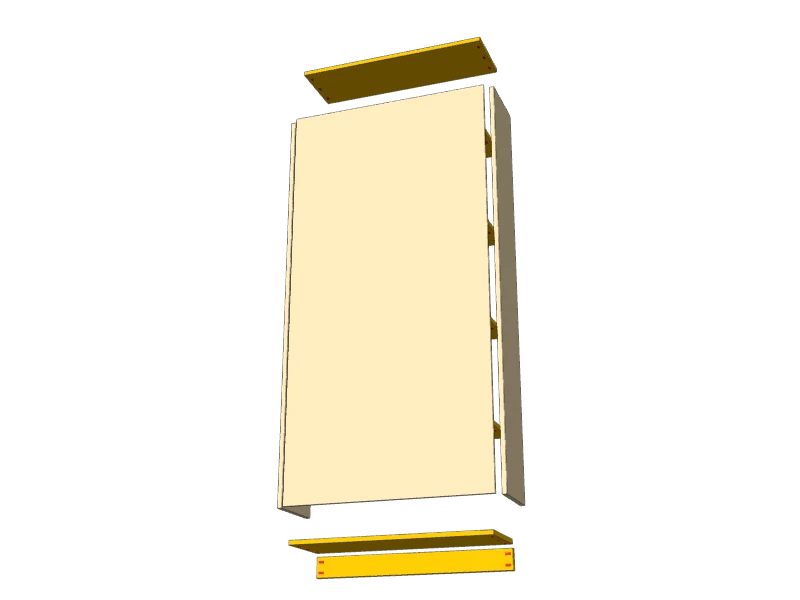
With the jig set for ¾″, drill three pocket holes at each end of every shelf (B) on its underside, and two at each end of the kick (C) on its back face.
 03
Build the case
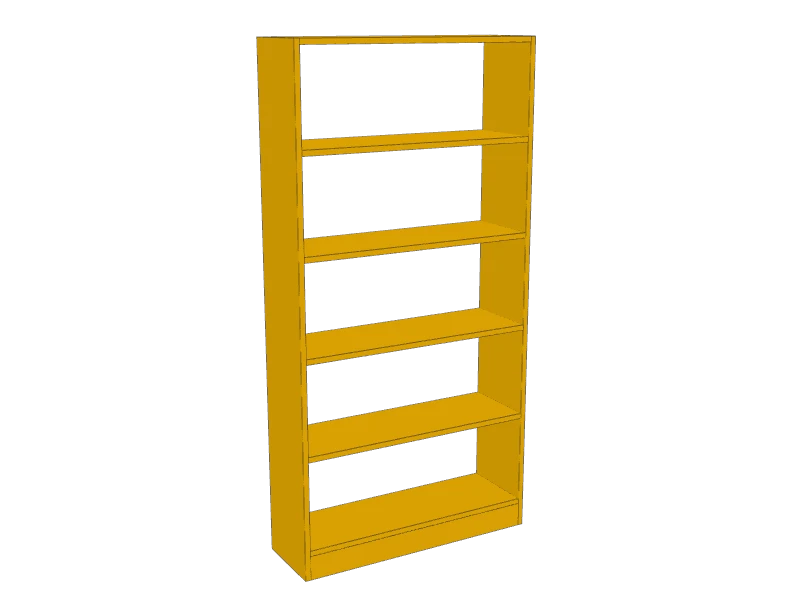
Lay one side (A) on the floor, inside face up. Mark the shelf positions on it: the bottom shelf 3½″ up from the bottom, then each shelf 13½″ above the one below, so every opening is 12¾″ tall. Mark the other side to match.
Stand the shelves (B) on edge on their marks, front edges flush with the side, and glue and pocket-screw them. Lay the second side on top, flip the case and screw the other ends. Fit the kick (C) under the bottom shelf, flush with the front.
TipCut a 12¾″ spacer board and stand it in each opening as you go. The shelves come out parallel without measuring each one.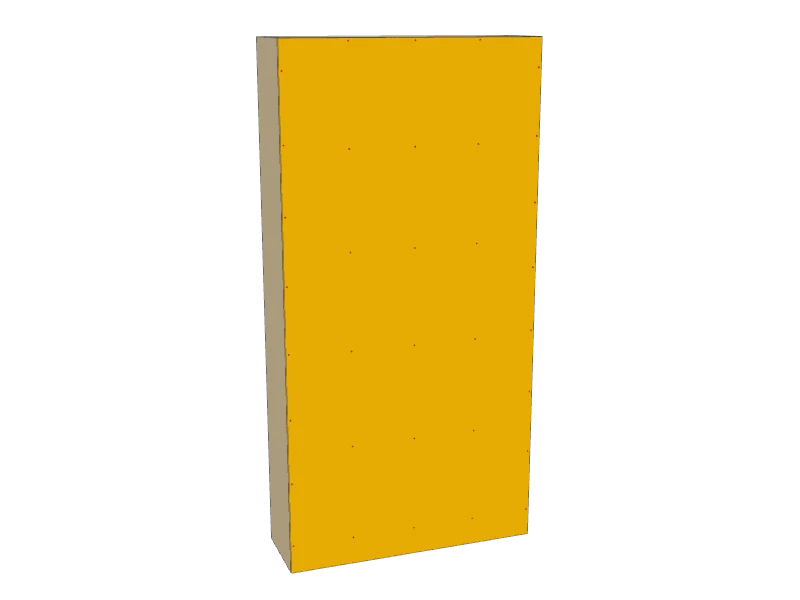 04
Nail on the back
Lay the case face down and measure both diagonals. Push it square until they match, then glue and nail the back (D) to the sides and every shelf with 1″ brads every 6″ or so. The back keeps the case square.
 05
Finish and anchor it
Sand with 120 then 180 grit and ease the edges. Paint or stain and seal it.
Stand it in place and anchor the top to a wall stud with a furniture anti-tip strap or bracket, following the kit's instructions.
Watch outA tall bookcase can tip onto a child who climbs it or pulls on a shelf. Always anchor it to a stud, even when it's full.
Build at your own risk. Check every measurement against your own lumber before you cut, test-fit before you glue, and wear eye and ear protection.