









Tool Tote
Draft · not yet checked by a carpenterAn open wooden tote with a dowel handle for hand tools, garden tools or craft supplies. A quick build and a classic gift.
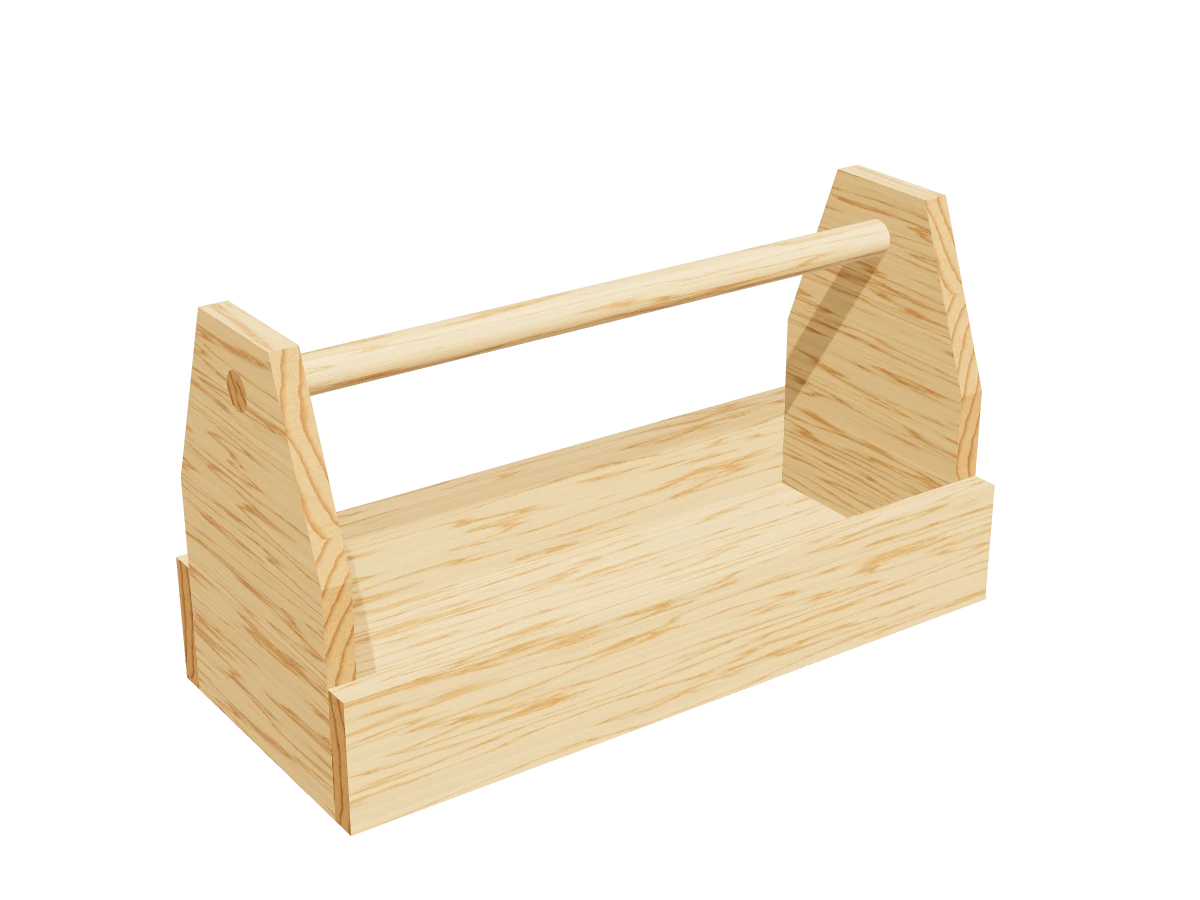
- Skill
- Beginner
- Build time
- 1 to 2 hours, plus finish
- Lumber
- 1 1x8 and 1 1x4
- Joinery
- Glue and brad nails
- Finished size
- 20″ L × 8¾″ W × 11″ H
A 1x8 is actually ¾″ × 7¼″ and a 1x4 is ¾″ × 3½″. Every measurement in this plan uses the real size.
Shopping list
- 11x8, 6 ftEnds and bottom.
- 11x4, 6 ftSides.
- 11″ hardwood dowel, 36″For the handle. Cut it to 20″.
- ~201¼″ brad nailsOr 1¼″ screws with pilot holes.
- 1Wood glue
- —Sandpaper, 120 grit
- opt.Oil or paint
Tools
- Miter saw or circular saw
- JigsawFor the tapered ends.
- Drill/driverWith a 1″ spade or Forstner bit.
- Brad nailer or hammer
- Clamps
- Tape measure, pencil
Cut list
| Part | Qty | Size, inches | From |
|---|---|---|---|
| AEndsCut to shape after you cut the blanks. | 2 | ¾ × 7¼ × 11 | 1x8 |
| BBottom | 1 | ¾ × 7¼ × 18½ | 1x8 |
| CSides | 2 | ¾ × 3½ × 20 | 1x4 |
Board layout. Each row is one board, cut left to right, with the remainder hatched. Dark lines are saw cuts, about ⅛″ wide.
Build it
 01
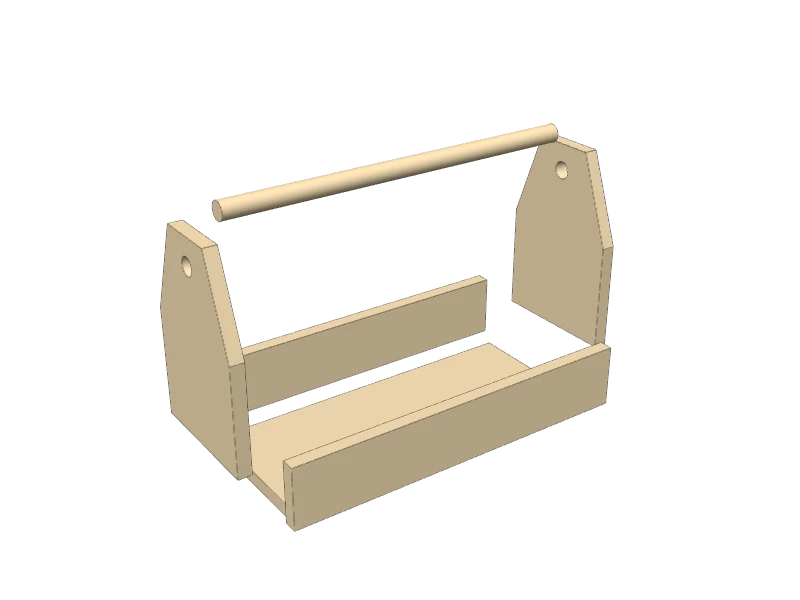
Cut the pieces
Cut every piece on the cut list, and cut the 1″ dowel to 20″ for the handle:
- A Ends, two at 11″
- B Bottom, one at 18½″
- C Sides, two at 20″
 02
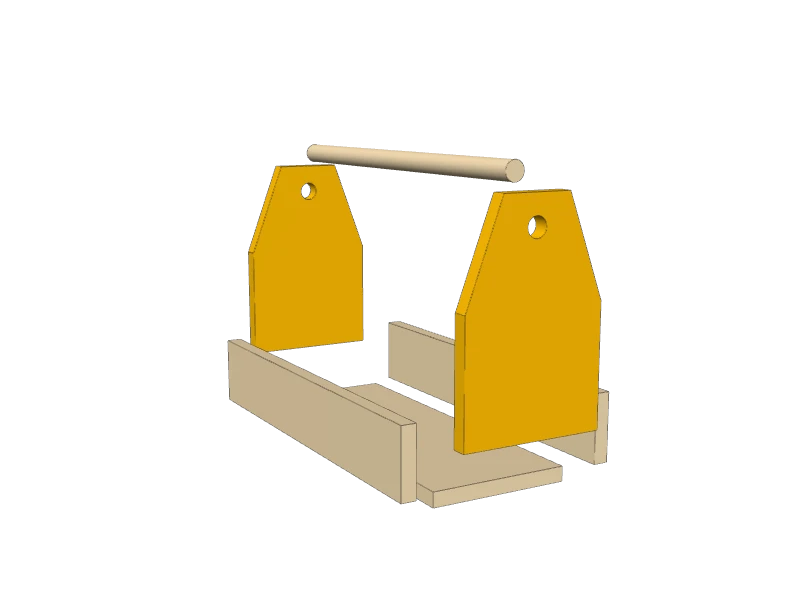
Shape the ends
On each end blank (A), mark 6″ up both long edges. On the top edge, mark 1¾″ each side of center. Join the marks to get the two tapers, and cut them with a jigsaw or circular saw.
Drill a 1″ hole for the handle, centered side to side and 1½″ down from the top, with a spade bit or Forstner bit.
TipClamp the two blanks together and cut and drill them as one. The ends come out identical and the handle slides straight through.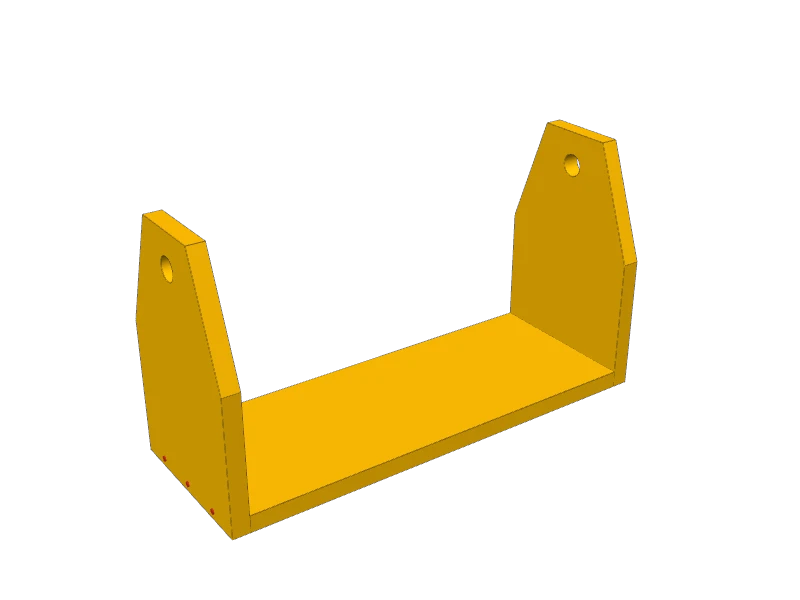 03
Fix the ends to the bottom
Stand the bottom (B) on edge between the two ends (A), flush with their bottom and side edges. Glue and drive three 1¼″ brad nails through each end into the bottom.
 04
Add the sides
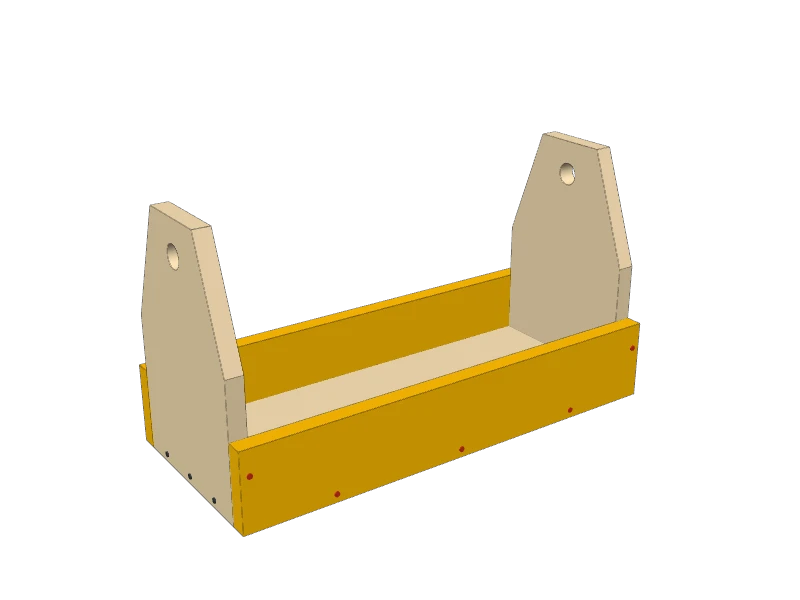
Glue the sides (C) to the edges of the bottom and ends, flush at the bottom and the ends. Nail them on with 1¼″ brads: three into the bottom and one into each end.
 05
Glue in the handle
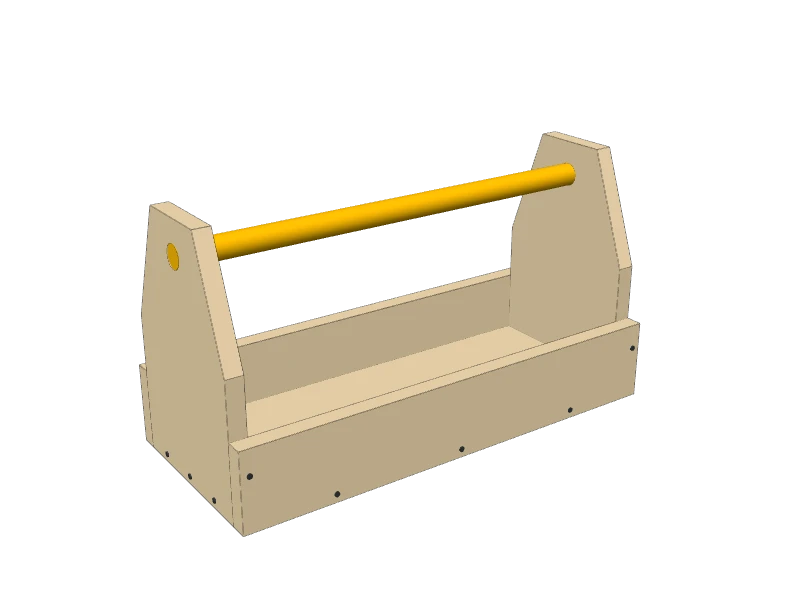
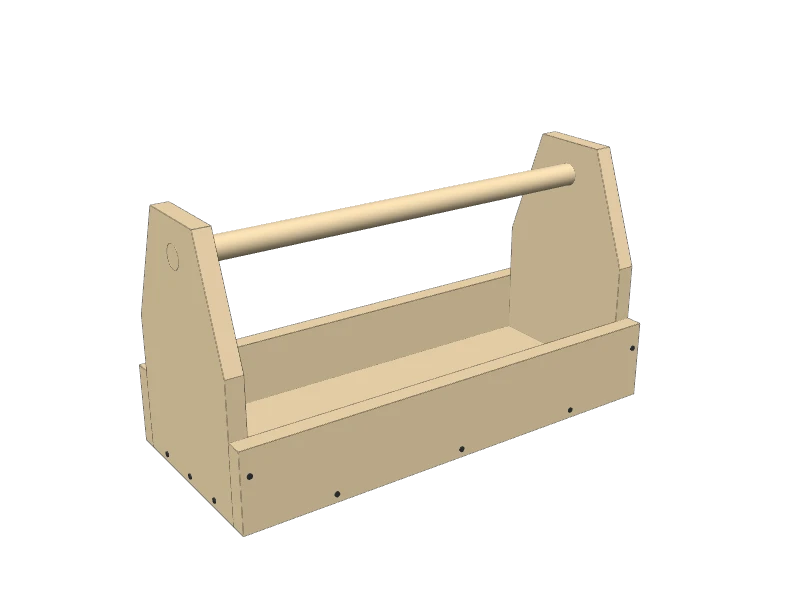
Slide the dowel through both holes until the ends are flush with the outside of the tote. Put a little glue in each hole and twist the dowel to spread it.
 06
Sand and finish
Ease every edge with 120 grit, especially along the handle and the tops of the ends. Finish with a wipe-on oil or a coat of paint.
TipBurn or paint a name on one end to make it a gift.
Build at your own risk. Check every measurement against your own lumber before you cut, test-fit before you glue, and wear eye and ear protection.