









Pop-Up TV Lift Cabinet
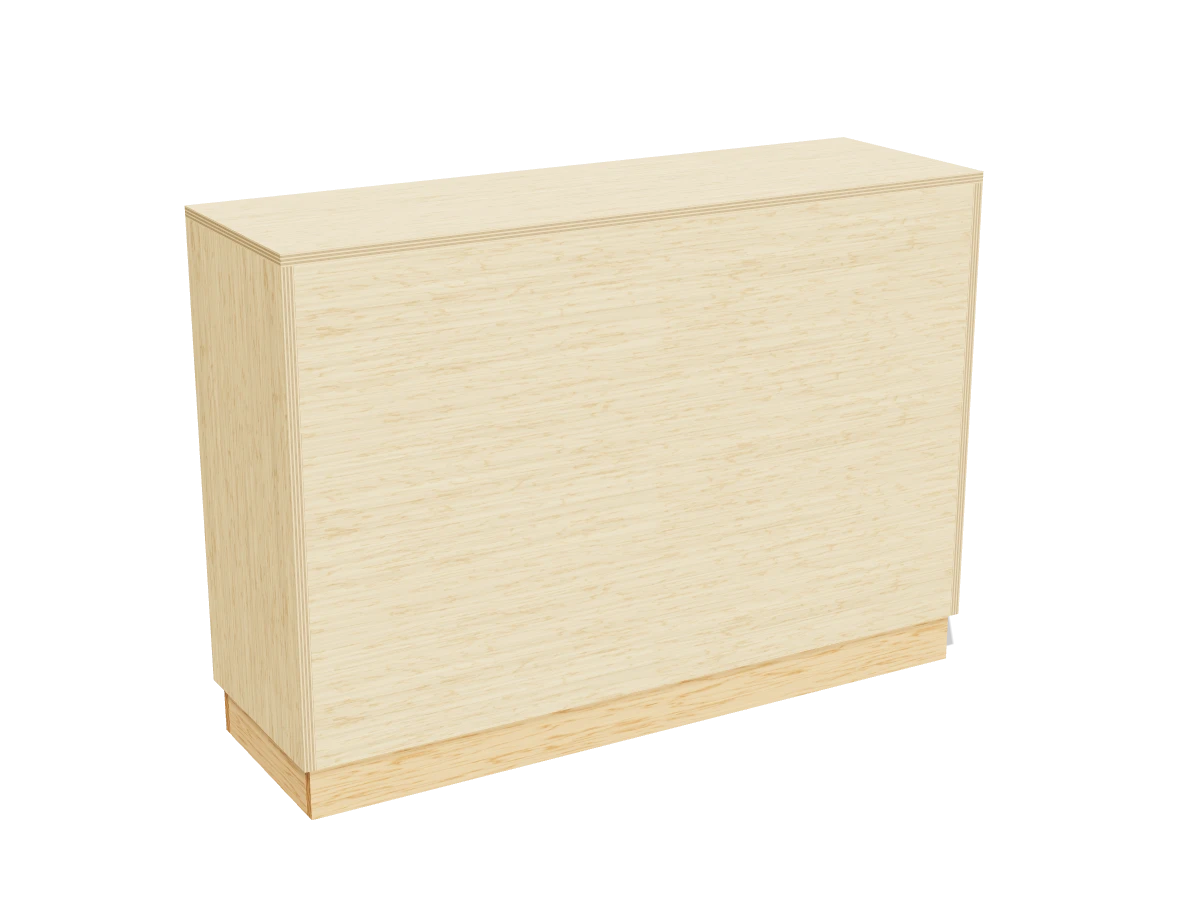
A plywood cabinet with a motorized lift inside: press the remote and the TV rises up out of the top, then hides away again when you're done.
- Skill
- Level 3 of 5 · Intermediate
- Build time
- 6 to 8 hours, plus finish
- Lumber
- 2 1x4s and 2 sheets of ¾″ plywood
- Joinery
- Pocket holes, glue and screws
- Finished size
- 49½″ W × 15½″ D × 35″ H
A 1x4 is actually ¾″ × 3½″. Every measurement in this plan uses the real size. ¾″ plywood is drawn at full thickness, but plywood sold that way is often a hair thinner, so measure yours and cut the pieces that fit between panels to match.
Shopping list
- 21x4, 6 ftThe kick frame.
- 2¾″ plywood, 4 × 8 ft sheetBirch or another hardwood plywood: the lift bolts to it.
- 1Motorized TV liftAbout 27″ lowered, 25″ to 28″ of travel, rated 130 lb or more.
- ~10Screws and bolts for the liftThey come with the lift.
- 1Furniture anti-tip kitStrap or bracket with screws for a wall stud.
- ~301¼″ coarse-thread pocket-hole screws
- ~301¼″ wood screws
- 1Wood glue
- 1Iron-on edge banding, 25 ftFor the plywood edges.
- —Sandpaper, paint or stain and a clear coat
Tools
- Circular sawWith a straight board clamped on as a guide.
- Pocket-hole jigSet for ¾″.
- Drill/driverWith a 1″ bit and a 2″ hole saw.
- Clamps
- Random orbit sander
- Stud finder
- Tape measure, speed square, pencil
Cut list
| Part | Qty | Size, inches | From |
|---|---|---|---|
| AKick front and back | 2 | ¾ × 3½ × 48½ | 1x4 |
| BKick ends | 2 | ¾ × 3½ × 13 | 1x4 |
| CSides | 2 | ¾ × 15½ × 30¾ | ¾″ plywood |
| DFront and backThe back gets vent holes and a cable hole. | 2 | ¾ × 30¾ × 48 | ¾″ plywood |
| EBottom | 1 | ¾ × 14 × 48 | ¾″ plywood |
| FLid | 1 | ¾ × 15½ × 49½ | ¾″ plywood |
Board layout. Each row is one board, cut left to right, with the remainder hatched. Dark lines are saw cuts, about ⅛″ wide.
Build it
 01
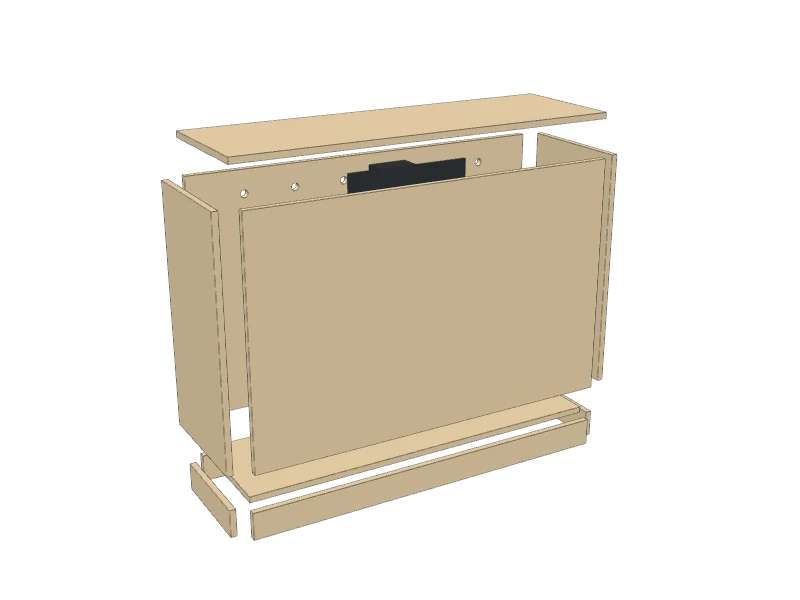
Cut the pieces
Cut the plywood pieces. The store can rip the sheets into strips for you:
- A Kick front and back, two at 48½″
- B Kick ends, two at 13″
- C Sides, two at 15½″ × 30¾″
- D Front and back, two at 30¾″ × 48″
- E Bottom, one at 14″ × 48″
- F Lid, one at 15½″ × 49½″
Check firstCheck your lift's instructions and your TV before cutting. This cabinet is 48″ wide, 14″ deep and 30″ tall inside, for a lift about 27″ tall when lowered with about 28″ of travel, and a TV up to 50″ (about 44½″ × 26″). The usual rule: inside width = screen width + 2″, inside height = screen height + 3½″ or more, inside depth = TV depth + 10″.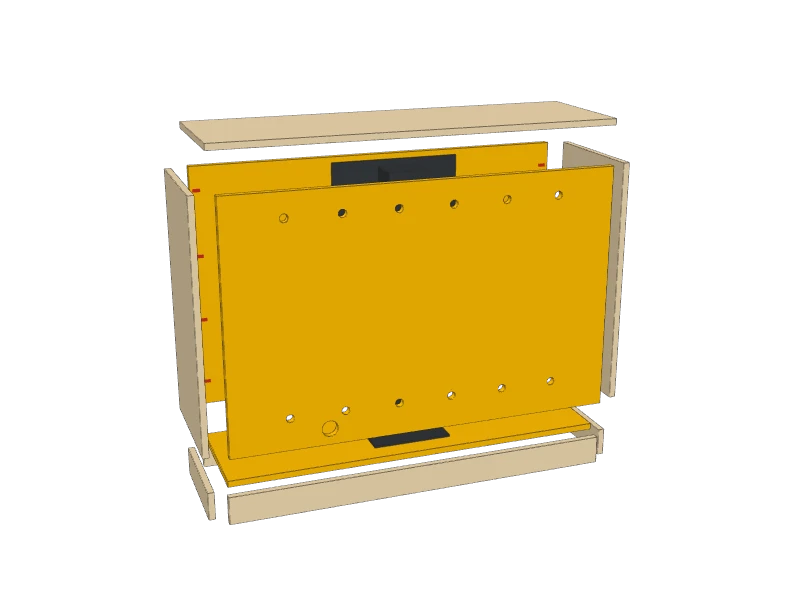 02
Drill the holes
In the back (D), drill a row of six 1″ vent holes 4″ up from its bottom edge and another row 3″ below its top edge, and a 2″ cable hole near the bottom on the right. The lift's motor and the TV need air.
Set the jig for ¾″. Drill four pocket holes at each end of the front and back (D), on the inside face, and two at each end of the bottom (E), on the underside.
 03
Build the kick frame
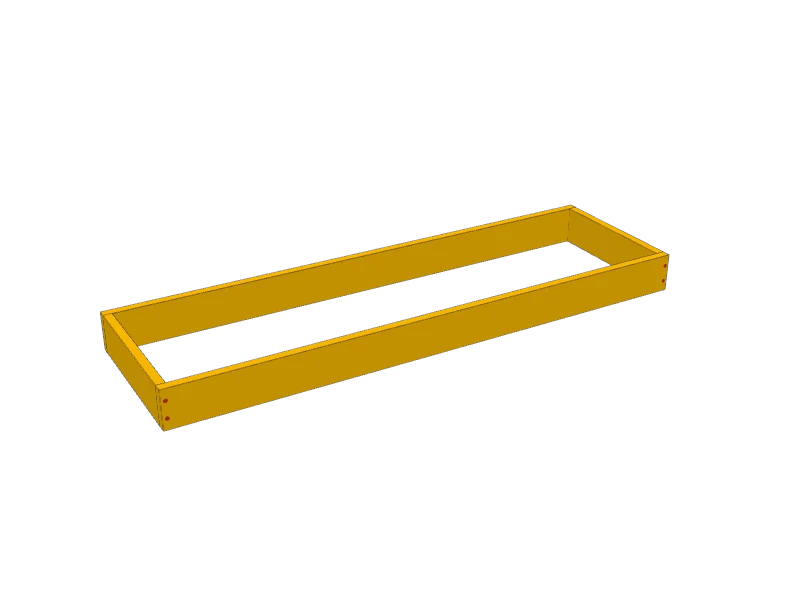
Screw the kick ends (B) between the kick front and back (A) with 1¼″ screws, two at each corner. Check that it sits flat and its diagonals match.
 04
Build the case
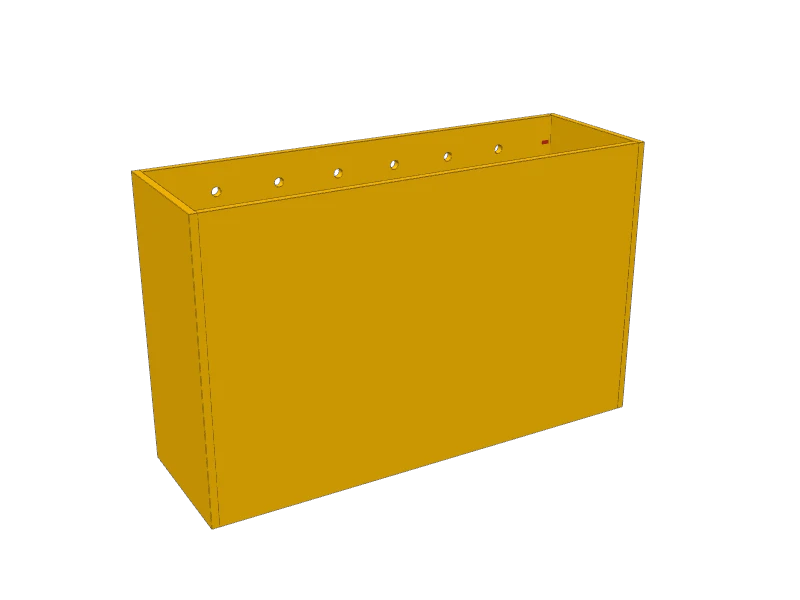
Pocket-screw the front and back (D) between the sides (C), flush at the top, bottom and outside. Fit the bottom (E) inside, flush with the bottom edges, and pocket-screw it to the sides. Glue every joint.
 05
Set the case on the kick frame
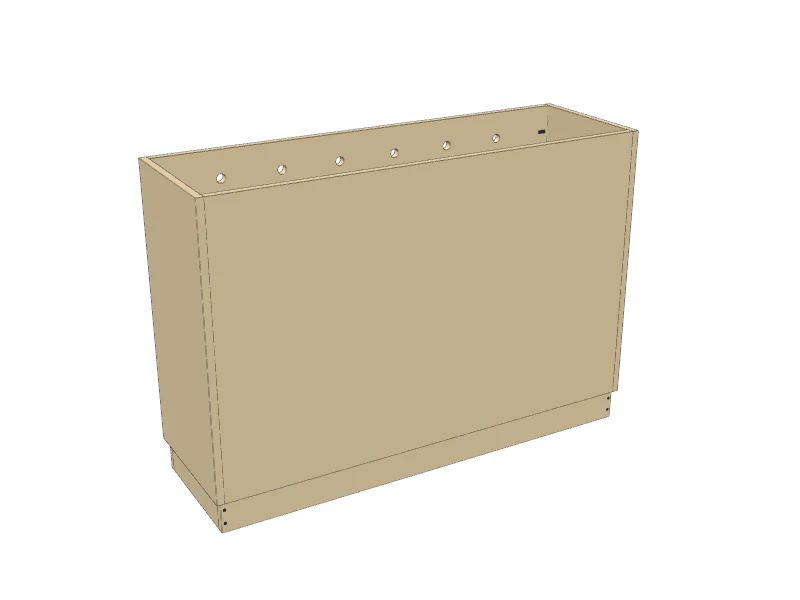
Set the case on the kick frame, ½″ in from every edge, and screw down through the bottom (E) into the frame. The bottom carries the lift and the TV, so use a screw every 8″ or so.
 06
Sand and finish the case
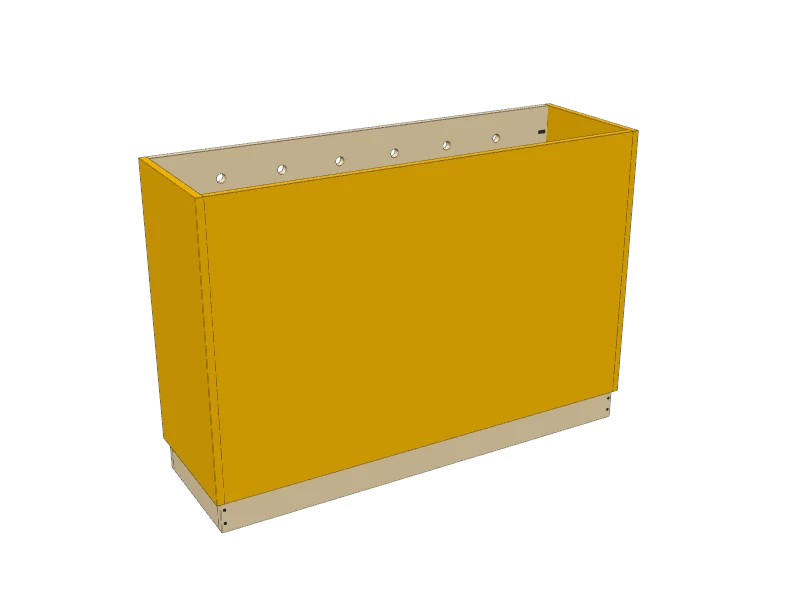
Sand the sides (C), front and back (D) with 120 then 180 grit. Cover the plywood edges with edge banding or fill them, then paint or stain and seal the case and the lid (F) now, before the lift goes in.
 07
Install the lift
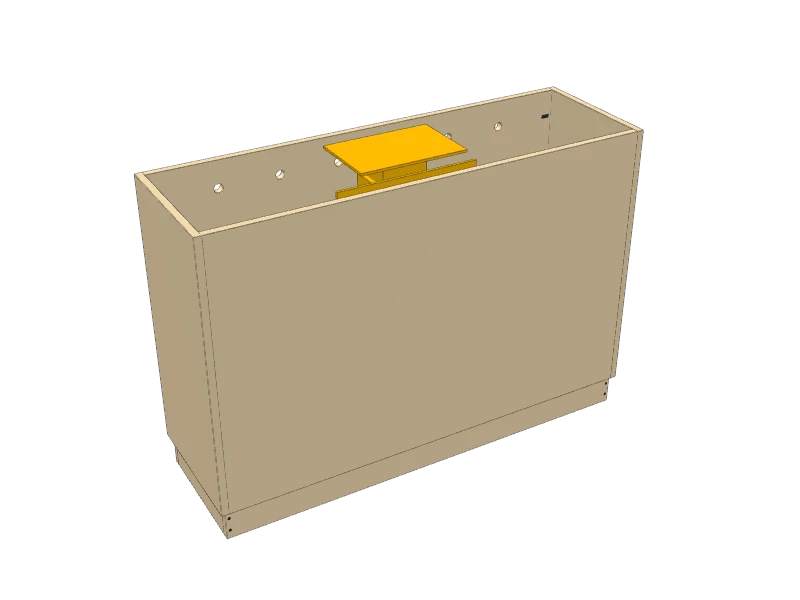
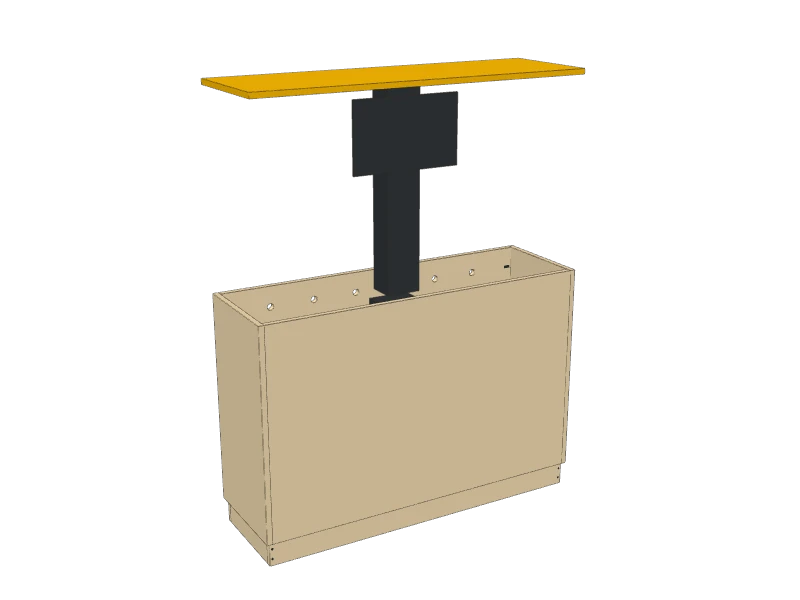
Follow your lift's instructions. Stand it in the middle of the bottom (E), its back about 2½″ from the back of the cabinet, and bolt the base plate down. Most lifts also fix to the back (D) higher up: use the screws they come with.
Plug it in and run it all the way up and down once with nothing on it. Set its top stop now, if it has one.
 08
Fix the lid to the lift
Raise the lift. Center the lid (F) on its top plate, so the lid lines up with the cabinet all around when it comes down, and screw it on from below. Lower it slowly and watch the lid land on the walls. If one corner touches first, loosen the screws and shift the lid.
Watch outThe lid comes down hard enough to pinch. Keep hands off the top edges of the cabinet while it moves, and keep kids away from it.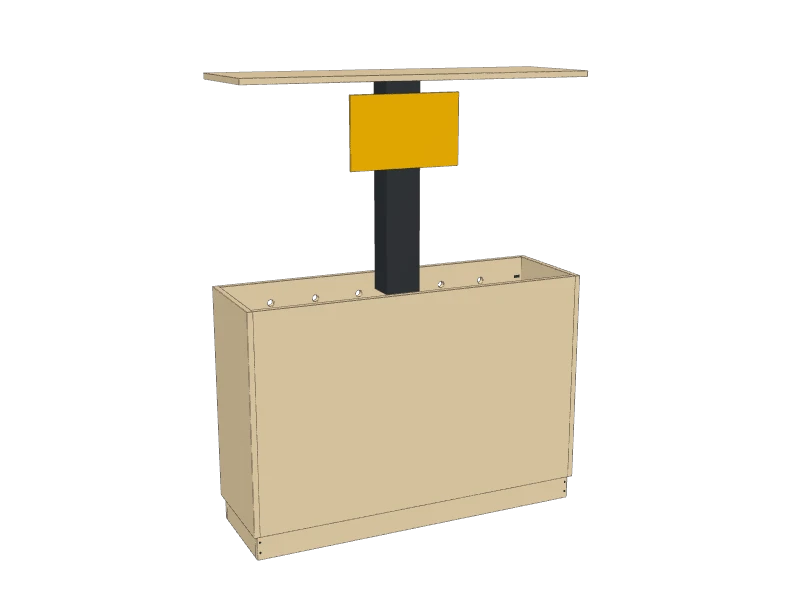 09
Hang the TV and run the cords
With the lift up, hang the TV on the lift's bracket with the screws that fit your TV (its VESA pattern). Run the power and HDMI cords down the lift and out through the cable hole, with enough slack for the full travel. Tie them so they can't catch.
Lower it and raise it again: the TV must clear the cabinet walls by at least ½″ on every side, and the cords must not rub.
 10
Anchor it
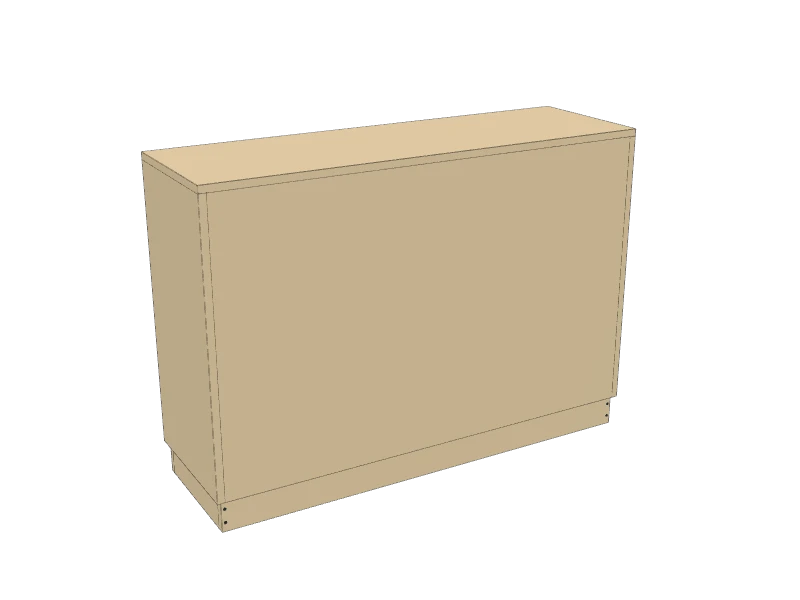
Stand the cabinet against a wall and anchor it to a stud with a furniture anti-tip kit, following the kit's instructions. With the TV up, the weight sits high.
Watch outNever let anyone sit or lean on the lid, and never put anything on it: it rises when someone presses the remote.
Build at your own risk. Check every measurement against your own lumber before you cut, test-fit before you glue, and wear eye and ear protection.