Book Display Shelf
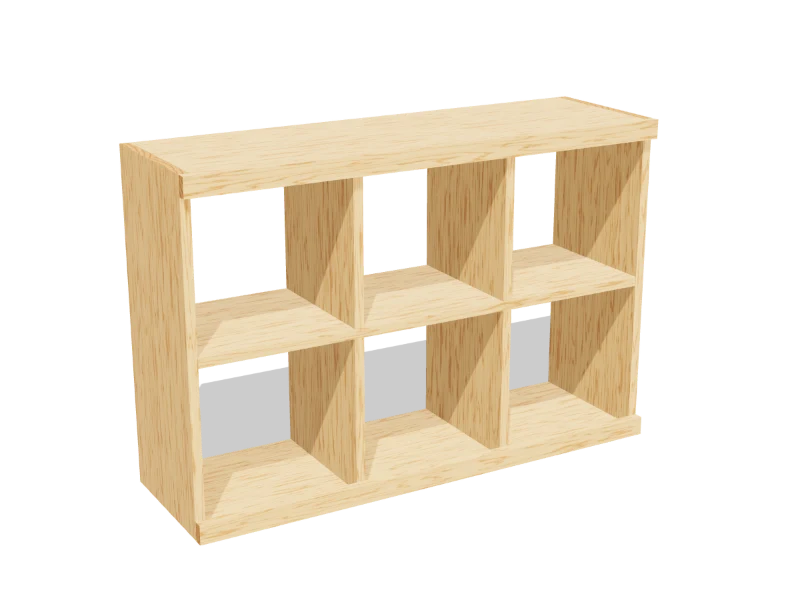
Draft · not yet checked by a carpenterFour shallow ledges that show books face-out, so little kids can see the covers and pick their own. Two 1x4s and two 1x3s.
- Skill
- Beginner
- Build time
- 2 to 3 hours, plus finish
- Lumber
- 3 1x4s and 3 1x3s
- Joinery
- Glue and screws
- Finished size
- 30″ W × 3½″ D × 36″ H
What you need
A 1x4 is actually ¾″ × 3½″ and a 1x3 is ¾″ × 2½″. Every measurement in this plan uses the real size.
Shopping list
- 31x4, 6 ftSides and ledges.
- 21x3, 8 ftFront lips and back rails.
- 11x3, 6 ftFront lips and back rails.
- ~601¼″ wood screws
- 1Furniture anti-tip strap or two L-bracketsTo anchor it to a wall stud.
- 1Wood glue
- —Sandpaper, child-safe paint or clear finish
Tools
- Miter saw or circular saw
- Drill/driverWith a ⅛″ bit for pilot holes.
- Stud finder
- Tape measure, pencil
Cut list
Fourteen pieces from six boards. Label each piece with its letter in pencil as you cut it.
| Part | Qty | Size, inches | From |
|---|---|---|---|
| ASides | 2 | ¾ × 3½ × 36 | 1x4 |
| BLedges | 4 | ¾ × 3½ × 28½ | 1x4 |
| CFront lips | 4 | ¾ × 2½ × 28½ | 1x3 |
| DBack rails | 4 | ¾ × 2½ × 28½ | 1x3 |
Board layout. Each row is one board, cut left to right, with the remainder hatched. Dark lines are saw cuts, about ⅛″ wide.
Build it
Five steps. The 3D view follows along as you scroll. The parts you're working on are yellow, and the pocket holes or screws for that step are red.
- 01
Cut the pieces
Cut every piece on the cut list:
- A Sides, two at 36″
- B Ledges, four at 28½″
- C Front lips, four at 28½″
- D Back rails, four at 28½″
- 02
Make the four ledges
Stand a front lip (C) on edge along the front of each ledge (B), flush with the front and the ends. Glue it and drive three 1¼″ screws up through the ledge into the lip. The lip stands 2½″ tall and stops books from sliding off.
- 03
Screw the ledges between the sides
Mark the bottom of each ledge on the inside of both sides (A): 1½″, 10½″, 19½″ and 28½″ from the bottom. Glue each ledge (B) between the sides on its mark, flush at the front and back, and drive three 1¼″ screws through each side: two into the ledge and one into the lip (C).
- 04
Add the back rails
Glue a back rail (D) between the sides at the back of each tier, its top edge ½″ below the next ledge up (and ½″ below the top for the top tier). Screw through the sides. The books lean back against these rails.
- 05
Finish and anchor it
Round over every corner and edge with sandpaper, and finish with a child-safe paint or clear finish. Let it cure fully before the books go in.
Watch outAnchor it to the wall: a shelf this shallow tips forward easily when a child pulls on a book. Screw a furniture anti-tip strap or two L-brackets from the top back rail into a wall stud.
Build at your own risk. Check every measurement against your own lumber before you cut, test-fit before you glue, and wear eye and ear protection. Full disclaimer.