Floating Shelves
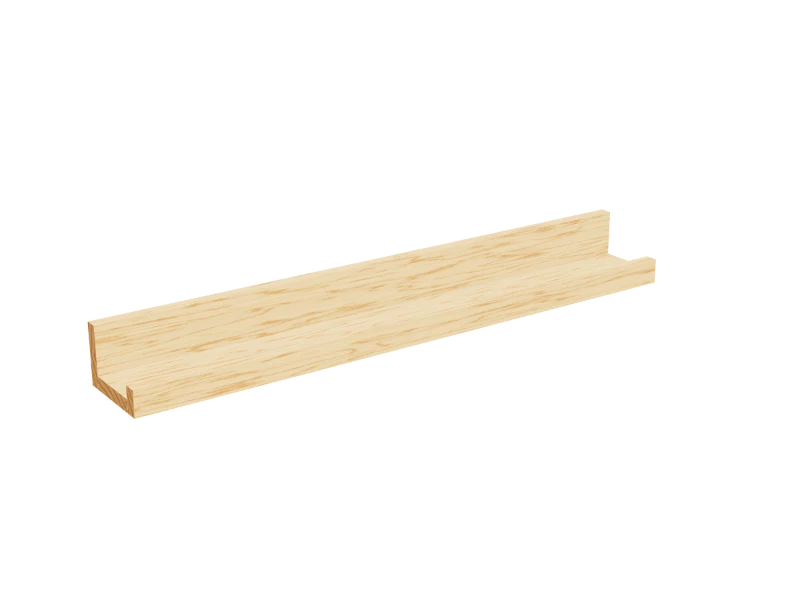
Draft · not yet checked by a carpenterTwo shelves, 24″ and 36″, with no brackets: each one is a hollow box that slides over a 2x4 cleat screwed into the wall studs.
- Skill
- Intermediate
- Build time
- 3 to 4 hours, plus finish
- Lumber
- 2 1x8s, 1 1x2 and 1 2x4
- Joinery
- Glue, brads and a hidden cleat
- Shelves
- One 36″ and one 24″
- Finished size
- 36″ L × 7¼″ D × 3″ H, long shelf
What you need
A 1x8 is actually ¾″ × 7¼″, a 1x2 is ¾″ × 1½″ and a 2x4 is 1½″ × 3½″. Every measurement in this plan uses the real size.
Shopping list
- 21x8, 6 ftTops and bottoms. The flatter the better.
- 11x2, 8 ftFronts and ends.
- 12x4, 8 ftThe cleats.
- 85″ structural wood screwsRated for hanging loads, such as GRK or Spax.
- ~401¼″ brad nails
- 61¼″ wood screwsTop to cleat.
- 1Wood glue
- —Wood filler, sandpaper, paint or stain
Tools
- Miter saw or circular saw
- Brad nailer or hammer
- Drill/driver
- Stud finder
- Level
- Tape measure, pencil
Cut list
Twelve pieces from four boards. Label each piece with its letter in pencil as you cut it.
| Part | Qty | Size, inches | From |
|---|---|---|---|
| ATop and bottom, 36″ shelf | 2 | ¾ × 7¼ × 36 | 1x8 |
| BTop and bottom, 24″ shelf | 2 | ¾ × 7¼ × 24 | 1x8 |
| CFront, 36″ shelf | 1 | ¾ × 1½ × 36 | 1x2 |
| DFront, 24″ shelf | 1 | ¾ × 1½ × 24 | 1x2 |
| EEnds | 4 | ¾ × 1½ × 6½ | 1x2 |
| FCleat, 36″ shelf | 1 | 1½ × 3½ × 34¼ | 2x4 |
| GCleat, 24″ shelf | 1 | 1½ × 3½ × 22¼ | 2x4 |
Board layout. Each row is one board, cut left to right, with the remainder hatched. Dark lines are saw cuts, about ⅛″ wide.
Build it
Six steps. The 3D view follows along as you scroll. The parts you're working on are yellow, and the pocket holes or screws for that step are red.
- 01
Cut the pieces
Cut every piece on the cut list:
- A Top and bottom, 36″ shelf, two at 36″
- B Top and bottom, 24″ shelf, two at 24″
- C Front, 36″ shelf, one at 36″
- D Front, 24″ shelf, one at 24″
- E Ends, four at 6½″
- F Cleat, 36″ shelf, one at 34¼″
- G Cleat, 24″ shelf, one at 22¼″
TipPick the flattest 1x8 you can find. A cupped top or bottom makes the box too tight or too loose on the cleat. - 02
Build the boxes
For the long shelf, glue its front (C) and two ends (E) on edge along the front and ends of a long bottom (A), flush at the outside. Nail up through the bottom with 1¼″ brads every 8″ or so. Build the short shelf the same way from its front (D), two ends and a short bottom (B).
The back stays open: that's where the cleat goes in.
- 03
Add the tops
Glue and nail the second long piece (A) and the second short piece (B) on as tops, the same way. Before the glue sets, slide each cleat, (F) for the long shelf and (G) for the short one, in from the back to make sure it fits, then pull it out again.
TipIf the cleat is tight, sand or plane it a little. It should slide in with light hand pressure. - 04
Sand and finish
Fill the nail holes, sand with 120 then 180 grit, and paint or stain the boxes. It's much easier now than once they're on the wall.
- 05
Screw the cleats to the studs
Find two studs with a stud finder and mark them. Hold each cleat, (F) and (G), flat against the wall, level, at the height you want the bottom of the shelf plus ¾″.
Pre-drill and drive two 5″ structural screws through the cleat into each stud.
Watch outInto studs only. Drywall anchors can't hold a cleat that sticks out from the wall: the shelf pulls down and out on the screws. If there's no stud where you want the shelf, move the shelf. - 06
Slide on the shelves
Slide each box over its cleat until it's tight to the wall. Drive three 1¼″ screws down through each top, (A) and (B), into the cleat about 1¾″ from the wall, and fill the holes.
Build at your own risk. Check every measurement against your own lumber before you cut, test-fit before you glue, and wear eye and ear protection. Full disclaimer.