Picture Ledge
Draft · not yet checked by a carpenterA shallow shelf with a lip for leaning photos and art. Three pieces, glue and a few screws, hung into two studs.
- Skill
- Beginner
- Build time
- About 1 hour, plus finish
- Lumber
- 1 1x4 and 1 1x2
- Joinery
- Glue, screws and brads
- Finished size
- 35″ W × 5″ D × 3½″ H
What you need
A 1x4 is actually ¾″ × 3½″ and a 1x2 is ¾″ × 1½″. Every measurement in this plan uses the real size.
Shopping list
- 11x4, 6 ftSelect pine or poplar.
- 11x2, 6 ftFor the lip.
- 41¼″ wood screws
- 41¼″ brad nails
- 22½″ screwsFor mounting into studs.
- 1Wood glue
- —Wood filler and sandpaper, 120 and 180 grit
- opt.Paint or stain
Tools
- SawMiter saw, circular saw or hand saw.
- Drill/driverWith a ⅛″ bit for pilot holes.
- Hammer and nail set
- Stud finder and level
- Tape measure, pencil
Cut list
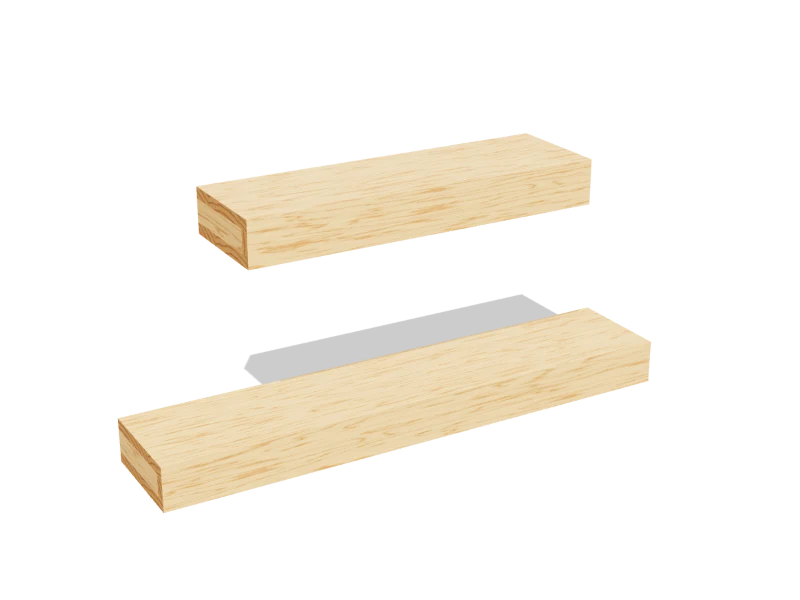
Three pieces from two boards. Label each piece with its letter in pencil as you cut it.
| Part | Qty | Size, inches | From |
|---|---|---|---|
| ABack | 1 | ¾ × 3½ × 35 | 1x4 |
| BBottom | 1 | ¾ × 3½ × 35 | 1x4 |
| CLip | 1 | ¾ × 1½ × 35 | 1x2 |
Board layout. Each row is one board, cut left to right, with the remainder hatched. Dark lines are saw cuts, about ⅛″ wide.
Build it
Five steps. The 3D view follows along as you scroll. The parts you're working on are yellow, and the screws and nails for that step are red.
- 01
Cut the pieces
Cut the three pieces to the same length:
- A Back, one at 35″
- B Bottom, one at 35″
- C Lip, one at 35″
- 02
Join the back and the bottom
Stand the back (A) on edge and butt the bottom (B) against its front face, bottoms flush. Glue the joint, then pre-drill and drive four 1¼″ screws through the back into the edge of the bottom.
- 03
Add the lip
Glue the lip (C) on edge to the front of the bottom, bottoms flush. It stands ¾″ above the shelf and stops frames from sliding off. Drive four 1¼″ brad nails through it.
- 04
Sand and finish
Set and fill the nail holes. Sand with 120 then 180 grit and paint or stain to match your frames.
- 05
Hang it level
Find two studs, usually 16″ apart. Hold the ledge level and drive a 2½″ screw through the back into each stud, just above the shelf where the frames will hide the heads.
TipHang two or three ledges about 12″ apart for a gallery wall. Use a long level so they all line up.
Build at your own risk. Check every measurement against your own lumber before you cut, test-fit before you glue, and wear eye and ear protection. Full disclaimer.