









Hairpin-Leg Desk
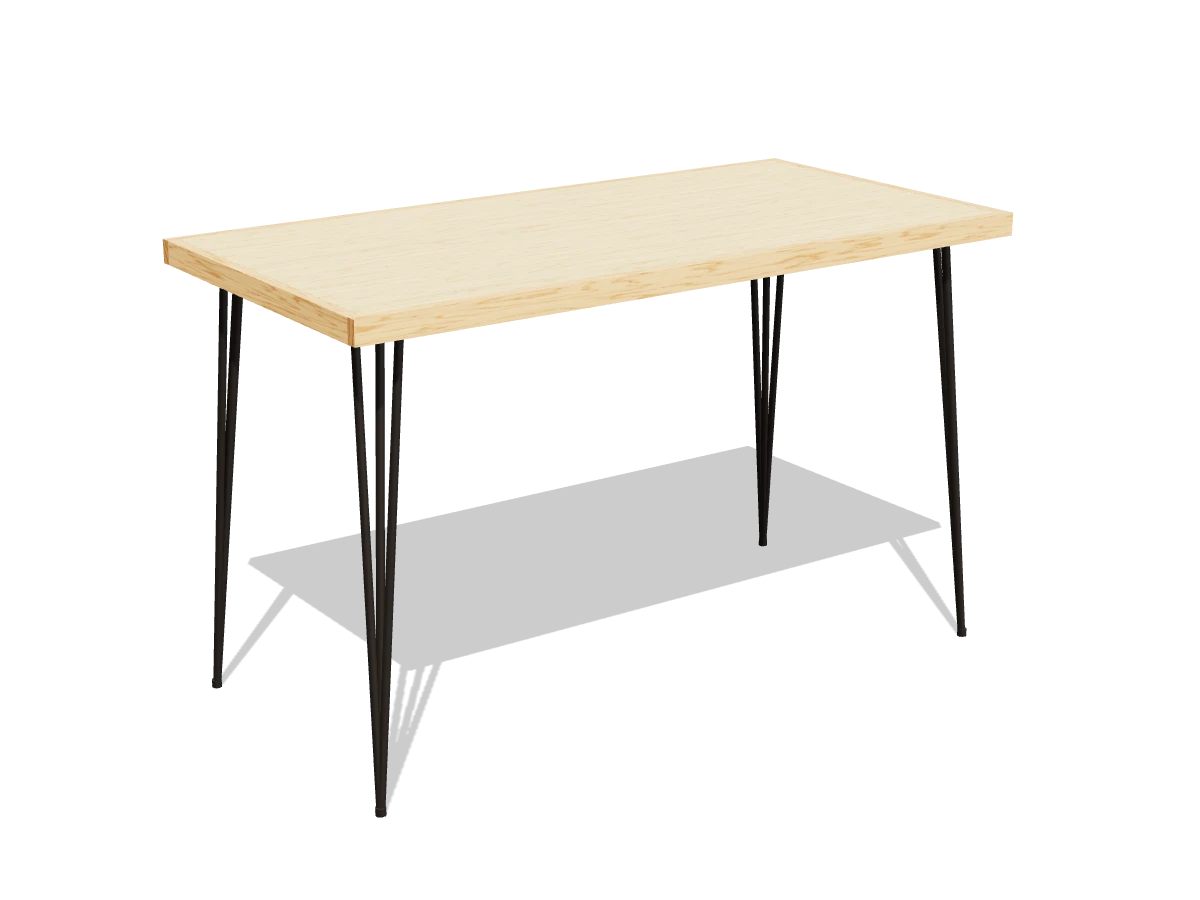
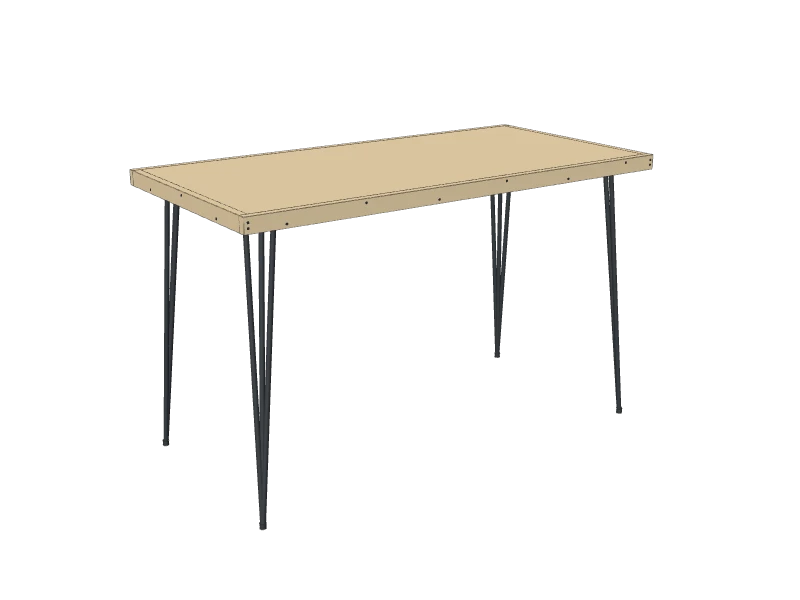
A clean 48″ writing or computer desk: a thick plywood top with a solid wood edge, on four steel hairpin legs.
- Skill
- Level 2 of 5 · Beginner
- Build time
- 4 to 6 hours, plus finish
- Lumber
- 2 1x2s and 2 panels of ¾″ plywood
- Joinery
- Glue, screws and brads; leg screws
- Finished size
- 48″ W × 24″ D × 29½″ H
A 1x2 is actually ¾″ × 1½″. Every measurement in this plan uses the real size. ¾″ plywood is drawn at full thickness, but plywood sold that way is often a hair thinner, so measure yours and cut the pieces that fit between panels to match.
Shopping list
- 21x2, 6 ftThe edging. Hardwood (poplar, maple or oak) if the store has it.
- 2¾″ plywood, 2 × 4 ft panelBirch or another smooth hardwood plywood. It is the desk top, so pick panels that lie flat.
- 1 set28″ three-rod hairpin legs, set of 4Three ½″ rods per leg.
- ~20#10 × 1″ pan-head screwsFor the leg plates, if your legs don't come with screws.
- ~201¼″ wood screwsFor joining the two plywood layers.
- ~301¼″ brad nailsFor the edging.
- 1Wood glue
- —Wood filler, sandpaper 80 to 220 grit
- 1PolyurethaneFor a hard writing surface.
Tools
- Circular sawWith a straightedge guide for the plywood.
- Miter saw or circular sawFor the edging.
- Brad nailerOr a hammer and nail set.
- Drill/driverWith a ⅛″ bit and a countersink.
- ClampsOr weights for the glue-up.
- Random orbit sander
- Straightedge
- Tape measure, speed square, pencil
Cut list
| Part | Qty | Size, inches | From |
|---|---|---|---|
| ATop panelsGlued face to face into one 1½″ panel. | 2 | ¾ × 22½ × 46½ | ¾″ plywood |
| BFront and back edging | 2 | ¾ × 1½ × 48 | 1x2 |
| CEnd edging | 2 | ¾ × 1½ × 22½ | 1x2 |
Board layout. Each row is one board, cut left to right, with the remainder hatched. Dark lines are saw cuts, about ⅛″ wide.
Build it
 01
Cut the pieces
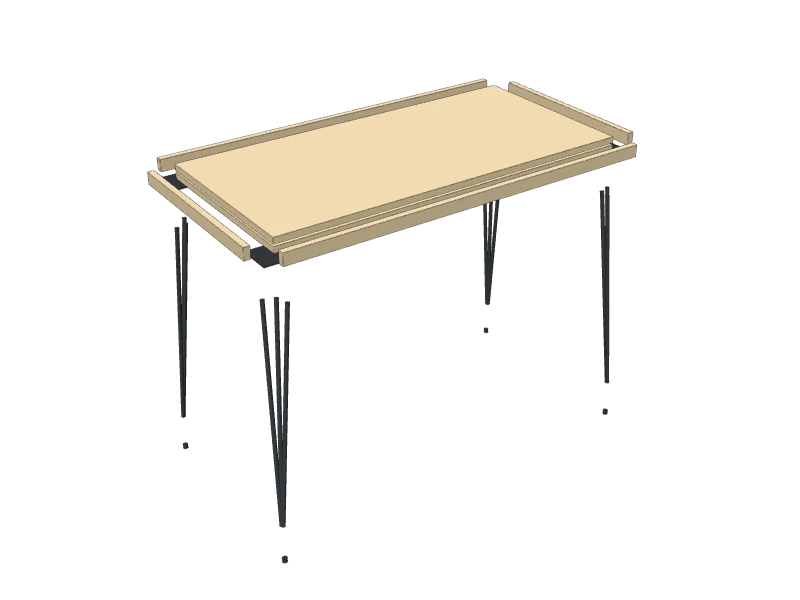
Cut every piece on the cut list. A 2 × 4 ft plywood panel is 1½″ bigger each way than a top panel (A), so you only trim one long edge and one end of each:
- A Top panels, two at 22½″ × 46½″
- B Front and back edging, two at 48″
- C End edging, two at 22½″
Cut the edging (B) and (C) from a straight, clear 1x2. Poplar, maple or oak edging takes a knock better than pine.
 02
Glue up the top panel
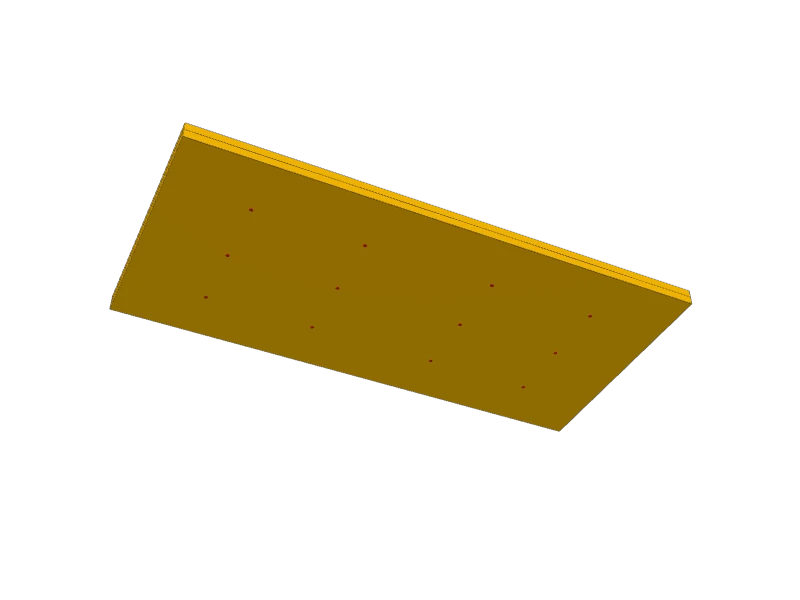
Lay one top panel (A) good face down on a flat floor or bench. Roll or spread an even coat of wood glue over its back, then lay the second panel (A) on it, good face up and edges flush all around. Both good faces end up outside. Drive twelve 1¼″ wood screws through the upper panel into the lower one in three rows: 6″ in from the front and back and down the middle.
TipStand on it or stack weights on it while the glue sets. The screws are there to clamp, so start in the middle and work out.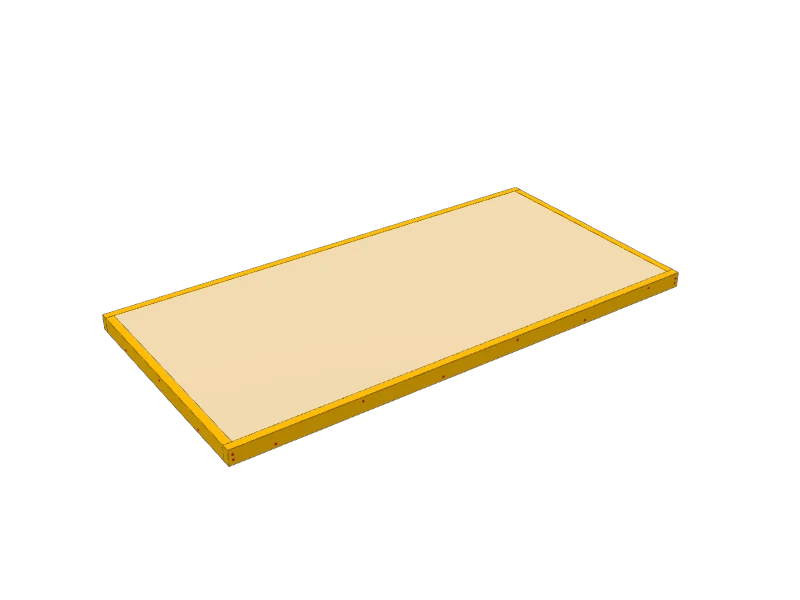 03
Add the edging
Glue the end edging (C) to the two short edges of the panel (A), flush with both faces, and pin each with three 1¼″ brads. Then glue the front and back edging (B) along the long edges, covering the ends of (C), and pin them with six brads each plus two into the end of each end piece at the corners.
Watch outKeep the brads in the middle of the edging's height so they hit plywood and not the glue line between the layers.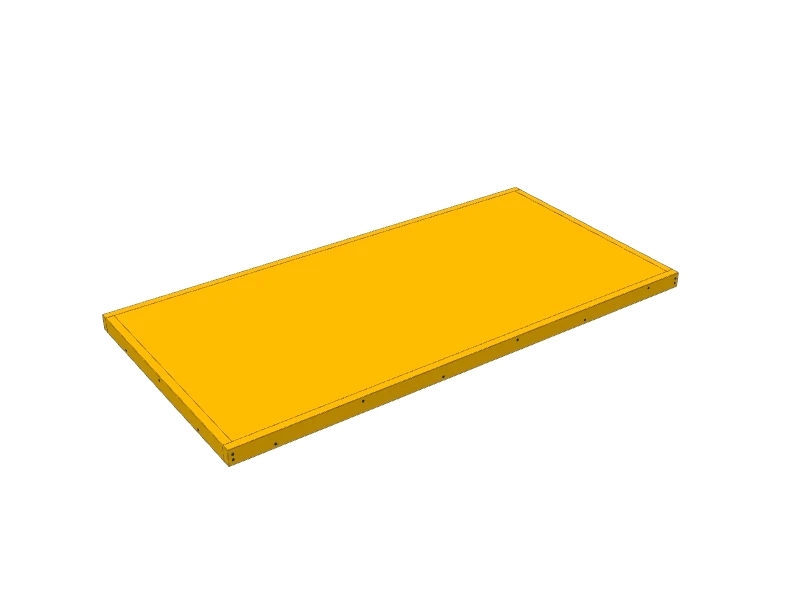 04
Sand and finish the top
Sand the edging (B) and (C) flush with the plywood faces (A). Plywood sold as ¾″ is often a little thinner, so the 1x2 may stand proud by a hair: take it down with 80 grit on a sanding block, keeping it flat, then sand everything with 120, 180 and 220. Fill any brad holes first.
Finish it now, before the legs go on: three coats of polyurethane on the top and edges and one on the underside, sanding lightly between coats.
 05
Screw on the hairpin legs
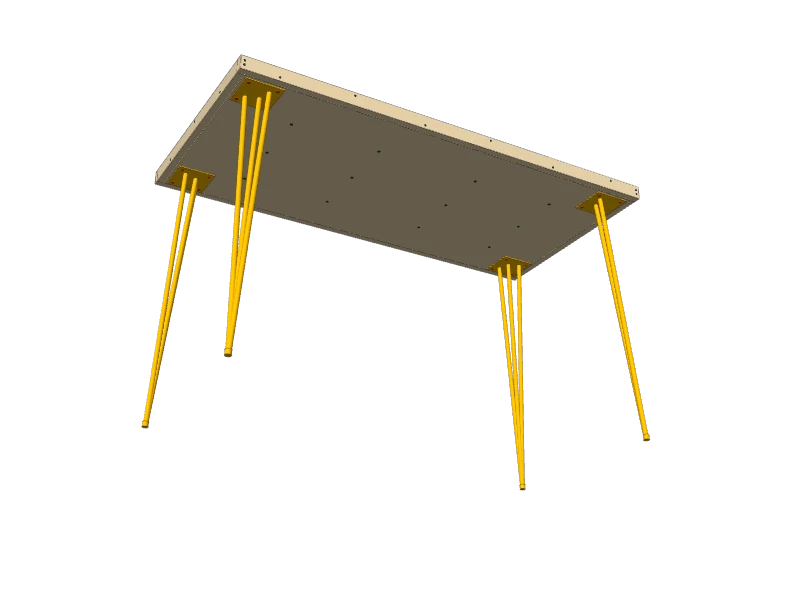
Lay the top face down on a blanket. Set a leg in each corner with its plate centered 3″ in from the front or back and 3″ in from the end, the rods leaning out toward the corner. Mark the holes, drill ⅛″ pilot holes no deeper than 1″, and drive a #10 × 1″ pan-head screw in every hole.
Check your legs' own instructions first. The plan is drawn for 28″ legs with three ½″ rods and a 4″ plate. The screws must stay shorter than the 1½″ top is thick.
 06
Stand it up
Flip the desk onto its feet with a helper. Press on the foot caps that came with the legs. If it rocks on your floor, add a felt pad under the short leg.
Build at your own risk. Check every measurement against your own lumber before you cut, test-fit before you glue, and wear eye and ear protection.