









Hairpin-Leg Plant Stand
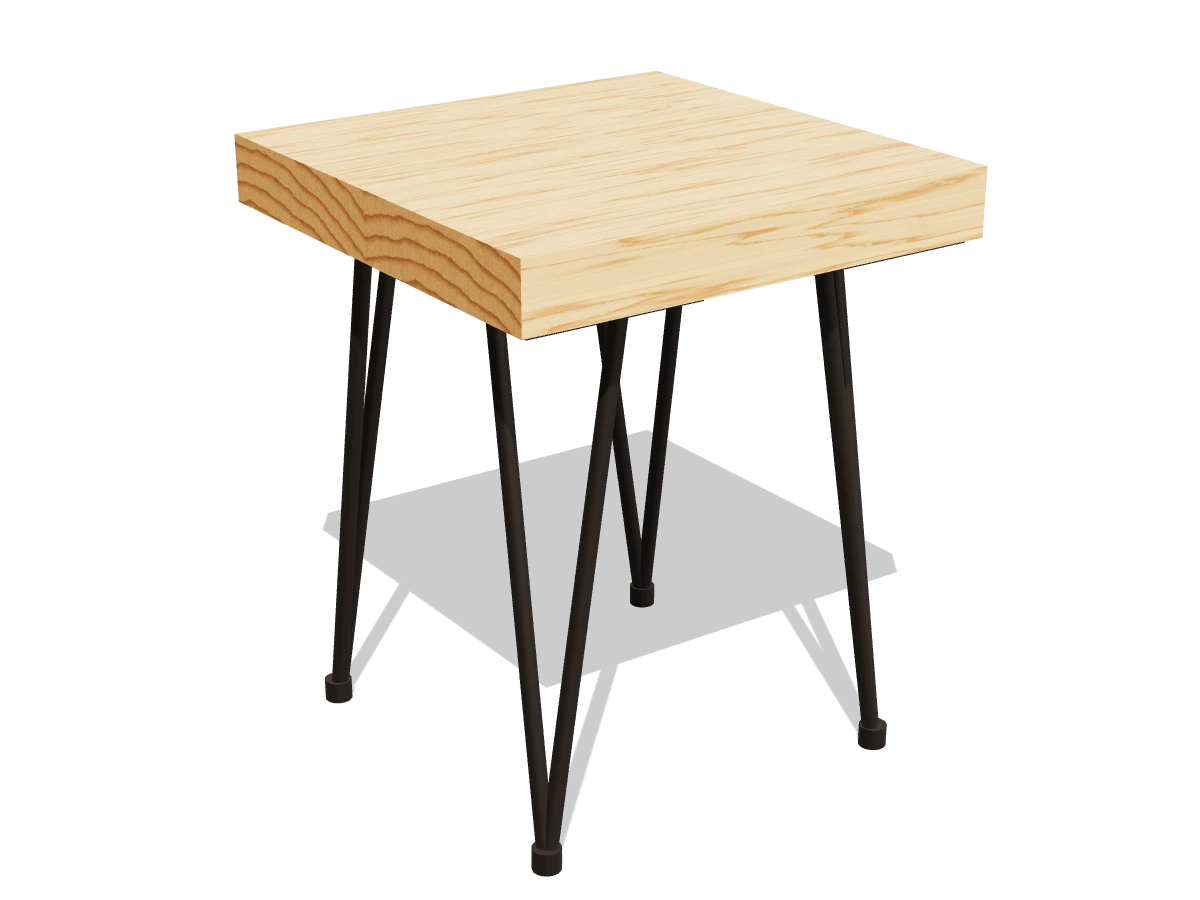
A low plant stand that lifts a big floor pot 13½″ off the floor: one square of 2x12 and four short hairpin legs.
- Skill
- Level 1 of 5 · Beginner
- Build time
- 1 to 2 hours, plus finish
- Lumber
- 1 2x12
- Joinery
- Leg screws
- Finished size
- 11¼″ W × 11¼″ D × 13½″ H
A 2x12 is actually 1½″ × 11¼″. Every measurement in this plan uses the real size.
Shopping list
- 12x12, 8 ftOne board makes several tops. Pick a flat one.
- 1 set12″ hairpin legs, set of 4Plates no bigger than 4″ square.
- ~20#10 × 1″ pan-head screwsFor the leg plates, if your legs don't come with screws.
- —Sandpaper, 80, 120 and 180 grit
- 1PolyurethaneOr exterior oil.
Tools
- Miter saw or circular saw
- Drill/driverWith a ⅛″ bit for pilot holes.
- Random orbit sander
- Speed square, tape measure, pencil
Cut list
| Part | Qty | Size, inches | From |
|---|---|---|---|
| ATop | 1 | 1½ × 11¼ × 11¼ | 2x12 |
Board layout. Each row is one board, cut left to right, with the remainder hatched. Dark lines are saw cuts, about ⅛″ wide.
Build it
 01
Cut the top
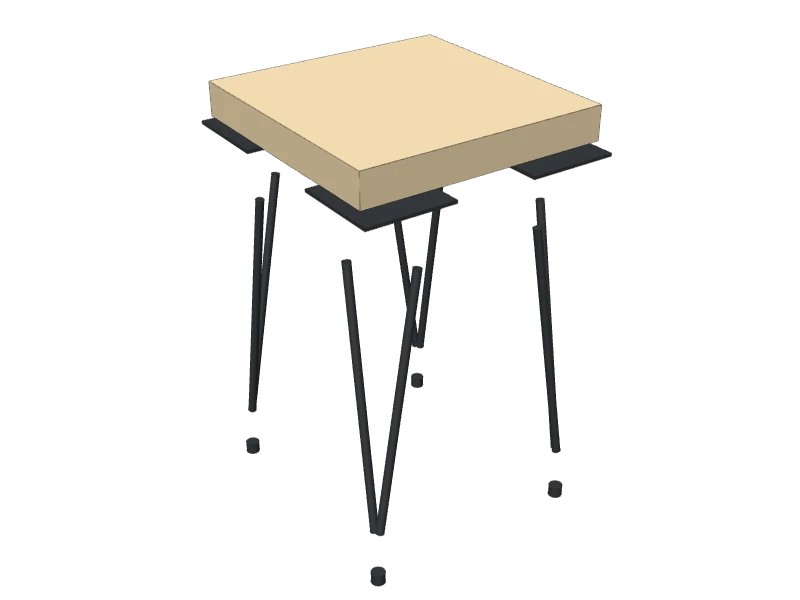
Square one end of the 2x12, then cut the top (A):
- A Top, one at 11¼″
Check it's square: measure both diagonals. Cut more tops from the same board while the saw is set up.
 02
Sand and seal the top
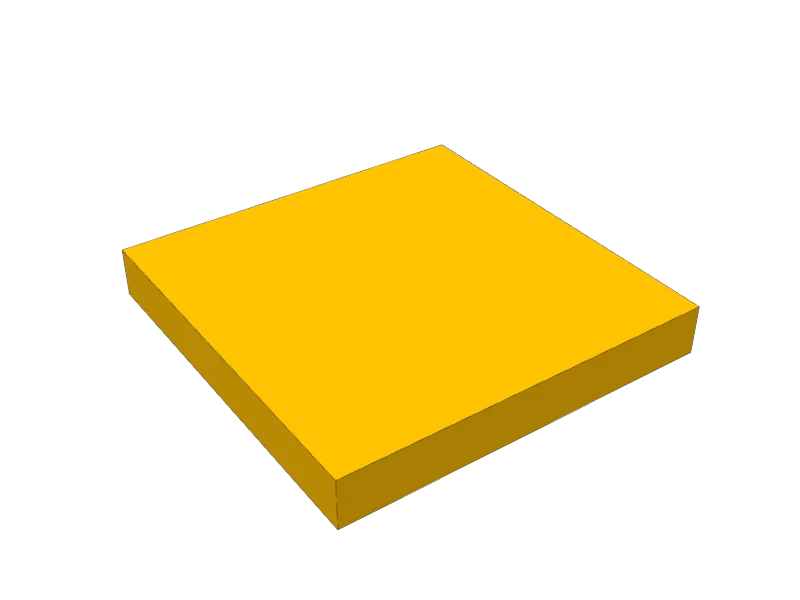
Sand the top (A) with 80, 120 and 180 grit and round every edge and corner. Seal all six faces with two or three coats of polyurethane or exterior oil: pots drip and saucers sweat.
 03
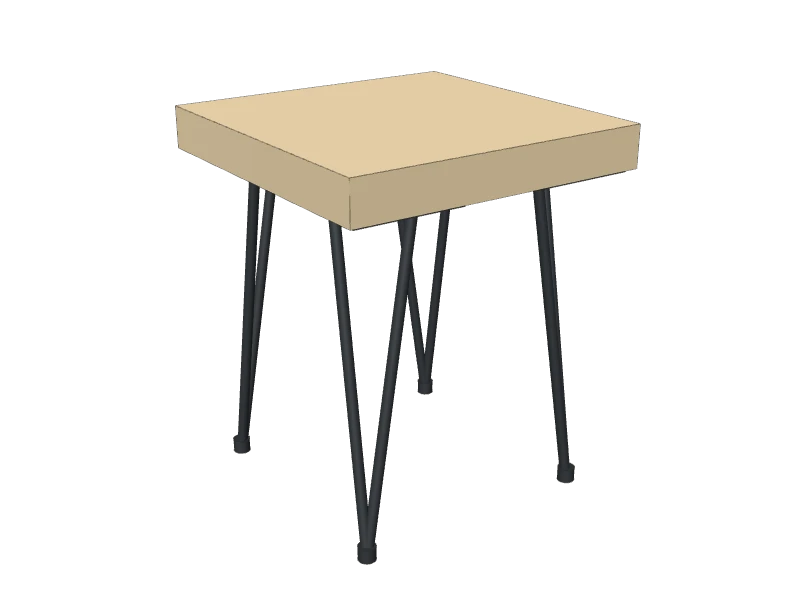
Screw on the hairpin legs
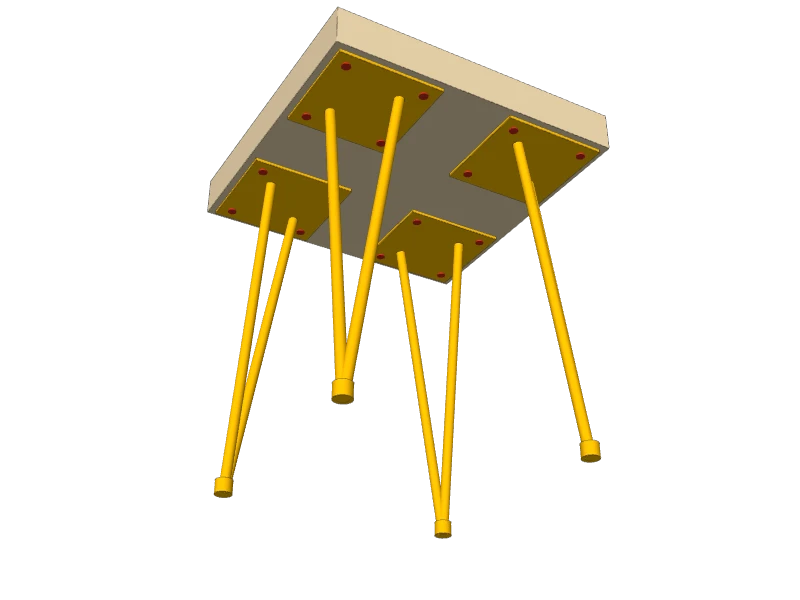
Lay the top (A) face down. Set a hairpin leg in each corner with its plate ¼″ in from both edges, the rods leaning out toward the corner. Mark the holes, drill ⅛″ pilot holes no deeper than ¾″, and drive a #10 × 1″ pan-head screw in every hole.
Check your legs' own instructions first. The plan is drawn for 12″ legs with plates no bigger than 4″ square; bigger plates won't fit four to a top this size.
 04
Set it up
Stand it up and press on the foot caps. Always use a saucer under the pot, and keep the stand on a flat floor: it's built for one big pot, up to about 14″ across.
Build at your own risk. Check every measurement against your own lumber before you cut, test-fit before you glue, and wear eye and ear protection.