









Pull-Out Trash Cabinet
A freestanding 15″ kitchen cabinet that hides the trash: open the door and a 35 qt can rolls out on full-extension slides. With a counter-height top and a shelf for bags.
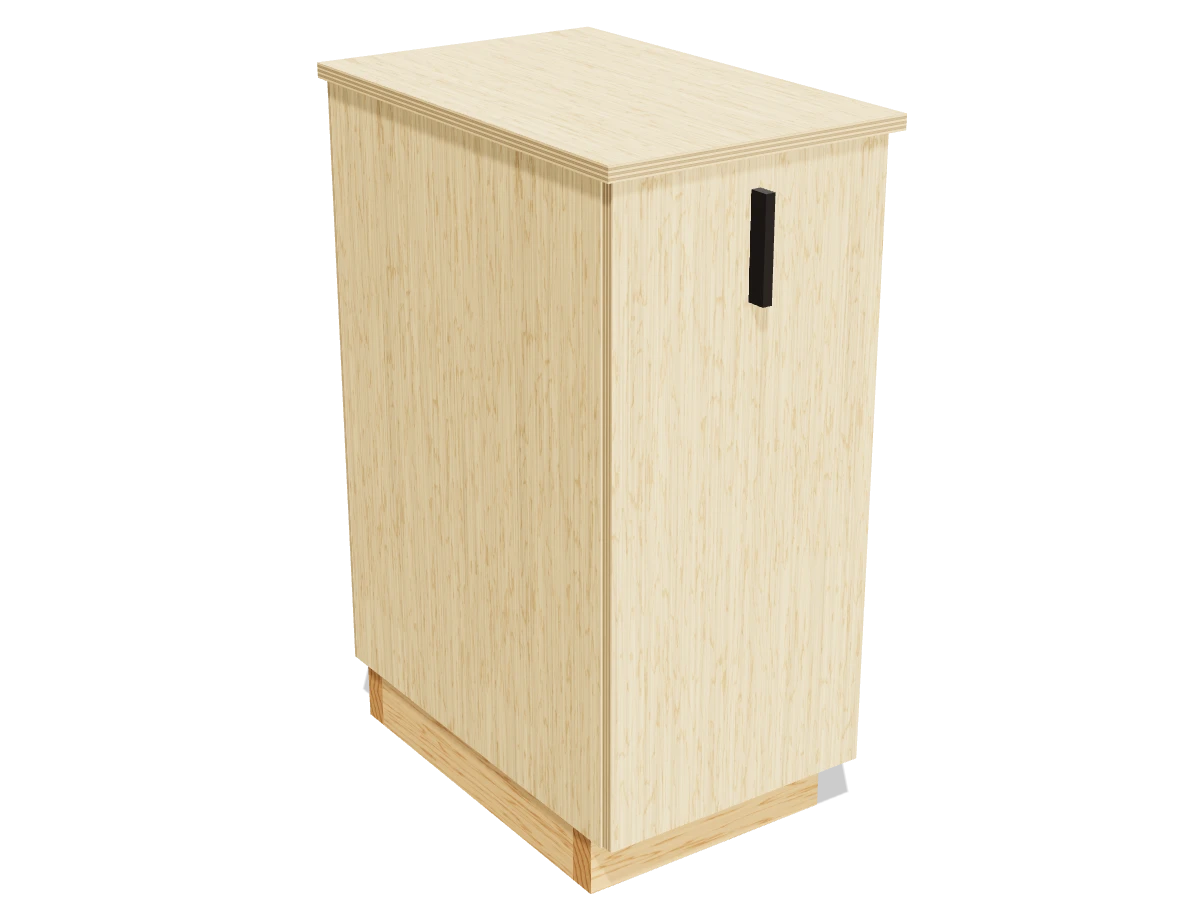
- Skill
- Level 3 of 5 · Intermediate
- Build time
- 6 to 8 hours, plus finish
- Lumber
- 1 1x4, 1 2x4, 1 sheet of ¾″ plywood and 1 panel of ¼″ plywood
- Joinery
- Pocket holes, glue, screws and brads
- Finished size
- 16″ W × 25″ D × 36″ H
A 1x4 is actually ¾″ × 3½″ and a 2x4 is 1½″ × 3½″. Every measurement in this plan uses the real size. ¾″ plywood and ¼″ plywood are drawn at full thickness, but plywood sold that way is often a hair thinner, so measure yours and cut the pieces that fit between panels to match.
Shopping list
- 11x4, 6 ftTop stretchers.
- 12x4, 8 ftThe base.
- 1¾″ plywood, 4 × 8 ft sheetBirch or another smooth plywood.
- 1¼″ plywood, 2 × 4 ft panelThe back.
- 1Pull-out trash can kit, single 35 qtMade for a 15″ base cabinet.
- 1Cabinet pull handle
- 8Screws that come with the pull-outFor its base and door brackets.
- ~301¼″ coarse-thread pocket-hole screws
- ~103″ wood screwsFor the base.
- ~101⅝″ wood screwsBox to base.
- ~101¼″ wood screwsTop to stretchers.
- ~301″ brad nailsFor the back.
- 1Iron-on edge banding, 25 ft¾″ wide.
- 1Furniture anti-tip kitOr screws into the cabinet beside it.
- 1Wood glue
- —Sandpaper, paint or stain, clear polyurethane
Tools
- Circular sawWith a straight guide, or have the store cut the plywood.
- Miter sawOr the circular saw, for the boards.
- Pocket-hole jigSet for ¾″.
- Drill/driver
- Brad nailer or hammer
- Clothes ironFor the edge banding.
- Clamps
- Tape measure, speed square, pencil
Cut list
| Part | Qty | Size, inches | From |
|---|---|---|---|
| ASides | 2 | ¾ × 23 × 31¾ | ¾″ plywood |
| BBottom | 1 | ¾ × 13½ × 23 | ¾″ plywood |
| CShelf | 1 | ¾ × 13½ × 22 | ¾″ plywood |
| DDoor | 1 | ¾ × 14⅞ × 31½ | ¾″ plywood |
| ETop | 1 | ¾ × 16 × 24½ | ¾″ plywood |
| FBack | 1 | ¼ × 15 × 31¾ | ¼″ plywood |
| GTop stretchers | 2 | ¾ × 3½ × 13½ | 1x4 |
| HBase front and back | 2 | 1½ × 3½ × 14 | 2x4 |
| JBase sides | 2 | 1½ × 3½ × 18¼ | 2x4 |
Board layout. Each row is one board, cut left to right, with the remainder hatched. Dark lines are saw cuts, about ⅛″ wide.
Build it
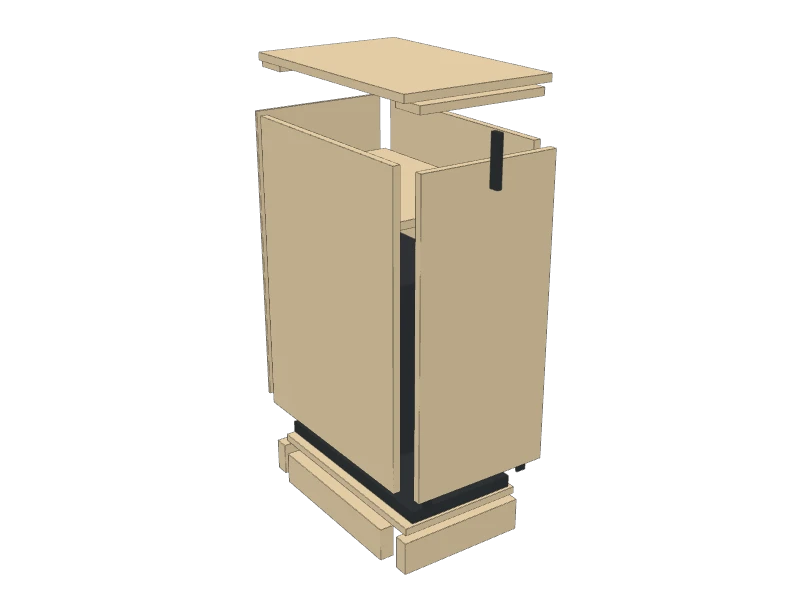 01
Cut the pieces
Check your pull-out's own instructions for the minimum opening, its screw positions and its door brackets before you cut. This box gives it 13½″ of width, 23″ of depth and 30¼″ of height.
Cut every piece on the cut list. The store can rip the plywood into strips for you:
- A Sides, two at 23″ × 31¾″
- B Bottom, one at 13½″ × 23″
- C Shelf, one at 13½″ × 22″
- D Door, one at 14⅞″ × 31½″
- E Top, one at 16″ × 24½″
- F Back, one at 15″ × 31¾″
- G Top stretchers, two at 13½″
- H Base front and back, two at 14″
- J Base sides, two at 18¼″
 02
Drill pocket holes and band the edges
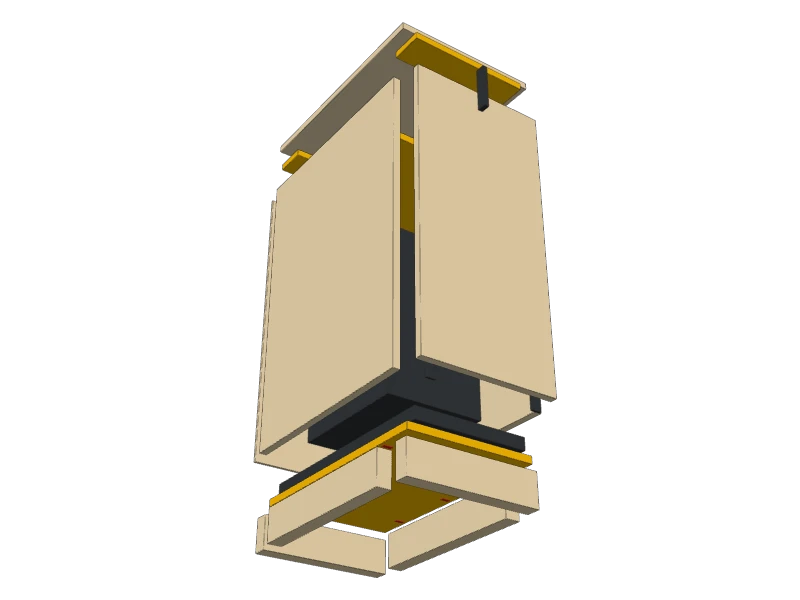
With the pocket-hole jig set for ¾″, drill three pocket holes along each end of the bottom (B) on its underside, two at each end of the shelf (C) on its underside, and two at each end of both top stretchers (G) on the face that will be on top.
Iron edge banding onto the front edges of the sides (A) and the shelf (C), all four edges of the door (D), and the front and side edges of the top (E). Trim it flush.
 03
Build the base
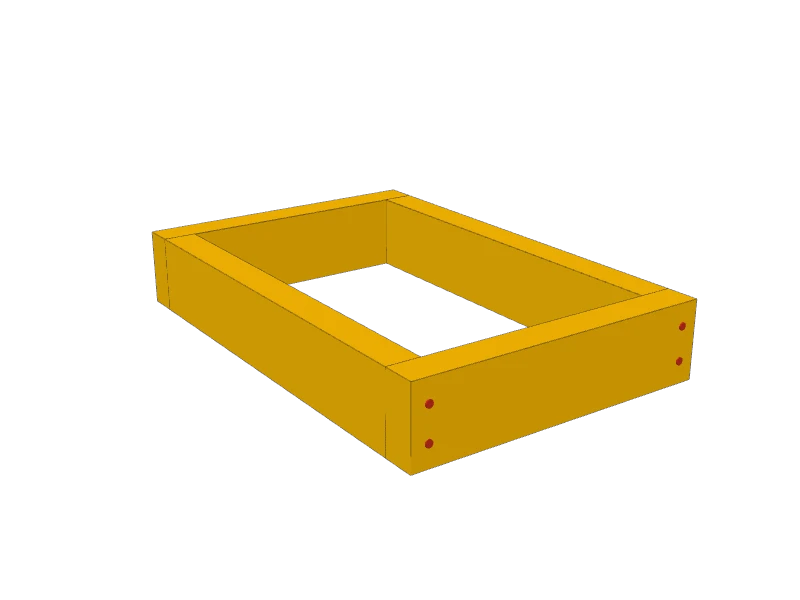
Stand the base sides (J) between the base front and back (H), and drive two 3″ screws through the front and back into each end. Check the diagonals match so it's square.
 04
Build the box
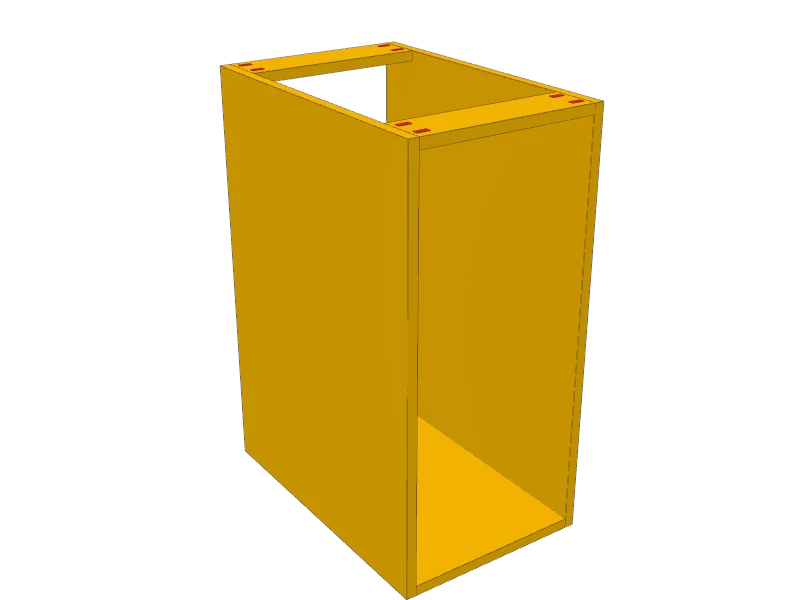
Stand the two sides (A) up and glue and pocket-screw the bottom (B) between them, flush at the bottom, front and back. Pocket-screw the two top stretchers (G) between the sides at the top, one flush with the front and one flush with the back edges of the sides, pocket holes facing up.
 05
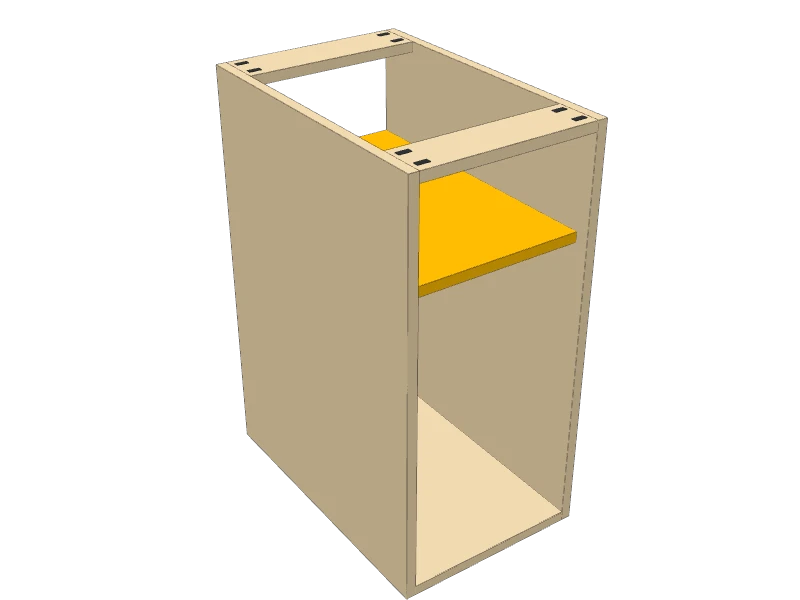
Add the shelf
Glue and pocket-screw the shelf (C) between the sides, its top 23″ above the floor of the box and its front edge 1″ back from the front. It holds trash bags and clears the top of the can by about 3″.
 06
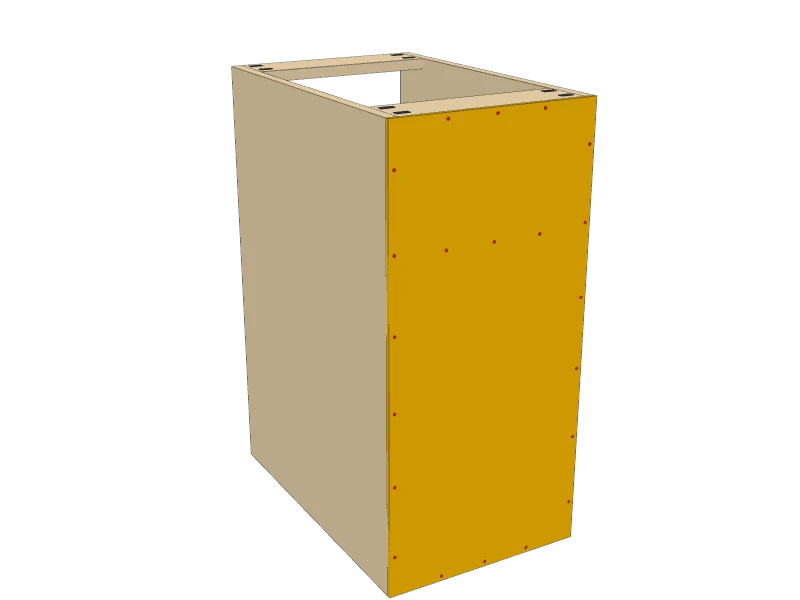
Nail on the back
Lay the box face down. Measure both diagonals and push it square until they match. Glue and nail the back (F) to the sides, bottom, shelf and back stretcher with 1″ brads every 6″ or so.
 07
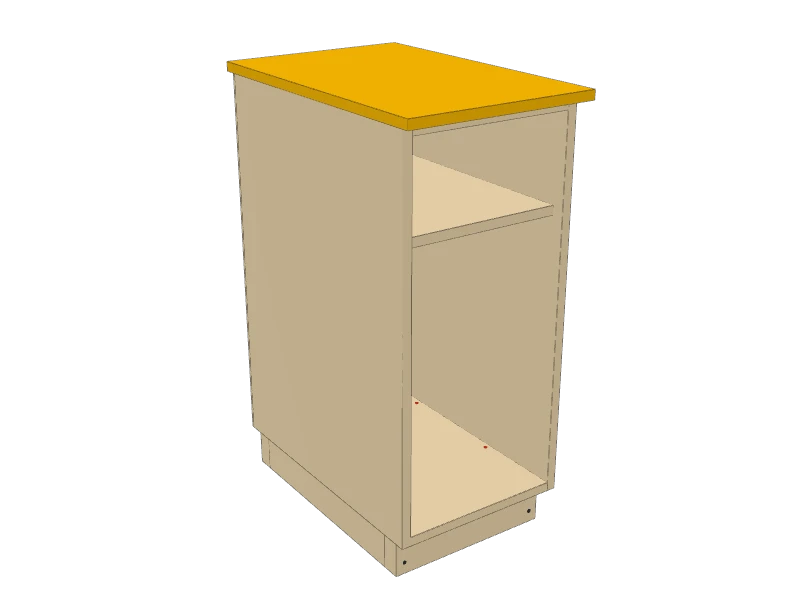
Set it on the base and add the top
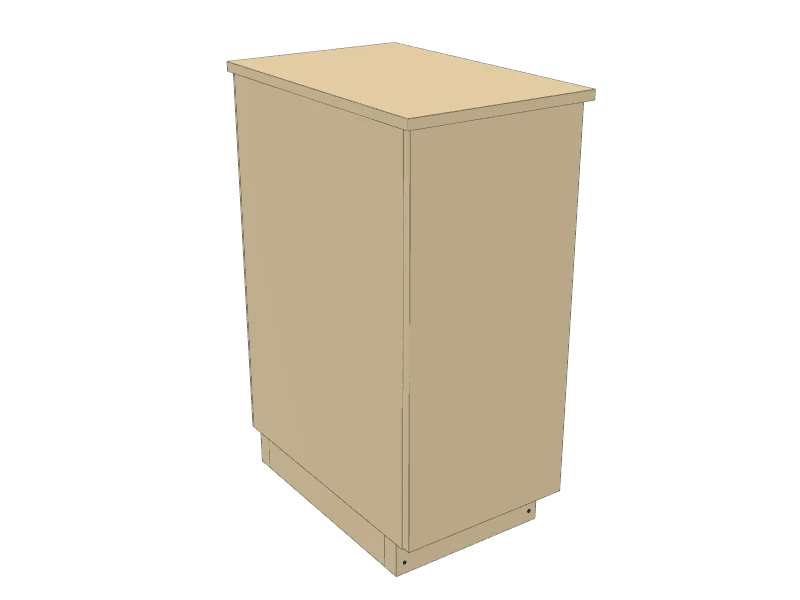
Stand the box on the base, flush at the back and centered side to side. The base sits 1½″ back from the front so your toes fit under the door. Drive four 1⅝″ screws down through the bottom (B) into the base.
Lay the top (E) on, flush at the back and overhanging ½″ at each side. Screw up through the stretchers (G) into it with 1¼″ screws.
 08
Sand and finish
Sand with 120 then 180 grit. Paint the cabinet and door, or stain them and seal with polyurethane. Three coats on the top: it gets wiped a lot.
 09
Install the pull-out
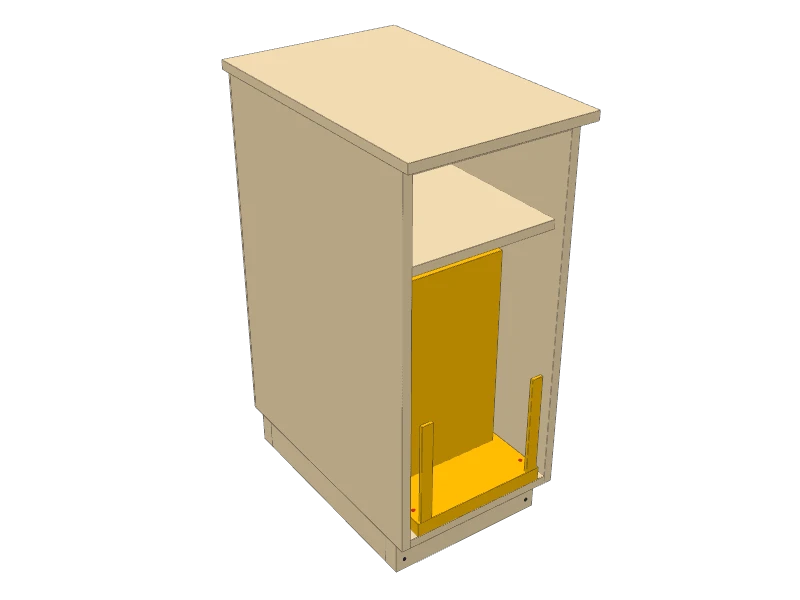
Set the pull-out on the floor of the box, centered side to side, with its front where its instructions say for a full-overlay door. Screw it down with the screws that come with it, through the holes in its base.
Pull it all the way out and push it back in: it should run smoothly without touching the sides or the shelf.
 10
Hang the door on the pull-out
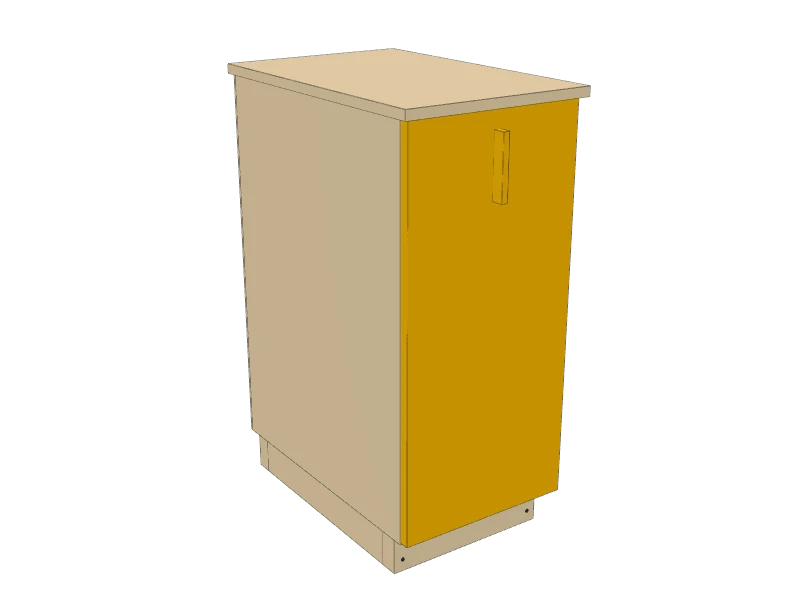
Hold the door (D) against the front of the pull-out with an even gap at the top and sides, and screw it to the pull-out's door brackets from inside. Adjust the brackets until the gaps are even. Screw a pull near the top of the door.
Watch outWith a full can pulled out, this cabinet could tip forward. Screw it to the cabinet beside it through the side, or anchor it to a wall stud with a furniture anti-tip kit.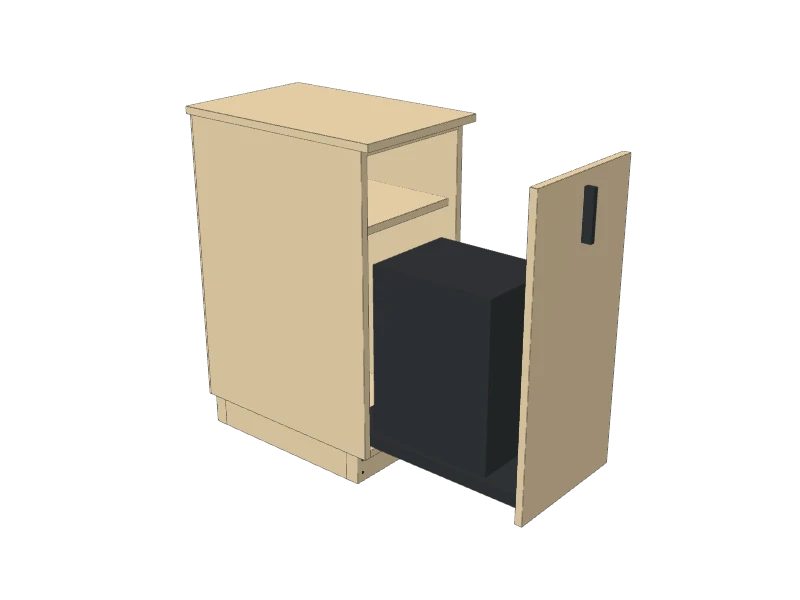 11
Pull it out
Pull the handle: the door and the can roll out together. Lift the can out of its frame to empty it.
Watch outKeep fingers clear of the slides and the door edge as it closes.
Build at your own risk. Check every measurement against your own lumber before you cut, test-fit before you glue, and wear eye and ear protection.