Raised Garden Bed
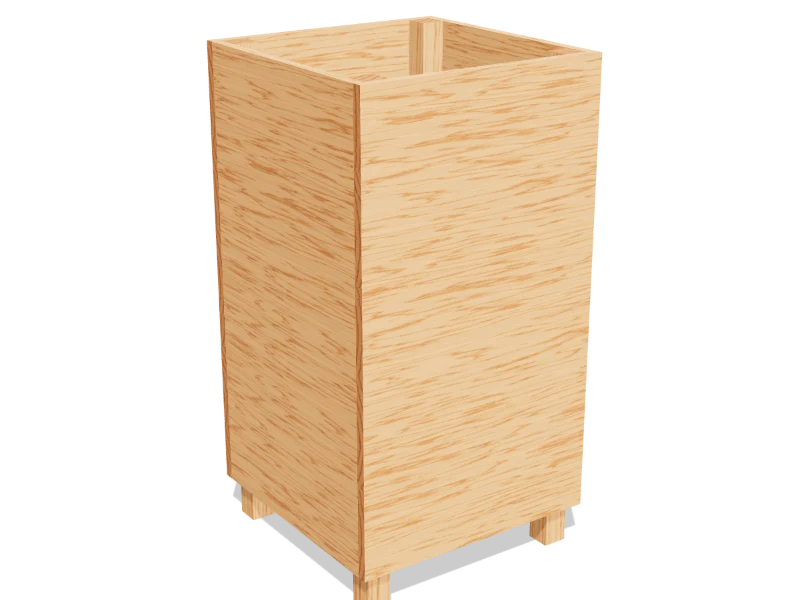
Draft · not yet checked by a carpenterA 4 ft × 4 ft cedar bed, two boards deep, with a post in each corner. Four 2x6s and one 4x4, and it goes together in an hour or two.
- Skill
- Beginner
- Build time
- 1 to 2 hours
- Lumber
- 1 4x4 and 4 2x6s
- Joinery
- Exterior screws
- Finished size
- 48″ L × 48″ W × 11″ H
What you need
A 4x4 is actually 3½″ × 3½″ and a 2x6 is 1½″ × 5½″. Every measurement in this plan uses the real size.
Shopping list
- 1Cedar 4x4, 8 ftCedar, for the corner posts.
- 4Cedar 2x6, 8 ftCedar. Each board gives one long and one short side.
- ~403″ exterior screwsCoated or stainless deck screws.
- opt.Cardboard or landscape fabricFor the bottom.
- opt.Hardware clothIf you have burrowing animals.
- ~13Cubic feet of garden soil and compost
Tools
- Miter saw or circular sawThe 4x4 posts take two passes on a 10″ miter saw.
- Drill/driverWith a ⅛″ bit for pilot holes.
- Speed square, tape measure, pencil
- LevelFor the ground under the bed.
Cut list
Twelve pieces from five boards. Label each piece with its letter in pencil as you cut it.
| Part | Qty | Size, inches | From |
|---|---|---|---|
| ACorner posts | 4 | 3½ × 3½ × 11 | 4x4 |
| BLong sides | 4 | 1½ × 5½ × 48 | 2x6 |
| CShort sides | 4 | 1½ × 5½ × 45 | 2x6 |
Board layout. Each row is one board, cut left to right, with the remainder hatched. Dark lines are saw cuts, about ⅛″ wide.
Build it
Four steps. The 3D view follows along as you scroll. The parts you're working on are yellow, and the screws for that step are red.
- 01
Cut the pieces
Cut the posts and side boards:
- A Corner posts, four at 11″ from the 4x4. A 10″ miter saw takes two passes: cut, flip the post and cut again.
- B Long sides, four at 48″
- C Short sides, four at 45″
Each 2x6 gives you one long side and one short side.
Watch outUse cedar or lumber rated for ground contact. Skip old railroad ties or anything treated with creosote around food plants. - 02
Build the two short sides
Lay two posts (A) on a flat surface. Lay two short sides (C) across them, one above the other, with the board ends flush with the outside faces of the posts and the top board flush with the post tops.
Pre-drill and drive two 3″ exterior screws through each board end into the post. Build the second short side the same way.
TipMeasure across the two posts at the top and the bottom. When both read 45″ outside to outside, the side is square. - 03
Add the long sides
Stand the two short sides up, 45″ apart. Screw the long sides (B) across the posts, two boards high, with the ends flush with the outside faces of the short sides. Two 3″ screws through each board end.
Measure corner to corner both ways. When the diagonals match, the bed is square.
- 04
Set it in place and fill it
Pick a spot with six or more hours of sun. Level the ground under the sides so the bed sits flat. Lay cardboard or landscape fabric on the bottom to smother the grass.
Fill it with a mix of garden soil and compost. It holds about 13 cubic feet, roughly half a cubic yard.
TipIf you have moles or voles, staple hardware cloth across the bottom before you set it down. Leave cedar bare: it weathers to a silver gray on its own.
Build at your own risk. Check every measurement against your own lumber before you cut, test-fit before you glue, and wear eye and ear protection. Full disclaimer.