









Solid Wood Floating Shelves
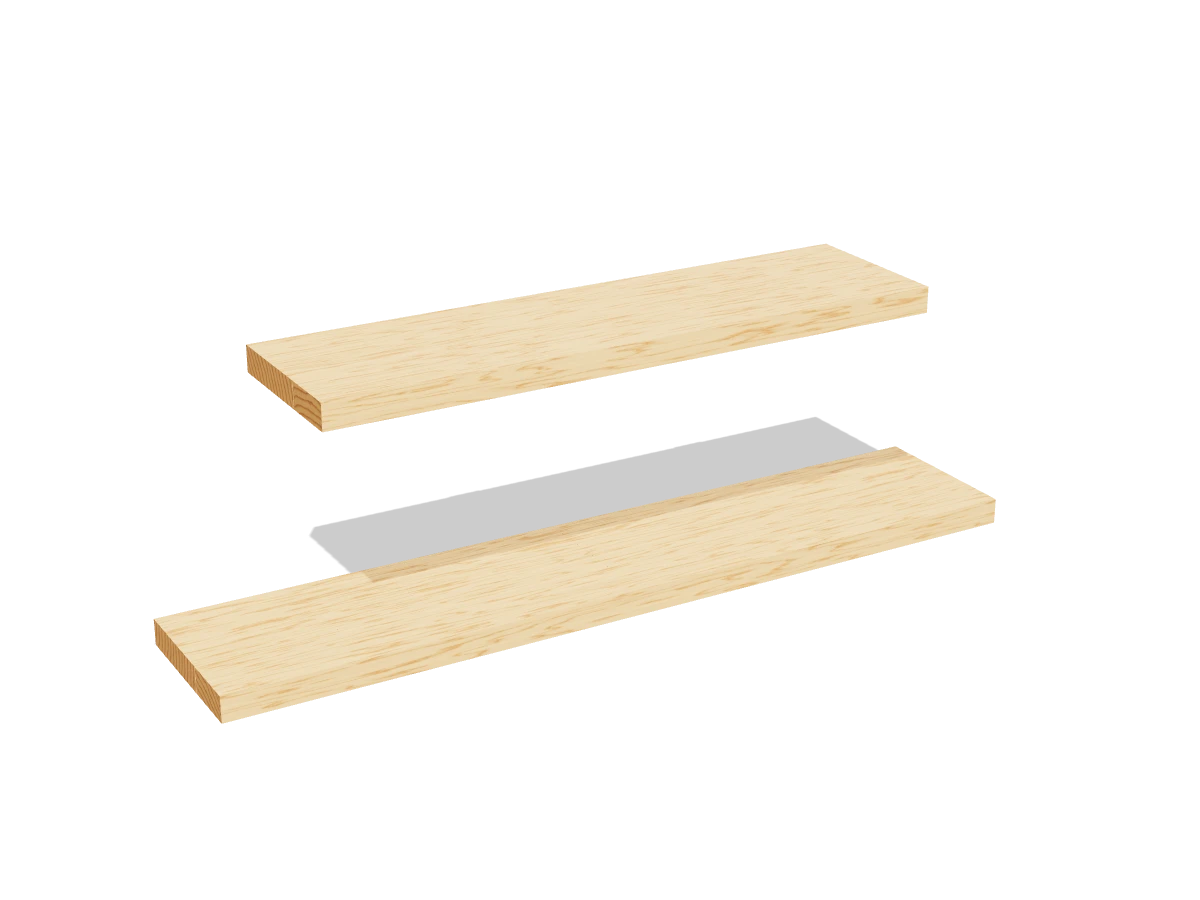
Two chunky 1½″ shelves, 36″ and 48″, that slide onto hidden steel rods screwed into the studs. No brackets show and nothing hangs underneath.
- Skill
- Level 3 of 5 · Intermediate
- Build time
- 3 to 4 hours, plus finish
- Lumber
- 1 2x8 and 1 2x4
- Joinery
- Glue and hidden rod brackets
- Shelves
- One 48″ and one 36″, each 9⅝″ deep
- Finished size
- about 48″ L × 9⅝″ D × 1½″ H, long shelf
A 2x8 is actually 1½″ × 7¼″ and a 2x4 is 1½″ × 3½″. Every measurement in this plan uses the real size.
Shopping list
- 12x8, 8 ftThe back strips. Ripped down so the rods fit inside.
- 12x4, 8 ftThe fronts.
- 5Hidden floating shelf brackets, ½″ rod, 6″ longOne per stud: three for the 48″ shelf, two for the 36″.
- 10Screws for the bracket platesUsually included. If not, 3″ wood screws into the studs.
- 1Wood glue
- —Sandpaper, stain or oil
Tools
- Table sawFor ripping the 2x8.
- Miter saw or circular saw
- Drill/driverWith a ½″ brad-point bit at least 7″ long.
- Drill guideOr a drill press, to drill the rod holes straight.
- ClampsFour that open 12″ or more.
- Stud finder
- Level
- Random orbit sander
- Tape measure, pencil
Cut list
| Part | Qty | Size, inches | From |
|---|---|---|---|
| ABack strip, 48″ shelfRipped to 6⅛″ wide. | 1 | 1½ × 7¼ × 48 | 2x8 |
| BBack strip, 36″ shelfRipped to 6⅛″ wide. | 1 | 1½ × 7¼ × 36 | 2x8 |
| CFront, 48″ shelf | 1 | 1½ × 3½ × 48 | 2x4 |
| DFront, 36″ shelf | 1 | 1½ × 3½ × 36 | 2x4 |
Board layout. Each row is one board, cut left to right, with the remainder hatched. Dark lines are saw cuts, about ⅛″ wide.
Build it
 01
Cut the pieces
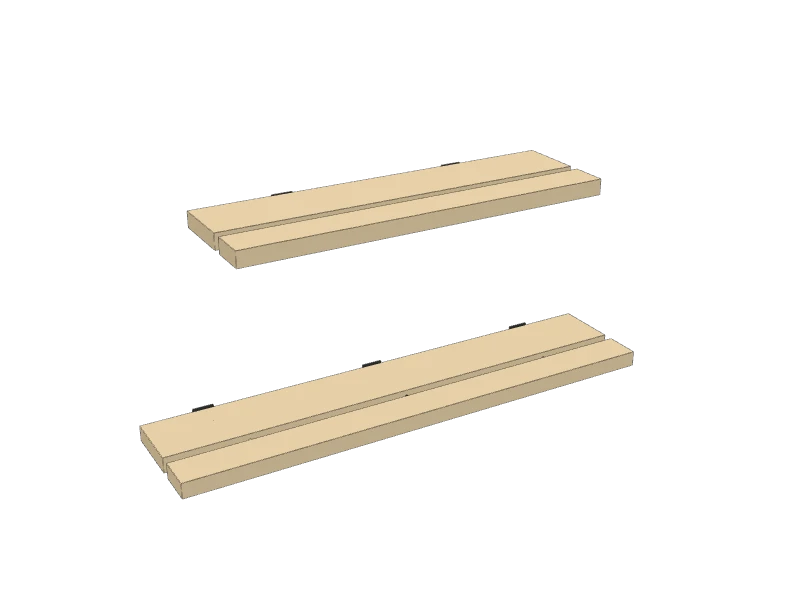
Cut the pieces to length:
- A Back strip, 48″ shelf, one at 48″
- B Back strip, 36″ shelf, one at 36″
- C Front, 48″ shelf, one at 48″
- D Front, 36″ shelf, one at 36″
Rip both back strips, (A) and (B), to 6⅛″ wide on a table saw. That's just deeper than the brackets' 6″ rods are long, so the rods end inside the back strip.
TipPick the straightest, flattest 2x8 and 2x4 in the pile, with no big knots near the ends. Let them sit indoors for a few days before you cut.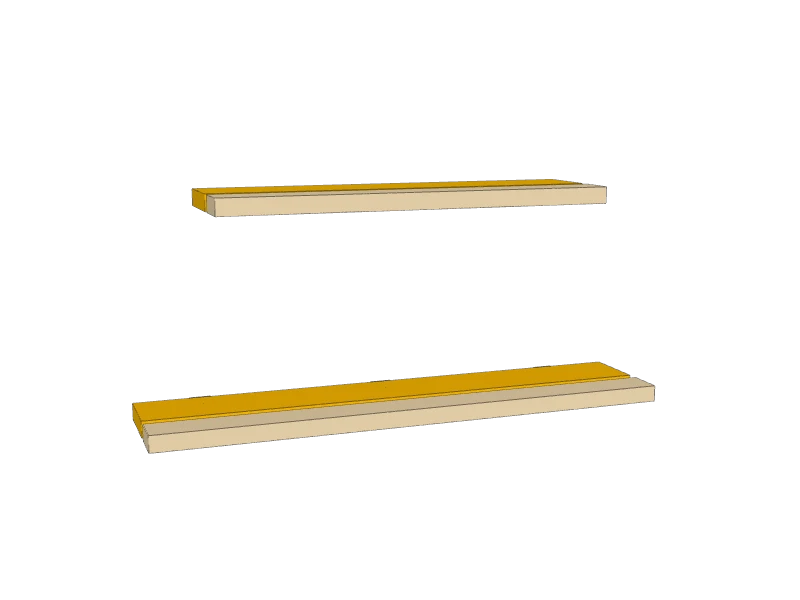 02
Find the studs and drill the rod holes
Check your brackets' instructions for the hole size: for ½″ rods it's usually a ½″ bit. Find the studs where each shelf goes and mark them on the wall. They're usually 16″ apart.
On the 48″ back strip (A), mark three holes 16″ apart, centered on the length, to match your studs. Mark two on the 36″ back strip (B). Each hole is centered in the thickness, ¾″ from each face.
Drill each hole straight through the back strip, from the back edge to the front edge. Keep the bit square to the board both ways: a drill press or a drill guide makes this easy.
Watch outThe holes must line up with your studs, not with the drawing. If your studs aren't 16″ apart, drill the holes where yours are.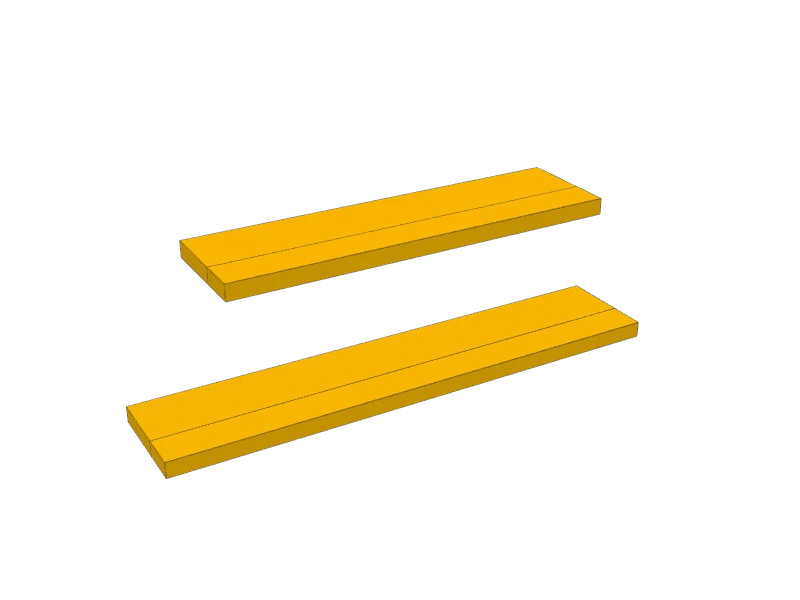 03
Glue on the fronts
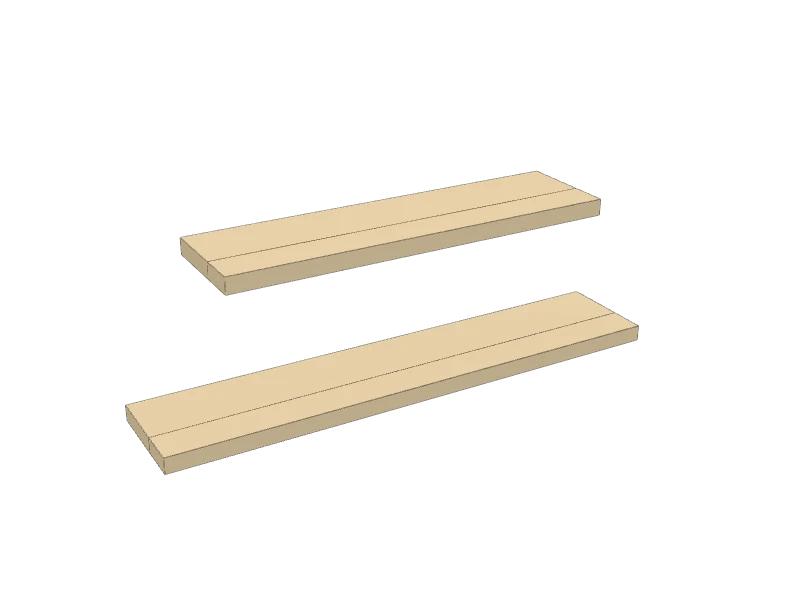
Spread glue along the front edge of each back strip, keeping it away from the holes, and clamp a front to it: (C) to the 48″ back strip (A) and (D) to the 36″ back strip (B). Line up the ends and the top faces. Clamps every 8″ or so.
The front covers the holes, so nothing shows once the shelf is up. Let the glue dry overnight.
 04
Sand and finish
Sand the faces and ends with 80, 120 and 180 grit and round the front corners a little. Stain or oil the shelves and let them dry. It's much easier now than once they're on the wall.
 05
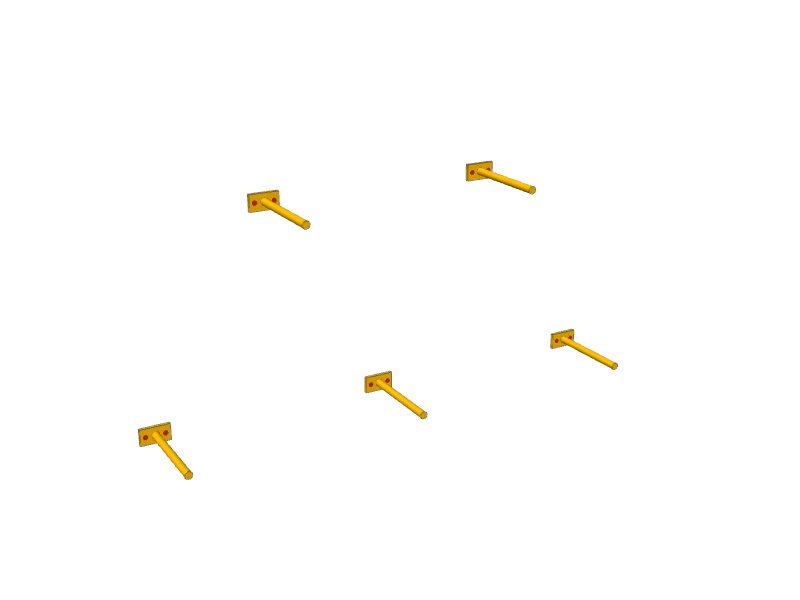
Screw the brackets to the studs
Draw a level line on the wall for the center of each shelf's rods. Hold a bracket on the line over each stud, rod pointing straight out, and drive its screws into the stud: the ones that came with the brackets, or 3″ screws if yours came without.
Check that the rods are level with each other and square to the wall. A rod that droops or splays won't go into its hole.
Watch outStuds only. Drywall anchors can't hold a shelf that hangs out from the wall on a rod: the load pulls down and out on the screws.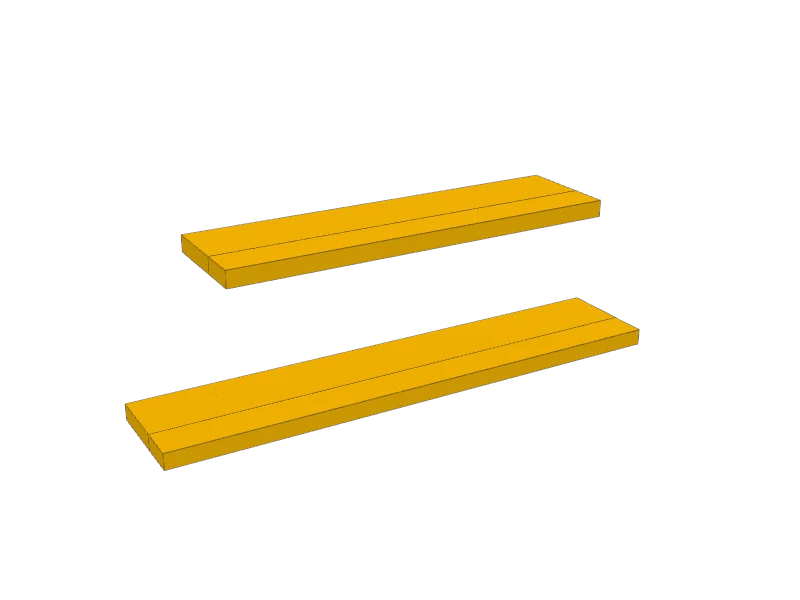 06
Slide on the shelves
Line up the holes in each back strip, (A) and (B), with the rods and push the shelf straight on, pressing on its front, (C) or (D), until its back meets the bracket plates.
TipIf a shelf is snug, tap it on with your palm, not a hammer. A dab of construction adhesive in each hole keeps it from sliding off, but it won't come off again easily.
Build at your own risk. Check every measurement against your own lumber before you cut, test-fit before you glue, and wear eye and ear protection.