Adirondack Footrest
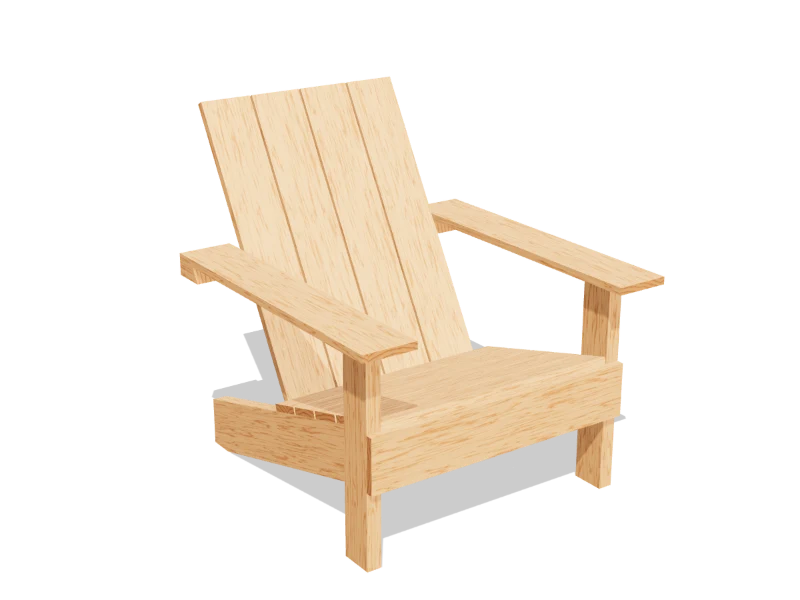
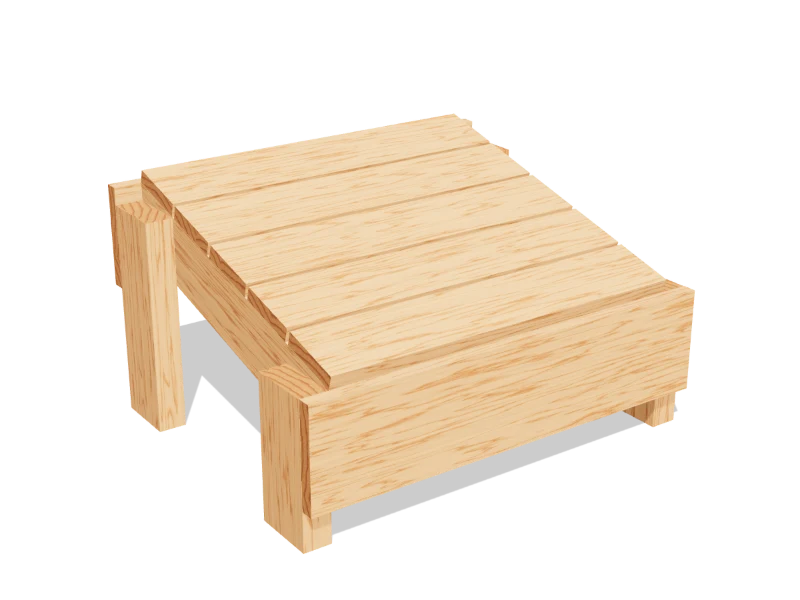
A slatted cedar footrest to go with the Adirondack chair. It slopes 15° like the chair seat, from about 13″ at the chair end down to about 8½″, so your legs rest comfortably.
- Skill
- Level 2 of 5 · Beginner
- Build time
- 2 to 3 hours, plus finish
- Lumber
- 1 2x4, 1 1x6 and 2 1x4s
- Joinery
- Exterior deck screws
- Finished size
- about 23″ W × 19⅜″ D × 13⅛″ H
What you need
A 2x4 is actually 1½″ × 3½″, a 1x6 is ¾″ × 5½″ and a 1x4 is ¾″ × 3½″. Every measurement in this plan uses the real size.
Shopping list
- 1Cedar 2x4, 8 ftSide rails and legs.
- 1Cedar 1x6, 6 ftThe two aprons.
- 2Cedar 1x4, 6 ftThe slats, the same as the chair seat.
- ~202½″ exterior deck screws
- ~202″ exterior deck screws
- ~301⅝″ exterior deck screws
- opt.Exterior oil or stain
Tools
- Miter sawFor the 15° rail cuts.
- Drill/driverWith a countersink bit for pilot holes.
- Clamps
- Speed square, tape measure, pencil
- SanderOr a sanding block.
Cut list
Thirteen pieces from four boards. Label each piece with its letter in pencil as you cut it.
| Part | Qty | Size, inches | From |
|---|---|---|---|
| ASide railsEnds cut at 15°, parallel. | 2 | 1½ × 3½ × 19½ | 2x4 |
| BBack legsThe high end. | 2 | 1½ × 3½ × 11½ | 2x4 |
| CFront legsThe low end. | 2 | 1½ × 3½ × 7⅝ | 2x4 |
| DAprons | 2 | ¾ × 5½ × 23 | 1x6 |
| ESlats | 5 | ¾ × 3½ × 20 | 1x4 |
Board layout. Each row is one board, cut left to right, with the remainder hatched. Dark lines are saw cuts, about ⅛″ wide.
Hardware & tools
Everything besides the lumber, with a link for each.
Links go to Amazon. Woodable earns a small commission at no cost to you.
Fasteners
- 2½″ exterior deck screws#9 or #10 × 2½″, coated or stainless, rated for outdoor use and treated lumber.~20View on Amazon
- 2″ exterior deck screws#9 or #10 × 2″, coated or stainless, rated for outdoor use and treated lumber.~20View on Amazon
- 1⅝″ exterior deck screws#9 or #10 × 1⅝″, coated or stainless, rated for outdoor use and treated lumber.~30View on Amazon
Glue & finish
- Exterior wood oilPenetrating oil for outdoor cedar.View on Amazon
- Exterior stain and sealerExterior stain or clear deck sealer.View on Amazon
Tools
- Miter sawFor the 15° rail cuts.View on Amazon
- Drill/driverWith a countersink bit for pilot holes.View on Amazon
- ClampsTwo or more bar clamps that open 24″ or more.View on Amazon
- Speed square7″ rafter square for marking and guiding cuts.View on Amazon
- Tape measure25 ft tape measure.View on Amazon
- SanderOr a sanding block.View on Amazon
Build it
Six steps. The 3D view follows along as you scroll. The parts you're working on are yellow, and the pocket holes or screws for that step are red.
- 01
Cut the pieces
Cut the square pieces to length. Cut the side rails (A) to the blank length below for now: the next step angles their ends.
- A Side rails, two at 19½″
- B Back legs, two at 11½″
- C Front legs, two at 7⅝″
- D Aprons, two at 23″
- E Slats, five at 20″
TipBuy the cedar for the footrest with the chair and pick boards from the same pile, so the color matches. - 02
Angle the side rails
Set the miter saw to 15°. Cut one end of each side rail (A) at that angle. Measure 18½″ along one long edge, the top edge, and cut the other end parallel to the first, so both ends stand plumb when the top edge slopes 15°.
TipCut one rail, then use it to mark the second, so the two match. - 03
Screw the legs to the side rails
Stand a back leg (B) and a front leg (C) on a flat floor and clamp a side rail (A) to their inside faces. The rail's high end is flush with the back face of the back leg and its low end with the front face of the front leg. The top of each leg sits flush with the top edge of the rail, at the leg's lower corner. The top of the rail ends up about 12½″ off the floor at the high end.
Drive three 2½″ exterior deck screws through each leg into the rail. Build the second side as a mirror image.
- 04
Add the aprons
Stand the two sides up, 20″ apart at the outside of the rails. Screw an apron (D) across each end with 2″ deck screws: two into each leg and one into the end of each rail. Keep its top flush with the top of the rails and its ends flush with the outside of the legs.
Measure the diagonals across the top. When they match, the frame is square.
- 05
Screw down the slats
Lay the first slat (E) on the rails at the high end, its back edge flush with the back of the rails and its ends flush with their outside faces. Space the rest ¼″ apart, using two scraps of that thickness as spacers. Drive two 1⅝″ deck screws through each end of each slat into the rail.
TipDrill a pilot hole for every screw near the end of a slat. Cedar splits easily. - 06
Finish
Round over the edges of the slats and the top corners of the aprons, and sand everything smooth. Leave cedar to weather gray, or oil it to match the chair.
Set it in front of the chair with the high end by the seat. Your calves rest on the high end and your heels on the low end.
Watch outThis is a footrest, not a seat or a step. Don't sit or stand on it. Check the screws each spring and tighten any that have loosened.
Build at your own risk. Check every measurement against your own lumber before you cut, test-fit before you glue, and wear eye and ear protection. Full disclaimer.