Adirondack Side Table
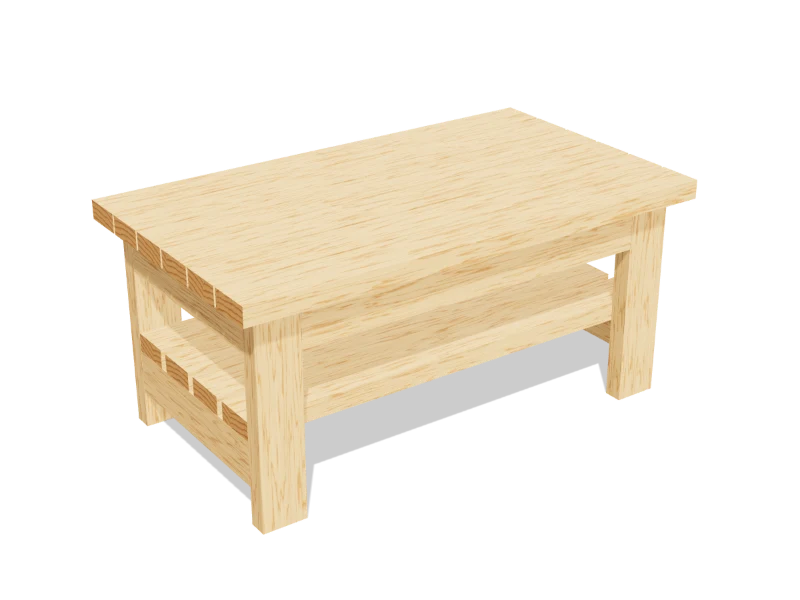
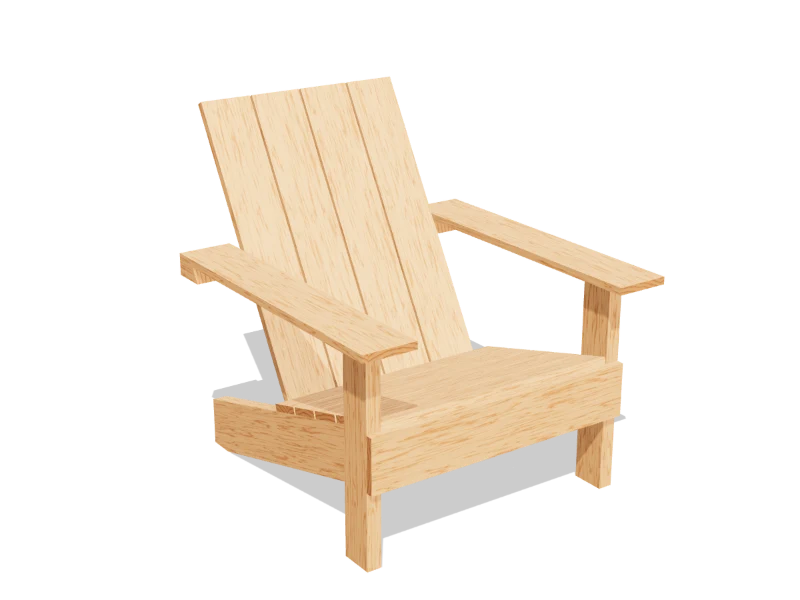
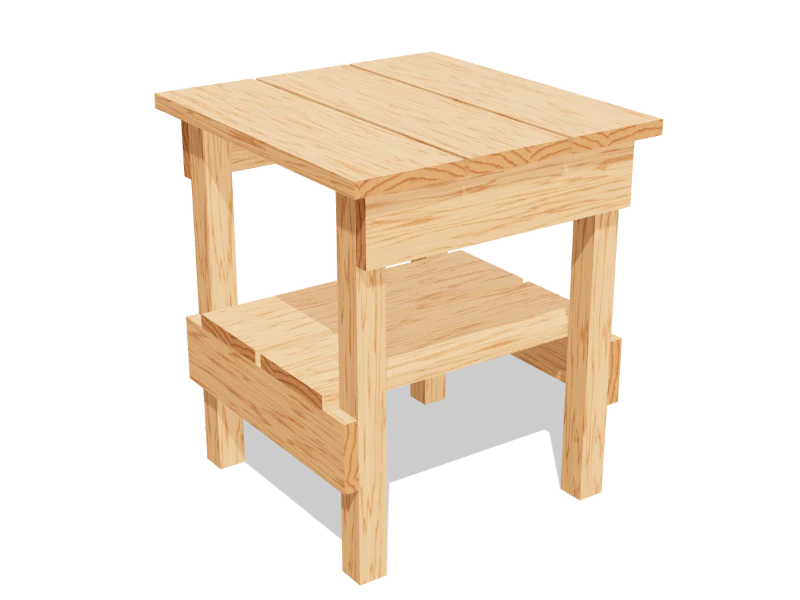
A small cedar table to stand beside the Adirondack chair: a slatted top at arm height for a drink, and a shelf below for a book.
- Skill
- Level 1 of 5 · Beginner
- Build time
- 2 to 3 hours, plus finish
- Lumber
- 1 2x2, 1 1x4 and 1 1x6
- Joinery
- Exterior screws
- Finished size
- about 17″ W × 18″ D × 20″ H
What you need
A 2x2 is actually 1½″ × 1½″, a 1x4 is ¾″ × 3½″ and a 1x6 is ¾″ × 5½″. Every measurement in this plan uses the real size.
Shopping list
- 12x2, 8 ftCedar. The legs.
- 11x4, 6 ftCedar. Aprons and stretchers.
- 11x6, 8 ftCedar. Top and shelf.
- ~501⅝″ exterior screws
- opt.Exterior oil
Tools
- Miter saw or circular saw
- JigsawFor the rounded corners.
- Drill/driver
- Tape measure, speed square, pencil
Cut list
Thirteen pieces from three boards. Label each piece with its letter in pencil as you cut it.
| Part | Qty | Size, inches | From |
|---|---|---|---|
| ALegs | 4 | 1½ × 1½ × 19¼ | 2x2 |
| BAprons | 2 | ¾ × 3½ × 15 | 1x4 |
| CSide stretchers | 2 | ¾ × 3½ × 15 | 1x4 |
| DTop slats | 3 | ¾ × 5½ × 18 | 1x6 |
| EShelf slats | 2 | ¾ × 5½ × 16½ | 1x6 |
Board layout. Each row is one board, cut left to right, with the remainder hatched. Dark lines are saw cuts, about ⅛″ wide.
Hardware & tools
Everything besides the lumber, with a link for each.
Links go to Amazon. Woodable earns a small commission at no cost to you.
Fasteners
- 1⅝″ exterior screws#9 or #10 × 1⅝″, coated or stainless, rated for outdoor use and treated lumber.~50View on Amazon
Glue & finish
- Exterior oilPenetrating oil for outdoor cedar.opt.View on Amazon
Tools
- Miter saw or circular saw10″ compound miter saw: square, angled and beveled crosscuts.View on Amazon
- JigsawFor the rounded corners.View on Amazon
- Drill/driverCordless drill/driver with bits.View on Amazon
- Tape measure25 ft tape measure.View on Amazon
- Speed square7″ rafter square for marking and guiding cuts.View on Amazon
Build it
Six steps. The 3D view follows along as you scroll. The parts you're working on are yellow, and the pocket holes or screws for that step are red.
- 01
Cut the pieces
Cut every piece on the cut list:
- A Legs, four at 19¼″
- B Aprons, two at 15″
- C Side stretchers, two at 15″
- D Top slats, three at 18″
- E Shelf slats, two at 16½″
Round the outside corners of the two outer top slats (D) with a 1″ radius, the Adirondack look: trace a coin, cut with a jigsaw and sand.
- 02
Build the front and back
Lay two legs (A) on the bench 15″ apart at the outside and screw an apron (B) across their faces, flush with the tops and the outside edges. Two 1⅝″ exterior screws into each leg. Make a front and a back.
- 03
Add the side stretchers
Stand the front and back up and screw a side stretcher (C) across each pair of legs on the outside, its bottom 5″ up from the floor.
- 04
Screw down the top
Lay the three top slats (D) across the aprons, ¼″ apart, overhanging evenly. Two screws into each apron.
- 05
Add the shelf
Lay the two shelf slats (E) across the side stretchers between the legs, ½″ apart, ends flush with the stretchers, and screw them down.
- 06
Finish
Sand the edges soft. Leave cedar to weather gray, or oil it to match the chair.
Build at your own risk. Check every measurement against your own lumber before you cut, test-fit before you glue, and wear eye and ear protection. Full disclaimer.