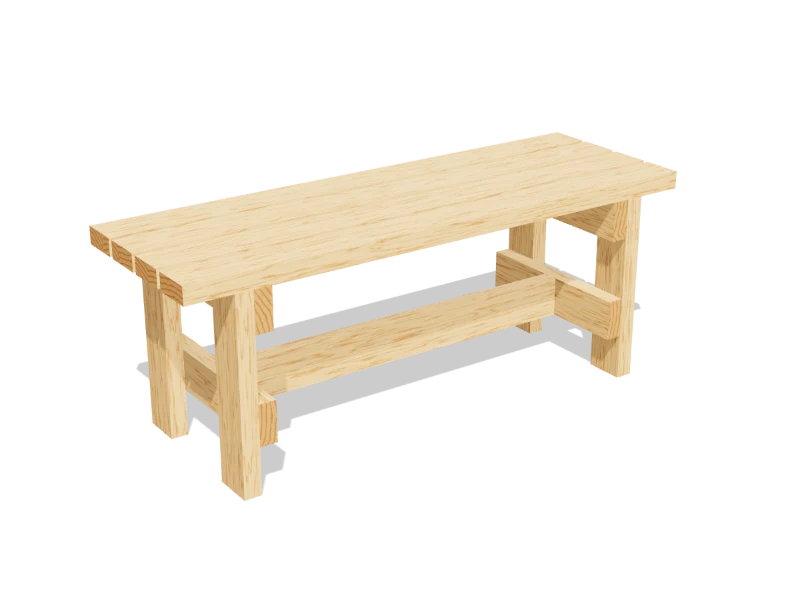
Outdoor Coffee Table
Draft · not yet checked by a carpenterA patio coffee table made only from 2x4s: slatted top and shelf that shed rain, and a sturdy pocket-hole frame.
- Skill
- Beginner
- Build time
- 4 to 6 hours, plus finish
- Lumber
- 7 2x4s
- Joinery
- Pocket holes and exterior screws
- Finished size
- 39″ L × 22¼″ W × 18″ H
What you need
A 2x4 is actually 1½″ × 3½″. Every measurement in this plan uses the real size.
Shopping list
- 72x4, 8 ftCedar or pressure-treated. Pick the straightest for the top.
- ~402½″ exterior-rated pocket-hole screwsCoated, made for outdoor use.
- ~602½″ exterior screwsCoated or stainless, for the slats.
- —Sandpaper, 80 and 120 grit
- opt.Exterior stain or deck sealer
Tools
- Miter saw or circular saw
- Pocket-hole jigSet for 1½″ material.
- Drill/driverWith a ⅛″ bit for pilot holes.
- Speed square, tape measure, pencil
- Random orbit sander
Cut list
Twenty-one pieces from seven boards. Label each piece with its letter in pencil as you cut it.
| Part | Qty | Size, inches | From |
|---|---|---|---|
| ALegs | 4 | 1½ × 3½ × 16½ | 2x4 |
| BEnd aprons | 2 | 1½ × 3½ × 16¼ | 2x4 |
| CLong aprons | 2 | 1½ × 3½ × 29 | 2x4 |
| DCenter support | 1 | 1½ × 3½ × 16¼ | 2x4 |
| EShelf rails | 2 | 1½ × 3½ × 16¼ | 2x4 |
| FShelf slats | 4 | 1½ × 3½ × 36 | 2x4 |
| GTop slats | 6 | 1½ × 3½ × 39 | 2x4 |
Board layout. Each row is one board, cut left to right, with the remainder hatched. Dark lines are saw cuts, about ⅛″ wide.
Build it
Eight steps. The 3D view follows along as you scroll. The parts you're working on are yellow, and the pocket holes or screws for that step are red.
- 01
Cut all the pieces
Everything comes from 2x4s. Cut every piece on the cut list, and save the straightest boards for the top slats:
- A Legs, four at 16½″
- B End aprons, two at 16¼″
- C Long aprons, two at 29″
- D Center support, one at 16¼″
- E Shelf rails, two at 16¼″
- F Shelf slats, four at 36″
- G Top slats, six at 39″
Watch outPressure-treated lumber is often wet from the store. Let it dry for a week or two, stacked with spacers, before you build, or the gaps will open up as it shrinks. - 02
Drill the pocket holes
Set your jig for 1½″ material and drill on the inside faces only:
- B end aprons and E shelf rails: 2 at each end
- C long aprons: 2 at each end
- D center support: 2 at each end, both on the same face
The slats get screwed down from the top, so they need no pocket holes.
- 03
Build the two ends
Lay an end apron (B) flat on the bench, pocket holes up, and butt two legs (A) against its ends. Keep the apron flush with the leg tops and with their outside faces. Drive 2½″ exterior pocket screws.
Fit a shelf rail (E) between the same legs with its bottom edge 3″ up from the floor ends. Build the second end to match.
TipCut a 3″ scrap block and stand the rail on it while you screw. Both ends come out identical. - 04
Connect the ends with the long aprons
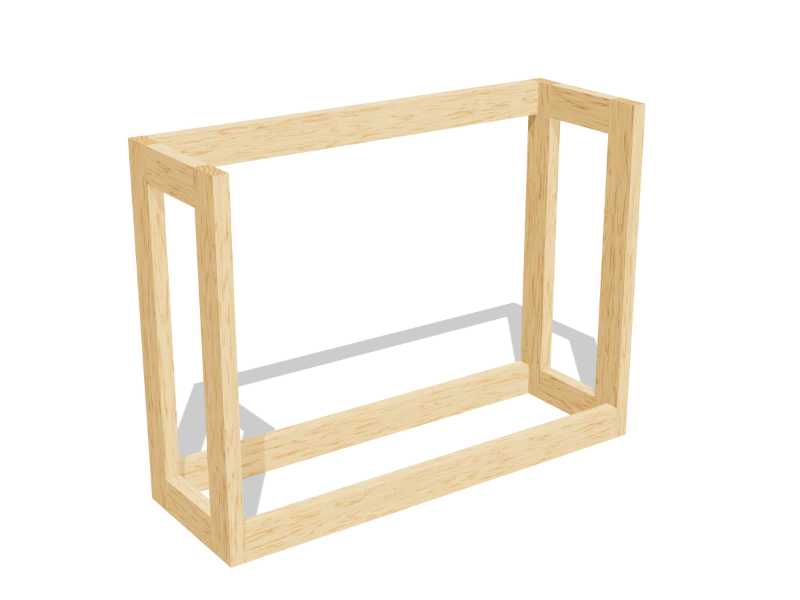
Stand the ends up. Fit the long aprons (C) between the legs at the top, flush with the tops and outside faces, pocket holes facing in. Screw them in.
Measure corner to corner both ways. When the diagonals match, the base is square.
- 05
Add the center support
Mark the middle of each long apron, 14½″ from either end. Fit the center support (D) between the aprons on those marks, flush with their top edges, and screw it in. It keeps the top slats from bouncing in the middle.
- 06
Add the shelf slats
Lay the four shelf slats (F) flat across the shelf rails, between the legs, about ¾″ apart. Keep the ends flush with the outside of the rails.
Pre-drill and drive two 2½″ exterior screws through each end into the rail.
- 07
Add the top slats
Lay the six top slats (G) across the frame with ¼″ gaps between them and 1½″ of overhang on every side. Start with the two outside slats, then fill in the middle.
Pre-drill and drive two 2½″ exterior screws through each slat into each end apron and the center support. Keep the screws in straight lines: it looks neater.
TipA ¼″ drill bit or a scrap of ¼″ plywood makes a perfect spacer for the gaps. - 08
Sand and seal
Ease every edge with 80 grit, then 120, so nobody catches a splinter. The gaps let rain drain off the top.
Finish with an exterior stain or penetrating deck sealer, and recoat every year or two. Cedar can also be left bare to weather gray.
Build at your own risk. Check every measurement against your own lumber before you cut, test-fit before you glue, and wear eye and ear protection. Full disclaimer.