Wall Corner Shelf
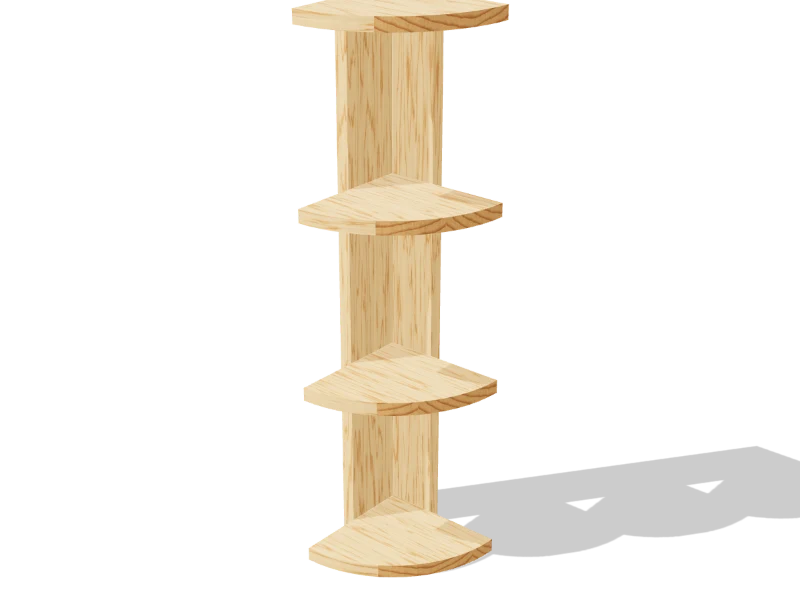
Four quarter-round shelves that fill an empty corner, hung on two 1x4 uprights screwed into the walls.
- Skill
- Level 2 of 5 · Beginner
- Build time
- 2 to 3 hours, plus finish
- Lumber
- 1 1x4 and 1 1x8
- Joinery
- Glue and screws
- Finished size
- 8″ W × 8″ D × 30¾″ H
What you need
A 1x4 is actually ¾″ × 3½″ and a 1x8 is ¾″ × 7¼″. Every measurement in this plan uses the real size.
Shopping list
- 11x4, 6 ftThe uprights. Pick a straight one.
- 11x8, 6 ftThe shelves.
- ~301⅝″ wood screwsFor the corner and the shelves.
- ~102½″ wood screwsFor hanging.
- opt.Drywall anchors rated 25 lbWhere a screw misses a stud.
- 1Wood glue
- —Sandpaper, wood filler, paint or stain and a clear coat
Tools
- Miter saw or circular saw
- JigsawFor the quarter circles.
- CompassOr a pencil on a string.
- Drill/driverWith a countersink bit.
- Clamps
- Stud finder
- Level
- Tape measure, pencil
Cut list
Six pieces from two boards. Label each piece with its letter in pencil as you cut it.
| Part | Qty | Size, inches | From |
|---|---|---|---|
| AUprights | 2 | ¾ × 3½ × 30¾ | 1x4 |
| BShelvesCut square, then to a quarter circle. | 4 | ¾ × 7¼ × 7¼ | 1x8 |
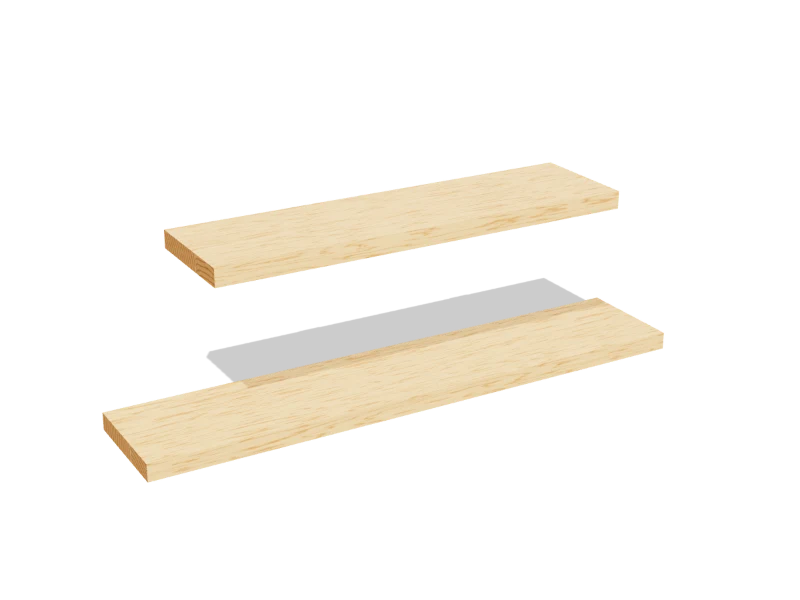
Board layout. Each row is one board, cut left to right, with the remainder hatched. Dark lines are saw cuts, about ⅛″ wide.
Hardware & tools
Everything besides the lumber, with a link for each.
Links go to Amazon. Woodable earns a small commission at no cost to you.
Fasteners
- 1⅝″ wood screwsFor the corner and the shelves.~30View on Amazon
- 2½″ wood screwsFor hanging.~10View on Amazon
- Drywall anchors rated 25 lbWhere a screw misses a stud.opt.View on Amazon
Glue & finish
- Wood gluePVA wood glue for indoor projects.1View on Amazon
- Wood fillerStainable, sandable wood filler for screw and nail holes.View on Amazon
- Sandpaper5″ hook-and-loop discs for a random orbit sander, 80 to 220 grit.View on Amazon
- Clear polyurethaneWater-based polyurethane, satin, for a clear topcoat.View on Amazon
- Wood stainOil-based or water-based interior wood stain.View on Amazon
- Furniture paintInterior paint for furniture: chalk-style or acrylic enamel.View on Amazon
Tools
- Miter saw or circular saw10″ compound miter saw: square, angled and beveled crosscuts.View on Amazon
- JigsawFor the quarter circles.View on Amazon
- CompassOr a pencil on a string.View on Amazon
- Drill/driverWith a countersink bit.View on Amazon
- ClampsTwo or more bar clamps that open 24″ or more.View on Amazon
- Stud finderElectronic stud finder.View on Amazon
- Level24″ level.View on Amazon
- Tape measure, pencil25 ft tape measure.View on Amazon
Build it
Six steps. The 3D view follows along as you scroll. The parts you're working on are yellow, and the screws for that step are red.
- 01
Cut the pieces
Cut every piece on the cut list:
- A Uprights, two at 30¾″
- B Shelves, four at 7¼″
The shelf pieces (B) come out square, as long as the 1x8 is wide.
- 02
Round the shelves
On each shelf (B), set a compass or a pencil on a string to 7¼″, put the point in one corner and draw a quarter circle from edge to edge. Cut just outside the line with a jigsaw and sand to the line. The two straight edges that meet at the point are the back edges.
TipClamp all four squares in a stack, cut the first one, then trace it onto the others so they match. - 03
Join the uprights
Butt the edge of one upright (A) against the face of the other, ends flush, to make an L. Glue the joint and drive three 1⅝″ wood screws through the back of the first upright into the edge of the second, 5″, 15″ and 25″ up from the bottom.
TipPre-drill and countersink every screw in this plan that goes through the back of an upright. The heads end up against the wall, so they must sit flush or below. - 04
Add the shelves
Mark the shelf lines inside the L: the bottoms of the shelves at 0″, 10″, 20″ and 30″ from the bottom end, so the top shelf is flush with the top. Glue the two back edges of each shelf (B), set it in the L on its line, and drive two 1⅝″ screws through the back of each upright (A) into its edges.
Watch outKeep these screws in the middle of the shelf's thickness, ⅜″ up from its line, so they don't split out of the top or bottom face. - 05
Sand and finish
Sand with 120 then 180 grit, softening the curved front edges. Paint it to match the wall, or stain and clear coat it.
- 06
Hang it in the corner
Find the studs on both walls near the corner with a stud finder. Most corners have framing within the first few inches of at least one wall. Hold the shelf in the corner with the top shelf level and drive three 2½″ screws through the face of each upright (A) between the shelves: into a stud wherever you can.
Where a screw misses a stud, take it out and use a drywall anchor rated 25 lb or more instead.
TipIf the corner of the wall is rounded with drywall mud, sand a small bevel along the back corner of the L so it sits tight against both walls.Watch outThis is a shelf for plants, photos and small decor, not books. Use at least one screw into a stud on each wall if you can.
Build at your own risk. Check every measurement against your own lumber before you cut, test-fit before you glue, and wear eye and ear protection. Full disclaimer.