Fold-Down Wall Workbench
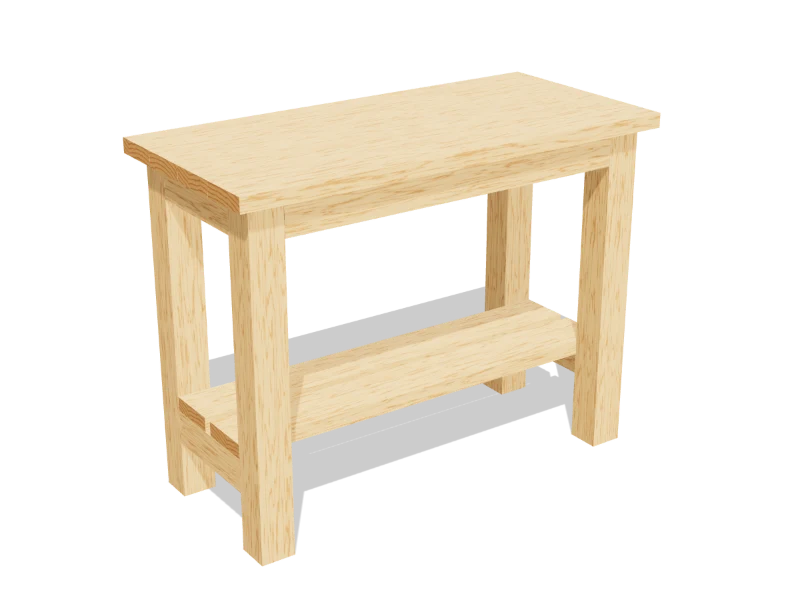
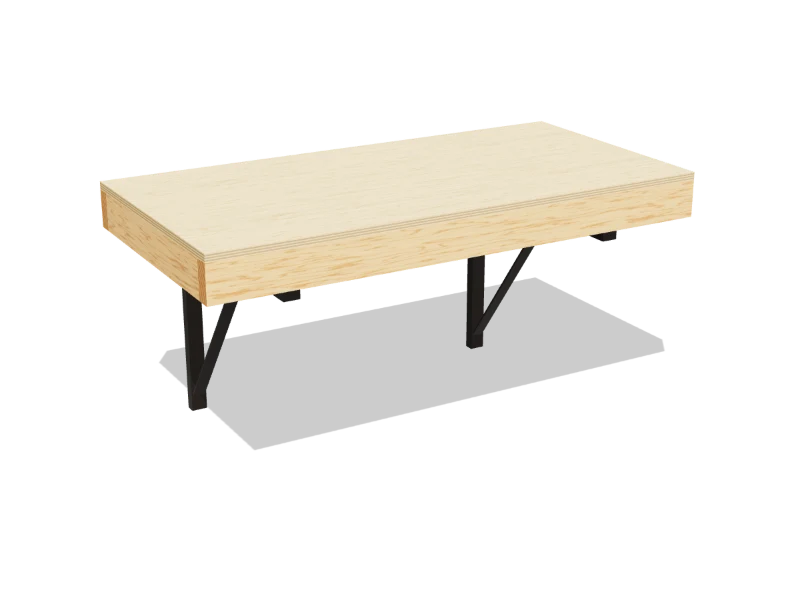
A solid 48″ × 24″ workbench that folds flat against the garage wall when you need the floor: a 2x4 and plywood top on a pair of 500 lb folding worktop brackets lagged into the studs.
- Skill
- Level 3 of 5 · Intermediate
- Build time
- 3 to 4 hours, plus finish
- Lumber
- 3 2x4s and 1 panel of ¾″ plywood
- Joinery
- Screws and glue, on folding worktop brackets
- Work height
- 36″ to the top, set when you mount the brackets
- Finished size
- 48″ W × 24¼″ D × 23¾″ H
What you need
A 2x4 is actually 1½″ × 3½″. Every measurement in this plan uses the real size. ¾″ plywood is drawn at full thickness, but plywood sold that way is often a hair thinner, so measure yours and cut the pieces that fit between panels to match.
Shopping list
- 32x4, 8 ftStraight ones, for the frame.
- 1¾″ plywood, 2 × 4 ft panelA 2 × 4 ft project panel. Sanded pine or birch.
- 1 pairHeavy-duty folding workbench brackets, 22½″Rated 500 lb per pair.
- 85⁄16″ lag bolts with washersUsually included with the brackets. If not, 3″ long.
- ~303″ wood screwsFor the frame.
- ~401⅝″ wood screwsTop to the frame.
- ~10#10 × 1″ pan-head screwsBracket arms to the cross members.
- 1Wood glue
- —Sandpaper, 120 grit
- opt.Paste waxFor the top.
Tools
- Miter saw or circular saw
- Drill/driverWith bits for pilot holes.
- Socket wrenchFor the lag bolts.
- Stud finder
- LevelA 24″ level or longer.
- Clamps
- Tape measure, pencil
Cut list
Eight pieces from three boards and one panel. Label each piece with its letter in pencil as you cut it.
| Part | Qty | Size, inches | From |
|---|---|---|---|
| ATop | 1 | ¾ × 24 × 48 | ¾″ plywood |
| BFront and back rails | 2 | 1½ × 3½ × 48 | 2x4 |
| CCross members | 5 | 1½ × 3½ × 21 | 2x4 |
Board layout. Each row is one board, cut left to right, with the remainder hatched. Dark lines are saw cuts, about ⅛″ wide.
Hardware & tools
Everything besides the lumber, with a link for each.
Links go to Amazon. Woodable earns a small commission at no cost to you.
Required part
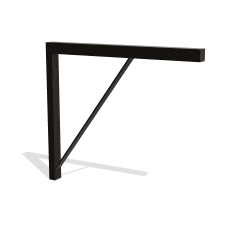 Heavy-duty folding workbench brackets, 22½″ (pair)Check your brackets' arm length, rating and bolt holes before you cut. Arms from 20″ to 24″ work with this 24″ top.1 pairView on Amazon
Fasteners
- 5⁄16″ lag bolts with washersUsually included with the brackets. If not, 3″ long.8View on Amazon
- 3″ wood screwsFor the frame.~30View on Amazon
- 1⅝″ wood screwsTop to the frame.~40View on Amazon
- #10 × 1″ pan-head screwsBracket arms to the cross members.~10View on Amazon
Glue & finish
- Wood gluePVA wood glue for indoor projects.1View on Amazon
- Sandpaper, 120 grit5″ hook-and-loop discs for a random orbit sander, 80 to 220 grit.View on Amazon
- Paste waxFor the top.opt.View on Amazon
Tools
- Miter saw or circular saw10″ compound miter saw: square, angled and beveled crosscuts.View on Amazon
- Drill/driverWith bits for pilot holes.View on Amazon
- Socket wrenchFor the lag bolts.View on Amazon
- Stud finderElectronic stud finder.View on Amazon
- LevelA 24″ level or longer.View on Amazon
- ClampsTwo or more bar clamps that open 24″ or more.View on Amazon
- Tape measure, pencil25 ft tape measure.View on Amazon
Build it
Seven steps. The 3D view follows along as you scroll. The parts you're working on are yellow, and the pocket holes or screws for that step are red.
- 01
Cut the pieces
Check your brackets first. This bench is designed around a pair of heavy-duty folding worktop brackets with 22½″ arms and 19½″ wall legs, rated 500 lb per pair. Read their own instructions for the stud spacing, the mounting height and the rating before you cut anything.
- A Top, one at 24″ × 48″
- B Front and back rails, two at 48″
- C Cross members, five at 21″
A 48″ × 24″ plywood top is exactly a 2 × 4 ft project panel, so you may not need to cut it at all.
- 02
Build the frame
Stand the two rails (B) on edge, 24″ apart at the outside, with the five cross members (C) between them: one flush with each end, one centered 8″ from each end and one in the middle. The two at 8″ sit right over the bracket arms, so they must be on the same centers as your studs.
Pre-drill and drive two 3″ wood screws through the rails into each end of each cross member. Check the frame is square by measuring its diagonals.
TipStuds 24″ apart instead of 16″? Mount the brackets 24″ apart and move those two cross members (C) to 12″ from each end. - 03
Glue and screw on the top
Spread glue on the top edges of the frame (B, C). Lay the plywood top (A) on it, flush on all four sides, and drive 1⅝″ wood screws every 8″ or so into the rails and cross members. Sink the heads just below the surface so they don't scratch your work.
- 04
Mount the brackets on two studs
Find two wall studs 32″ apart with a stud finder and mark their centers. Draw a level line 31¾″ above the floor across both: the tops of the bracket arms go on this line, which puts the work surface at 36″. Raise or lower the line to work anywhere from 34″ to 38″.
Check your brackets' instructions for the bolt positions and the rating before you drill. Hold each bracket open, arm top on the line, leg centered on a stud. Drill pilot holes and drive four 5⁄16″ lag bolts with washers through each leg into the stud with a socket wrench. Check that both arms are level with each other and with the wall.
Watch outLag the brackets into solid wood studs only, never into drywall anchors. The whole bench and everything you lean on it hang on these eight bolts.Get this hardware: Heavy-duty folding workbench brackets, 22½″ (pair)
- 05
Set the top on the brackets
Lock both brackets up. With a helper, lay the top on the arms so the cross members (C) over the brackets sit right on the arms and the back rail (B) is ¼″ off the wall, so it can fold. The plywood (A) is on top.
Drive three #10 × 1″ pan-head screws up through the holes in each arm into the cross members.
- 06
Fold it down and back up
To fold the bench away, clear the top (A), hold the front rail (B), release both brackets together and lower it until it hangs against the wall. It stands about 6½″ out from the wall when folded.
To open it, lift the front until both brackets lock. Push down on the front before you work on it, to be sure both are locked.
Watch outKeep fingers out of the brackets while they fold: they pinch. Never sit or stand on the bench, and keep the load, the top included, under the brackets' rating. The top itself weighs about 40 lb. - 07
Finish
Ease the edges of the top with sandpaper. Rub a coat of paste wax into the plywood so glue and paint drips pop right off. Hang a clamp rack or a power strip on the wall above it, not on the bench.
Build at your own risk. Check every measurement against your own lumber before you cut, test-fit before you glue, and wear eye and ear protection. Full disclaimer.