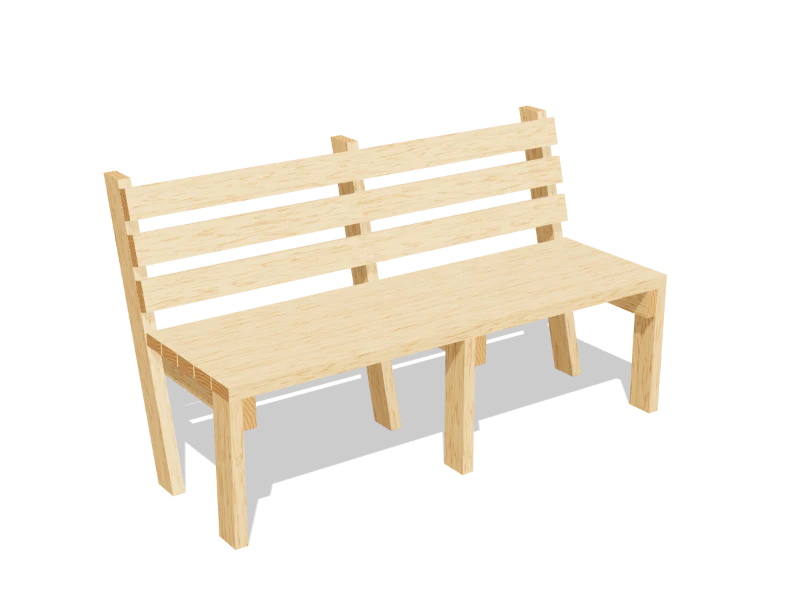
2x4 Outdoor Loveseat
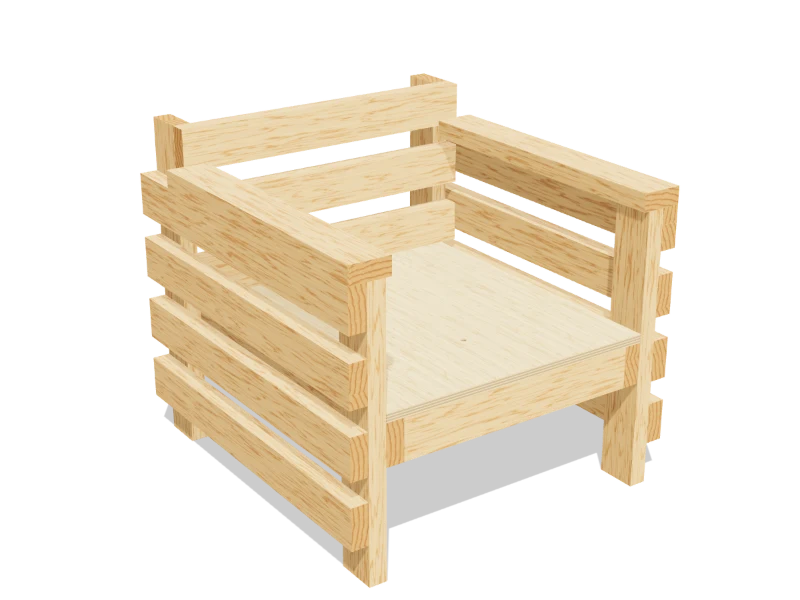
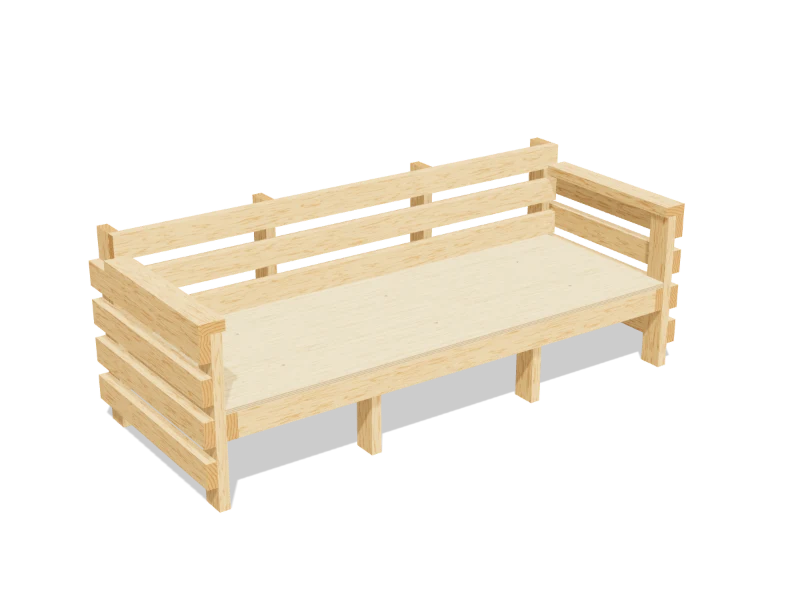
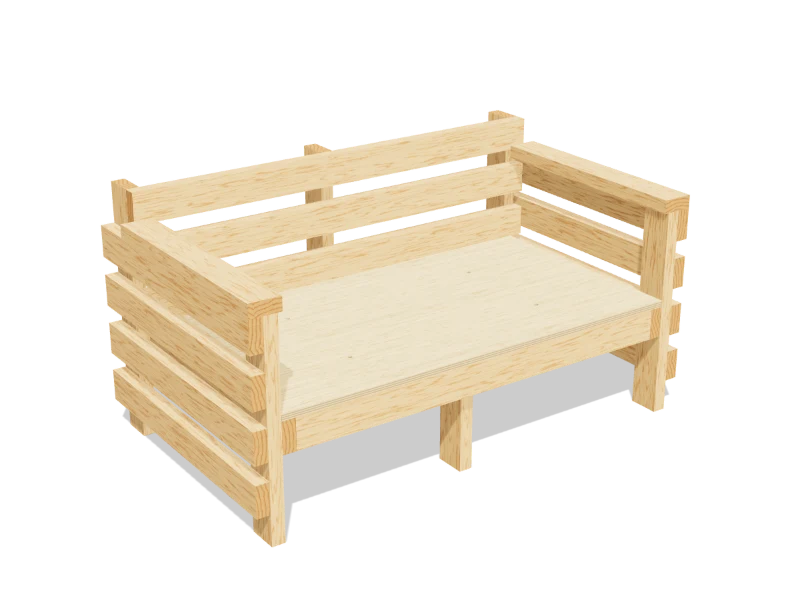
A two-seat outdoor loveseat from 2x4s and exterior plywood, sized for two 24″ × 24″ cushions. It matches the 2x4 outdoor sofa and lounge chair.
- Skill
- Level 3 of 5 · Intermediate
- Build time
- 6 to 8 hours, plus finish
- Lumber
- 9 2x4s and 1 sheet of ¾″ plywood
- Joinery
- Structural screws and deck screws
- Finished size
- 54″ L × 31″ D × 28″ H
What you need
A 2x4 is actually 1½″ × 3½″. Every measurement in this plan uses the real size. ¾″ plywood is drawn at full thickness, but plywood sold that way is often a hair thinner, so measure yours and cut the pieces that fit between panels to match.
Shopping list
- 92x4, 8 ftPressure-treated or cedar.
- 1¾″ plywood, 4 × 8 ft sheetExterior grade. The seat deck.
- ~303″ structural wood screws, exteriorSuch as GRK or Spax, for the frame and legs.
- ~803″ exterior deck screws
- ~102½″ exterior deck screws
- ~201⅝″ exterior deck screws
- 2Seat cushions, 24″ × 24″Plus back cushions.
- 1Exterior paint or stain
Tools
- Miter saw or circular saw
- Drill/driverWith a ½″ bit for the drain holes.
- Level
- Tape measure, speed square, pencil
Cut list
Twenty-five pieces from nine boards and one sheet. Label each piece with its letter in pencil as you cut it.
| Part | Qty | Size, inches | From |
|---|---|---|---|
| ABack posts | 3 | 1½ × 3½ × 28 | 2x4 |
| BFront posts | 2 | 1½ × 3½ × 23½ | 2x4 |
| CEnd cross pieces | 2 | 1½ × 3½ × 31 | 2x4 |
| DFront and back rails | 2 | 1½ × 3½ × 45 | 2x4 |
| EMiddle cross pieces | 1 | 1½ × 3½ × 24½ | 2x4 |
| FMiddle front legs | 1 | 1½ × 3½ × 12¾ | 2x4 |
| GSeat deckFour ½″ drain holes. | 1 | ¾ × 27½ × 48 | ¾″ plywood |
| HBack boards | 3 | 1½ × 3½ × 51 | 2x4 |
| IArm slats | 8 | 1½ × 3½ × 31 | 2x4 |
| JArm caps | 2 | 1½ × 3½ × 26 | 2x4 |
Board layout. Each row is one board, cut left to right, with the remainder hatched. Dark lines are saw cuts, about ⅛″ wide.
Hardware & tools
Everything besides the lumber, with a link for each.
Links go to Amazon. Woodable earns a small commission at no cost to you.
Hardware
- Seat cushions, 24″ × 24″Plus back cushions.2View on Amazon
Fasteners
- 3″ structural wood screws, exteriorSuch as GRK or Spax, for the frame and legs.~30View on Amazon
- 3″ exterior deck screws#9 or #10 × 3″, coated or stainless, rated for outdoor use and treated lumber.~80View on Amazon
- 2½″ exterior deck screws#9 or #10 × 2½″, coated or stainless, rated for outdoor use and treated lumber.~10View on Amazon
- 1⅝″ exterior deck screws#9 or #10 × 1⅝″, coated or stainless, rated for outdoor use and treated lumber.~20View on Amazon
Glue & finish
- Exterior stain and sealerExterior stain or clear deck sealer.View on Amazon
- Exterior paintExterior latex paint for wood.View on Amazon
Tools
- Miter saw or circular saw10″ compound miter saw: square, angled and beveled crosscuts.View on Amazon
- Drill/driverWith a ½″ bit for the drain holes.View on Amazon
- Level24″ level.View on Amazon
- Tape measure25 ft tape measure.View on Amazon
- Speed square7″ rafter square for marking and guiding cuts.View on Amazon
Build it
Eight steps. The 3D view follows along as you scroll. The parts you're working on are yellow, and the pocket holes or screws for that step are red.
- 01
Cut the pieces
Measure your cushions first. This fits two 24″ × 24″ seat cushions between the arms, with room behind for back cushions. For other cushions, change the rails (D), back boards (H) and seat deck (G) by the same amount.
- A Back posts, three at 28″
- B Front posts, two at 23½″
- C End cross pieces, two at 31″
- D Front and back rails, two at 45″
- E Middle cross pieces, one at 24½″
- F Middle front legs, one at 12¾″
- G Seat deck, one at 27½″ × 48″
- H Back boards, three at 51″
- I Arm slats, eight at 31″
- J Arm caps, two at 26″
Drill four ½″ drain holes through the seat deck (G) so rain can't pool under the cushions.
- 02
Build the two arms
For each arm, lay a back post (A) and a front post (B) on a flat floor, 31″ apart at the outside, bottoms lined up. Screw the four arm slats (I) across them with 3″ deck screws, two into each post: the lowest one 3½″ up from the bottom, the rest 2″ apart, the top one flush with the top of the front post.
Build the second arm as a mirror image, so the slats end up on the outside of both arms.
- 03
Build the seat frame
Stand the front and back rails (D) on edge between the two end cross pieces (C): the front rail flush with the front ends, the back rail 3½″ in from the back ends. Drive two 3″ deck screws through each end cross piece into each rail.
Fit the middle cross piece (E) between the rails, centered 27″ from the left end, and screw through the rails into it.
- 04
Join the arms to the frame
Stand the arms up, slats out, and set the seat frame between them with its top 12¾″ above the floor. Drive four 3″ structural screws through each end cross piece into each arm post.
Stand the middle back post (A) behind the back rail and the middle front leg (F) behind the front rail, just outside the middle cross piece. Drive two structural screws through the rails into each one, and two through the middle cross piece into the leg.
Watch outEvery leg and post must stand on the floor before you screw it, so all six share the load. - 05
Screw down the seat deck
Lay the seat deck (G) on the frame between the arms, its back edge against the back posts. Screw it down with 1⅝″ deck screws every 8″ or so into the rails and cross pieces.
- 06
Add the back
Stand the first back board (H) on edge on the seat deck, against the front of the three back posts, and screw it to each post with two 3″ deck screws. Add the other two above it with 2″ gaps. The top one ends flush with the tops of the posts.
- 07
Add the arm caps
Lay an arm cap (J) flat on each arm, flush with the outside and the front, its back end against the back. Drive two 2½″ deck screws into the front post and two into the top arm slat.
- 08
Finish
Round over the front edges of the arm caps and every corner people touch, and sand smooth. Seal the plywood edges well, then paint or stain the whole piece with an exterior finish.
TipUse outdoor cushions with quick-dry foam, and bring them in or tip them up after rain.
Build at your own risk. Check every measurement against your own lumber before you cut, test-fit before you glue, and wear eye and ear protection. Full disclaimer.