Planter Bench
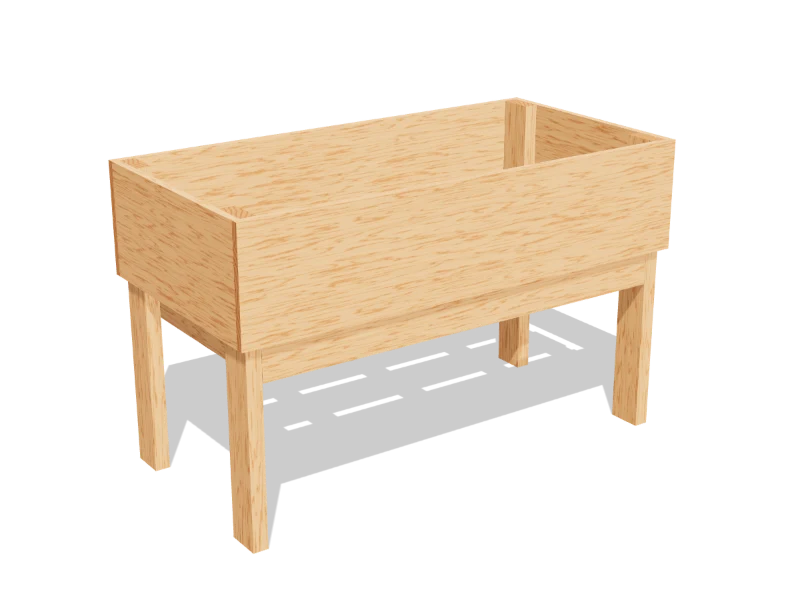
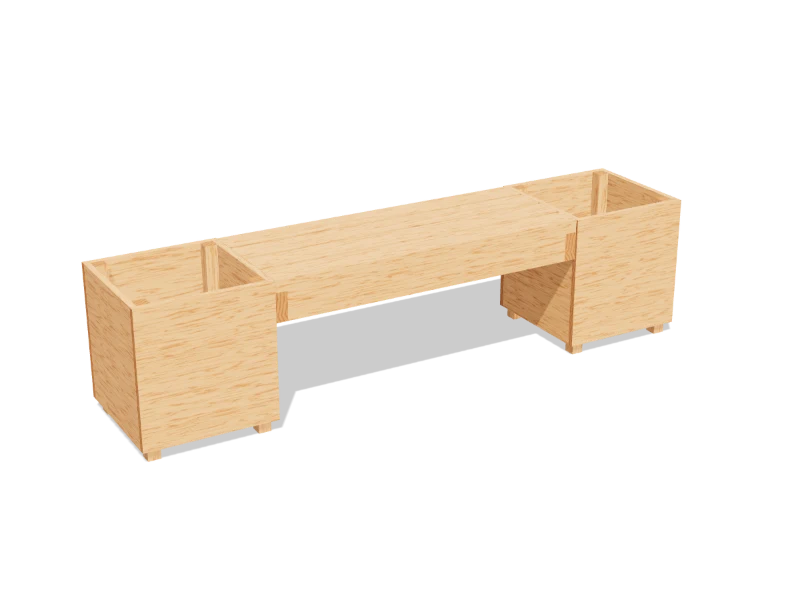
A 6 ft cedar bench with a planter box at each end: plant herbs or flowers on either side of a 40″ seat at a standard 18″ height.
- Skill
- Level 3 of 5 · Intermediate
- Build time
- 6 to 8 hours, plus finish
- Lumber
- 3 2x2s, 5 1x6s and 4 2x4s
- Joinery
- Exterior screws and pocket screws
- Finished size
- 72″ L × 16″ D × 18″ H
What you need
A 2x2 is actually 1½″ × 1½″, a 1x6 is ¾″ × 5½″ and a 2x4 is 1½″ × 3½″. Every measurement in this plan uses the real size.
Shopping list
- 32x2, 8 ftCedar. Planter legs and floor cleats.
- 51x6, 8 ftCedar. The planter sides and floors.
- 42x4, 8 ftCedar or pressure-treated. The seat.
- ~1401⅝″ exterior screws
- 103½″ exterior deck screwsFor the seat cleats.
- ~303″ exterior deck screws
- ~202½″ exterior pocket screws
- 1Landscape fabricTo line the planters.
- opt.Exterior oil
Tools
- Miter saw or circular saw
- Pocket-hole jigSet for 1½″.
- Drill/driver
- Clamps
- Tape measure, speed square, pencil
Cut list
49 pieces from twelve boards. Label each piece with its letter in pencil as you cut it.
| Part | Qty | Size, inches | From |
|---|---|---|---|
| APlanter legs | 8 | 1½ × 1½ × 18 | 2x2 |
| BPlanter fronts and backs | 12 | ¾ × 5½ × 16 | 1x6 |
| CPlanter sides | 12 | ¾ × 5½ × 14½ | 1x6 |
| DFloor cleats | 4 | 1½ × 1½ × 11½ | 2x2 |
| EFloor boardsSame length as C. | 4 | ¾ × 5½ × 14½ | 1x6 |
| FSeat cleats | 2 | 1½ × 3½ × 15½ | 2x4 |
| GSeat rails | 2 | 1½ × 3½ × 37 | 2x4 |
| HCenter cross piece | 1 | 1½ × 3½ × 12½ | 2x4 |
| ISeat slats | 4 | 1½ × 3½ × 40 | 2x4 |
Board layout. Each row is one board, cut left to right, with the remainder hatched. Dark lines are saw cuts, about ⅛″ wide.
Hardware & tools
Everything besides the lumber, with a link for each.
Links go to Amazon. Woodable earns a small commission at no cost to you.
Hardware
- Landscape fabricTo line the planters.1View on Amazon
Fasteners
- 1⅝″ exterior screws#9 or #10 × 1⅝″, coated or stainless, rated for outdoor use and treated lumber.~140View on Amazon
- 3½″ exterior deck screwsFor the seat cleats.10View on Amazon
- 3″ exterior deck screws#9 or #10 × 3″, coated or stainless, rated for outdoor use and treated lumber.~30View on Amazon
- 2½″ exterior pocket screws#8 × 2½″, coarse thread, exterior coating. For 1½″ boards outdoors.~20View on Amazon
Glue & finish
- Exterior oilPenetrating oil for outdoor cedar.opt.View on Amazon
Tools
- Miter saw or circular saw10″ compound miter saw: square, angled and beveled crosscuts.View on Amazon
- Pocket-hole jigSet for 1½″.View on Amazon
- Drill/driverCordless drill/driver with bits.View on Amazon
- ClampsTwo or more bar clamps that open 24″ or more.View on Amazon
- Tape measure25 ft tape measure.View on Amazon
- Speed square7″ rafter square for marking and guiding cuts.View on Amazon
Build it
Seven steps. The 3D view follows along as you scroll. The parts you're working on are yellow, and the pocket holes or screws for that step are red.
- 01
Cut the pieces
Cut every piece on the cut list:
- A Planter legs, eight at 18″
- B Planter fronts and backs, twelve at 16″
- C Planter sides, twelve at 14½″
- D Floor cleats, four at 11½″
- E Floor boards, four at 14½″
- F Seat cleats, two at 15½″
- G Seat rails, two at 37″
- H Center cross piece, one at 12½″
- I Seat slats, four at 40″
Watch outBuy cedar 1x6 boards for the planters, not fence pickets. Pickets are thinner and the screws won't hold as well. - 02
Build the planter ends
For each end of each planter, lay two legs (A) on the bench and screw three sides (C) across them, one above the other, ends flush with the outside faces of the legs and the top board flush with the leg tops. That leaves 1½″ of leg below as feet. Two 1⅝″ exterior screws through each board end. Make four ends.
- 03
Add the fronts and backs
Stand two ends up for each planter and screw the fronts and backs (B) across the legs in three rows, ends flush with the outside of the sides. Check each box sits flat on all four feet.
- 04
Add the planter floors
Screw a floor cleat (D) inside the bottom front and back boards of each planter, its bottom flush with theirs. Lay two floor boards (E) across the cleats, ½″ apart for drainage, and screw them down.
- 05
Build the seat frame
Stand the planters 40″ apart, square to each other. Screw a seat cleat (F) to the facing side of each planter, centered front to back, its top 1½″ below the planter tops, with two 3½″ deck screws into each leg behind it.
Pocket-screw the two seat rails (G) between the cleats, flush with their front and back ends, and the center cross piece (H) between the rails at the middle.
- 06
Screw down the seat slats
Lay the four seat slats (I) on the frame, ½″ apart, flush with the planter tops. Drive two 3″ deck screws into each cleat and the center cross piece.
- 07
Finish
Sand the seat and round over its edges. Leave cedar to weather gray or seal it with an exterior oil. Staple landscape fabric inside each planter before you fill it, so soil stays in and water drains out.
TipFilled with soil, each planter weighs over 100 lb. Set the bench where it'll stay before you fill it.
Build at your own risk. Check every measurement against your own lumber before you cut, test-fit before you glue, and wear eye and ear protection. Full disclaimer.